Several months ago, I bought Anna Maria Horner’s Art Student Tote pattern. I can’t remember where I first saw it, but it looked like a really cool bag. I liked the contrasting straps, and the zippered pockets on the front. There are 3 options; I chose to try Option C first, although I want to make Option B for myself. I put this together the weekend before Thanksgiving: I got my fabrics on Friday and finished it on Monday. It took 4-5 hours total and wasn’t too terribly difficult, although I did re-read some steps several times to make sure I understood what I was about to do before sewing. If I make Option C again, I think I’ll be able to cut an hour off that total.

All in all, it turned out…ok. I’m not as happy with it as I’d hoped, primarily because I had originally intended this to be a gift for someone. I haven’t decided whether I’ll go ahead with that as planned or not. The issue is that the lining doesn’t really fit inside the bag — it’s a little too big, and therefore bunches along the sides and bottom. You can’t really see it in these photos, but I worry that it will make the bag a little more cumbersome to use than it really should be.
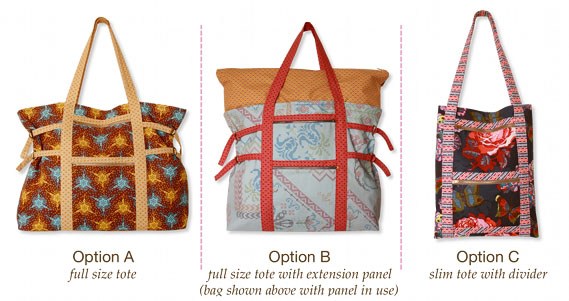
Overall though, I do really like the pattern and will definitely use it again. This “slim tote” option would work really well as a laptop tote if it were slightly wider (this one is 13.5″), and making that modification would be pretty simple now that I’ve gone through the process once.
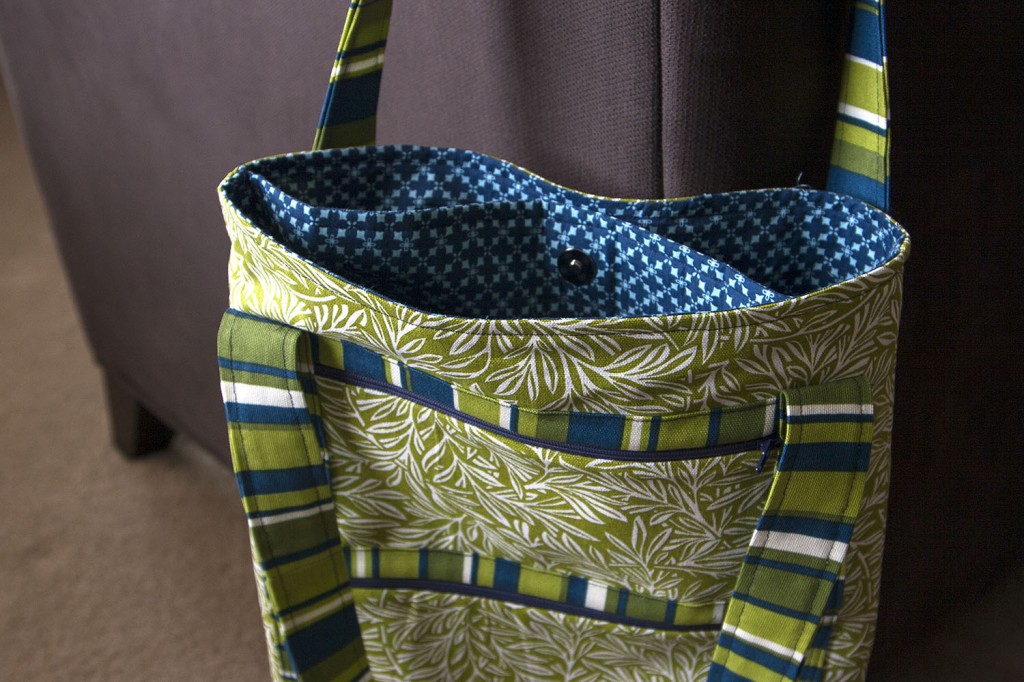
When I get around to that, here’s what I’ll change:
First and foremost, next time I’ll be very careful about the relative sizes of the outer bag vs. the liner. (You can see in the photo above how the divider is curved because it’s slightly too wide for the bag.) The pattern calls for cutting all the pieces to the exact same size, but given the way this one turned out, I think the lining may need to be shrunk. Not by much — I’m talking just 1/2 inch at most on all sides, maybe even just 1/4. I may have been able to avoid the “too big lining” issue if I had compared outer and lining sizes before putting them together, and perhaps trimming the lining seams pretty narrow. But I’m not sure if that would have been enough.
(I read several reviews of this pattern on blogs, but they were all for Option A and Option B. I do wonder if others have had this issue with Option C or if I did something wrong? I thought I was very careful to use proper seam allowances, but maybe I missed something.)
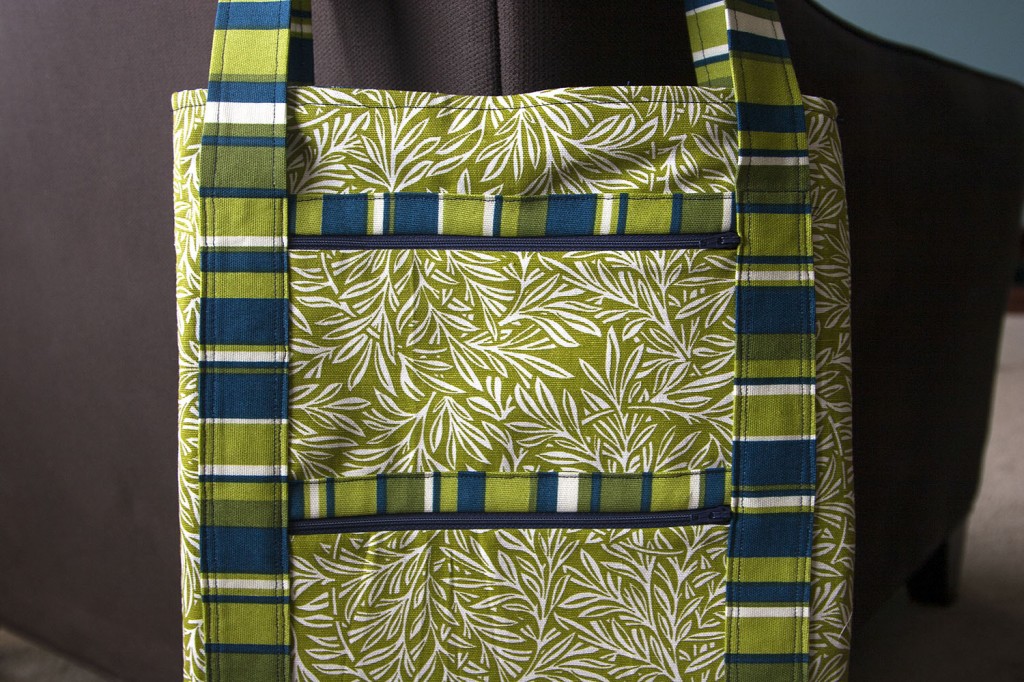
Use a lighter weight cotton, and rely on the interfacing (which the patterns directs you to use) to stiffen it up. With the heavier home decor cotton I used for this one, I really could have just skipped the interfacing on the outer bag. It didn’t need it. (I also used home decor cotton for the straps also, but I might stick with that since straps get a lot of wear and tear.)
Another option next time around would be to leave the divider out entirely. My mental image of a laptop tote has a divider, but depending on the intended purpose, another version might not need one. As an added bonus, no divider would simplify the construction quite a bit!




 #saroy1sec #1secondev

