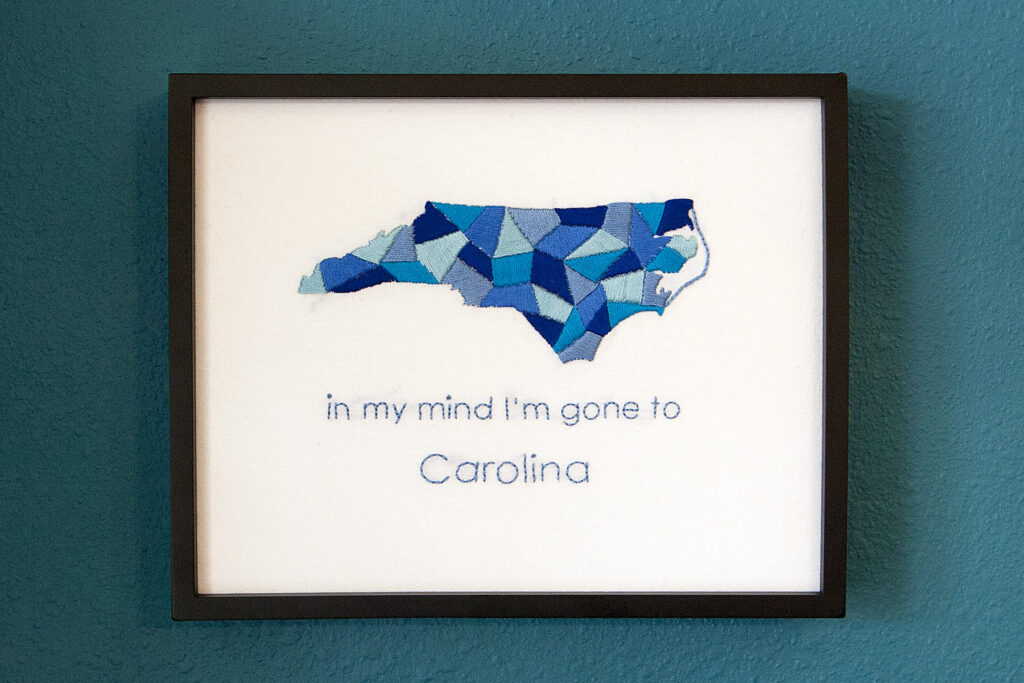
After learning basic embroidery skills from my friend Rachel last fall, I quickly came up with a fun project of my own to put those skills to good use — but then had to put the idea on hold while I worked feverishly to finish Emma’s cross stitch stocking by Christmas. With that out of the way, I finally got to make my idea a reality! I’m calling this piece “Gone to Carolina” for obvious reasons. As the final part of my 2013 “make stuff” promise to five Facebook commenters, it was made with my sister in mind — a little piece of North Carolina since she lives way out in Seattle.
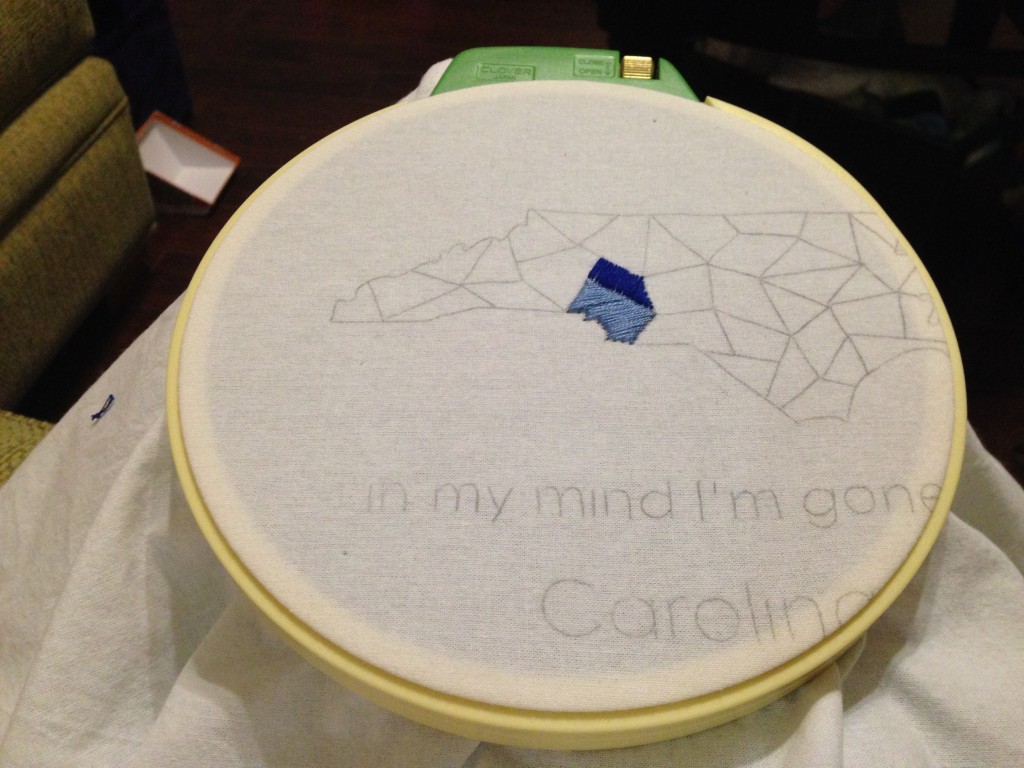
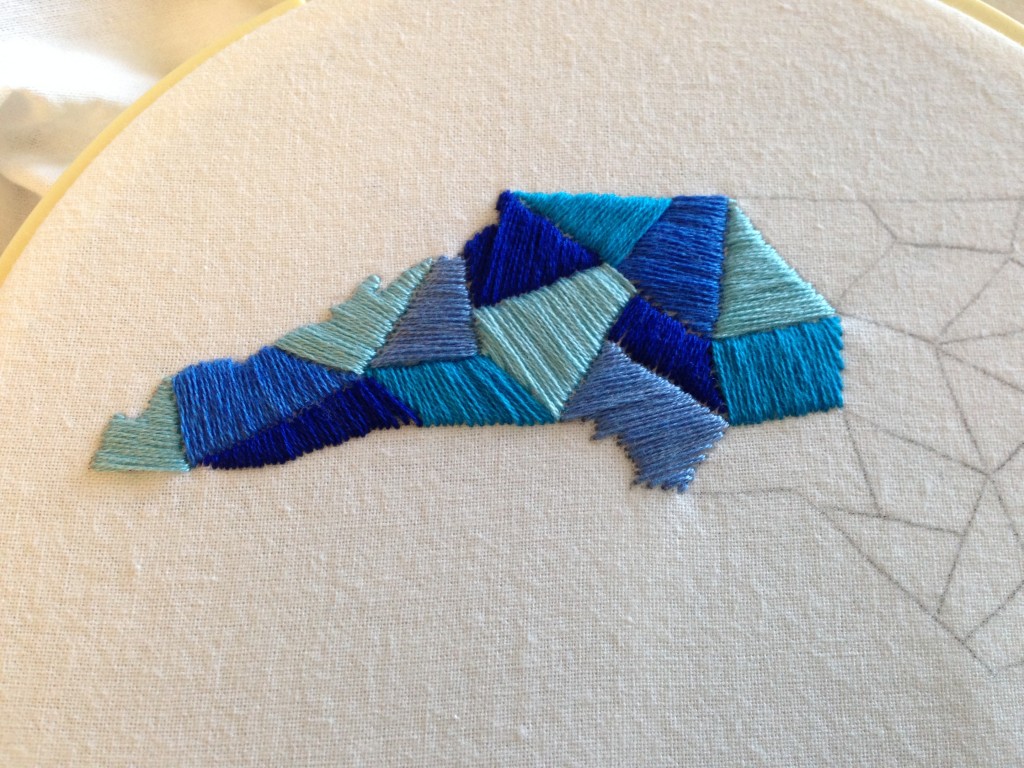
I had originally planned to make this super duper simple with just the state outline. But after being inspired by several examples of lovely satin stitching (like this, this and this), I realized that technique would work really well on this piece — especially in shades of blue including, of course, Carolina blue. I found a decent image of the state outline and imported that into Adobe Illustrator. I added the text to that file (and for those who might not recognize the words, it’s a James Taylor lyric) and drew all the little lines to break the state up into fragments. (I considered using an NC county map, but the state has 100 counties and I decided that would just be too many small areas to stitch.) Then I printed out my design and transferred it to the fabric using some embroidery transfer paper, which is basically the same thing as old school carbon paper.
For anyone who might ever be interested in using my “pattern,” the PDF is right here: Sarah’s Gone to Carolina embroidery pattern.
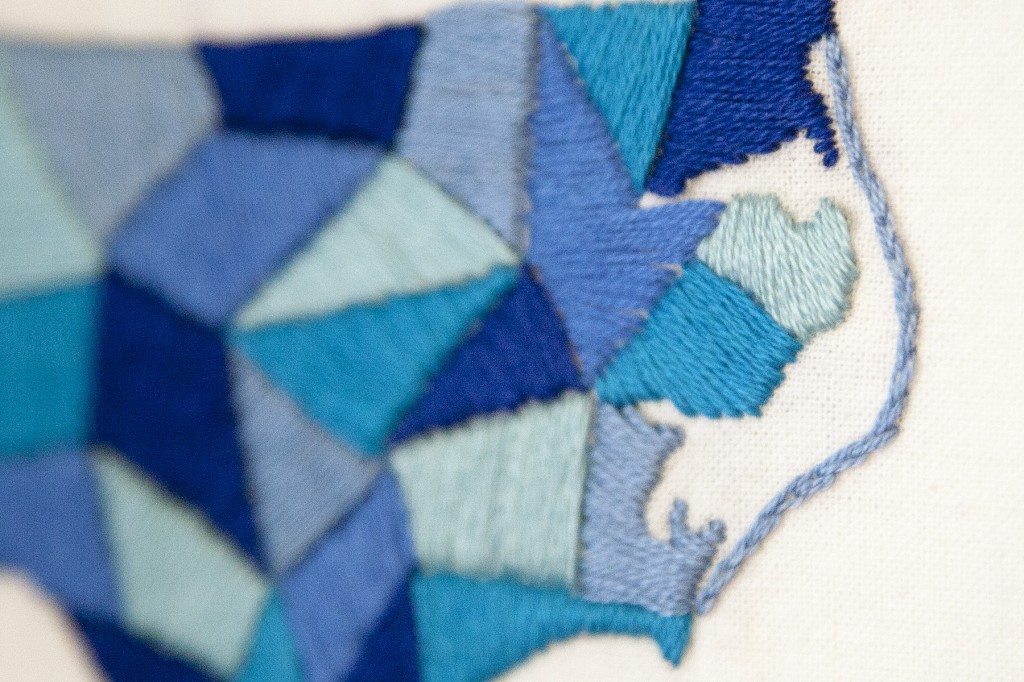
One important thing to note is that after all my lines were drawn, the maximum number of segments that touched anywhere was 5. This meant I needed to use at least 5 different colors of floss or else I’d end up with segments of the same color touching each other (which I didn’t want). I didn’t actually realize this before I started stitching so the fact that I used 5 colors from the start was just a happy coincidence — but also a good lesson learned for the future if/when I use this technique again.
For the general shape of the outer banks, I used a split stitch. The text is done with a simple backstitch (and a french knot to dot each “i”).
To frame the finish piece, I used this Posie Gets Cozy tutorial and a frame from Michael’s. Once mounted on foam core board, the piece had a lot more thickness than a photograph so I think you probably have to be a little careful about making sure the frame will fit that thickness. In this case, I never planned to use the glass, so once I took that out I had enough room (although barely).
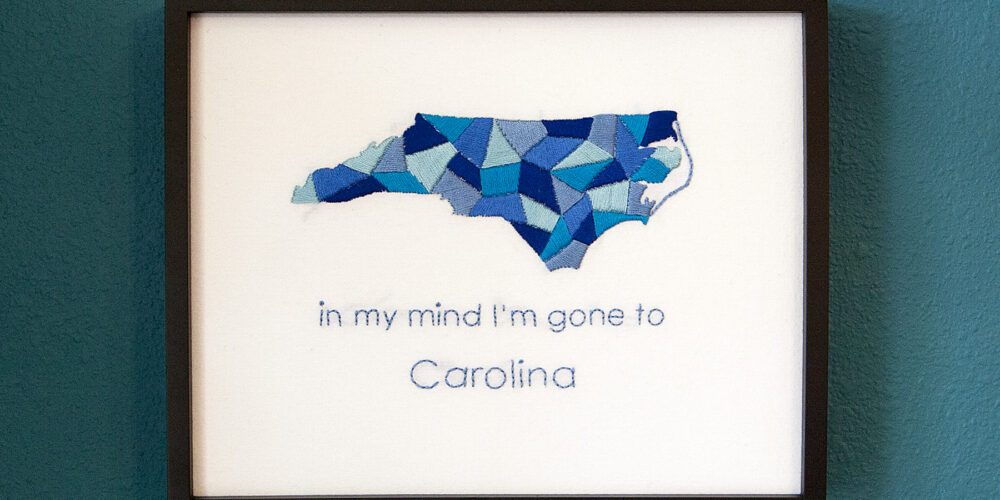
In the end, is it perfect? No way. But do I love it? Yep.


I love it! 🙂