
Two years ago or so, I discovered Young House Love, an awesome home improvement blog maintained by a fun-looking couple in Richmond, VA. Around the same time, I also came across Bower Power, another life/home improvement blog written by a girl who lives just outside Atlanta. A few seasons ago, they started this thing they call the Pinterest challenge and the idea is simple — you’ve got a week to do something, anything, inspired by something you saw on Pinterest. I finally decided to join in for the summer edition with a quick and easy little sewing project!
Source: kelbysews.blogspot.com via Sarah on Pinterest
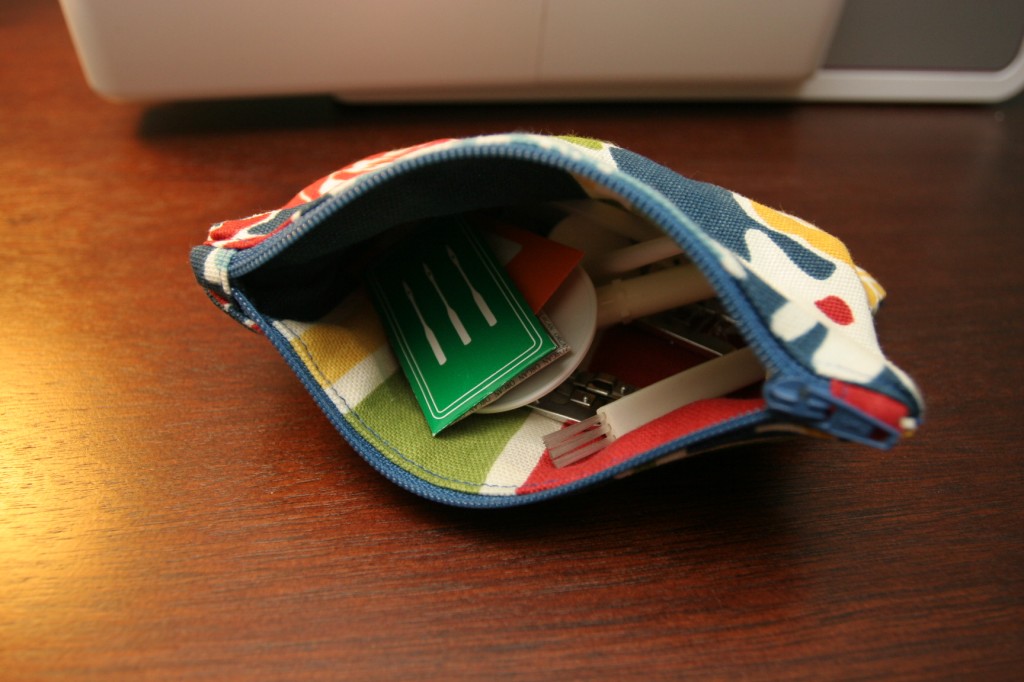
I’ve been needing some kind of pouch to replace the cheap plastic/vinyl pouch that came with my sewing machine. It’s meant to hold all the little bits and bobs — different presser feet, a cleaning brush, spool stops, etc — and can be stored inside a compartment on the machine. But one of the side seams was already coming apart when I opened the box! I just put some tape on it, but yesterday I finally sewed up a cute replacement using the tutorial above from Kelby Sews.
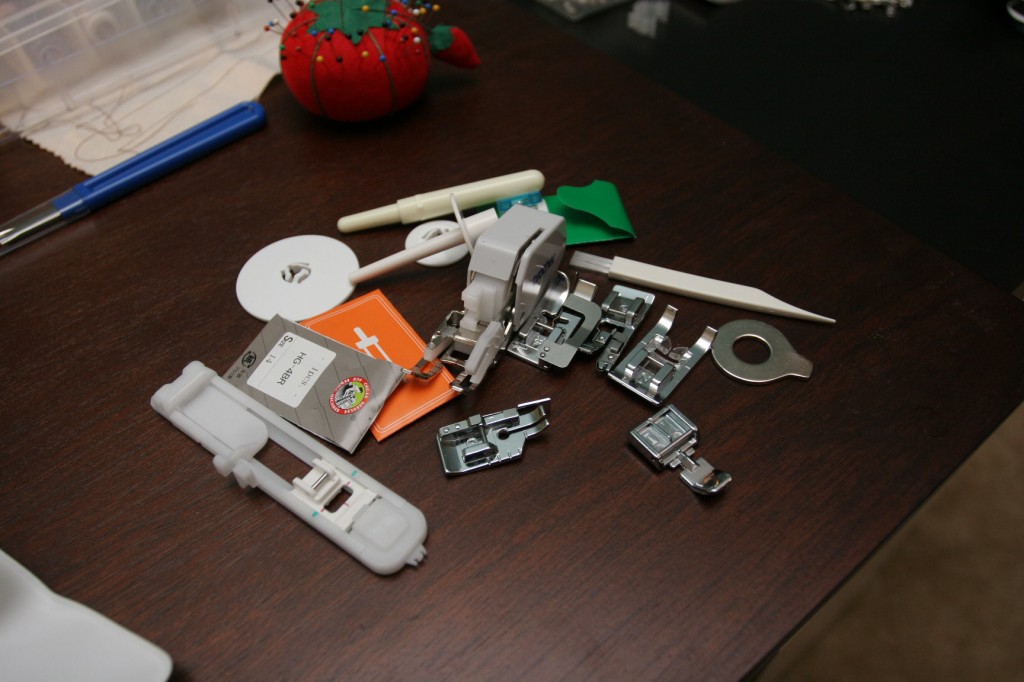
The afore-mentioned bits and bobs in need of a new home
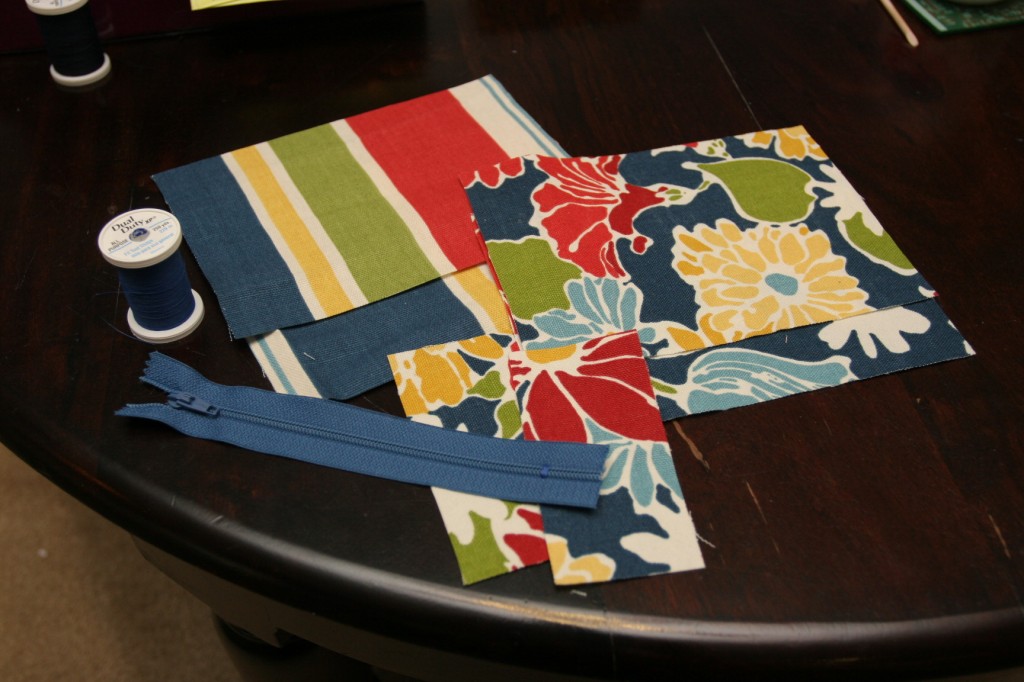
The other neat thing about this project was that I think it may be the first thing I’ve sewed that didn’t necessitate a trip to the craft store! I already had the fabric scraps and plenty of matching thread left over from the shoulder bag I made in a Joann’s class last summer, and I even had a matching zipper lying around.
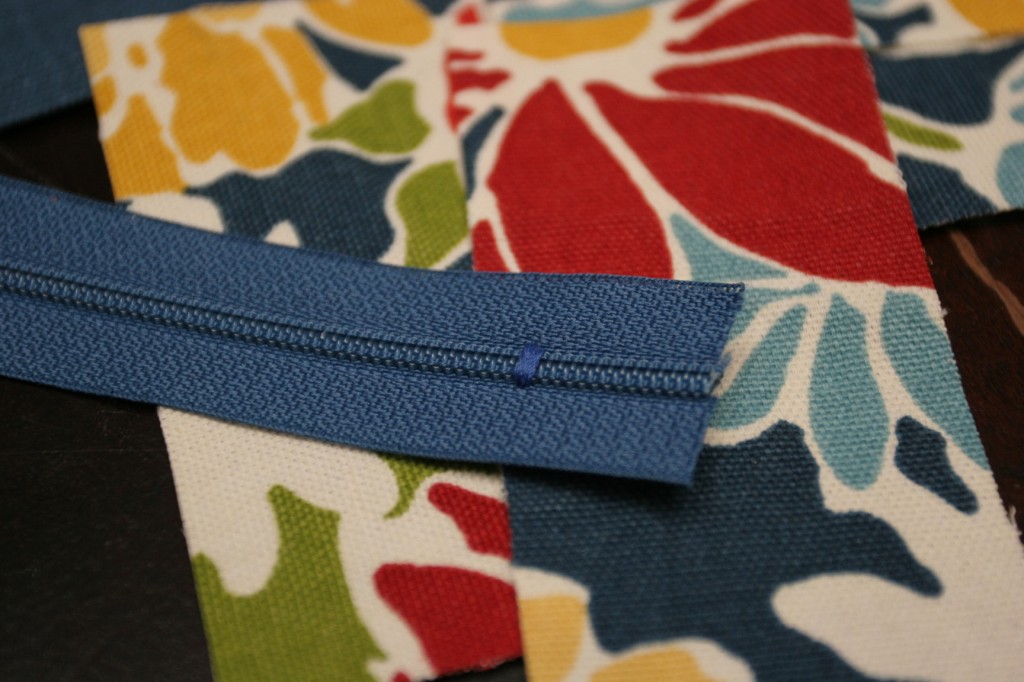
My self-shortened zipper — really easy to do! Just whipstitch a new “stopper” at the bottom!
I made mine slightly smaller than the one in the tutorial to make sure it would fit inside the compartment on my machine, so I cut my exterior and lining pieces to 5″x7″ and shortened a 9″ zipper accordingly to fit — which turned out to be a really easy thing to do. (Good to know for future projects that require a zipper to be a very specific length.)
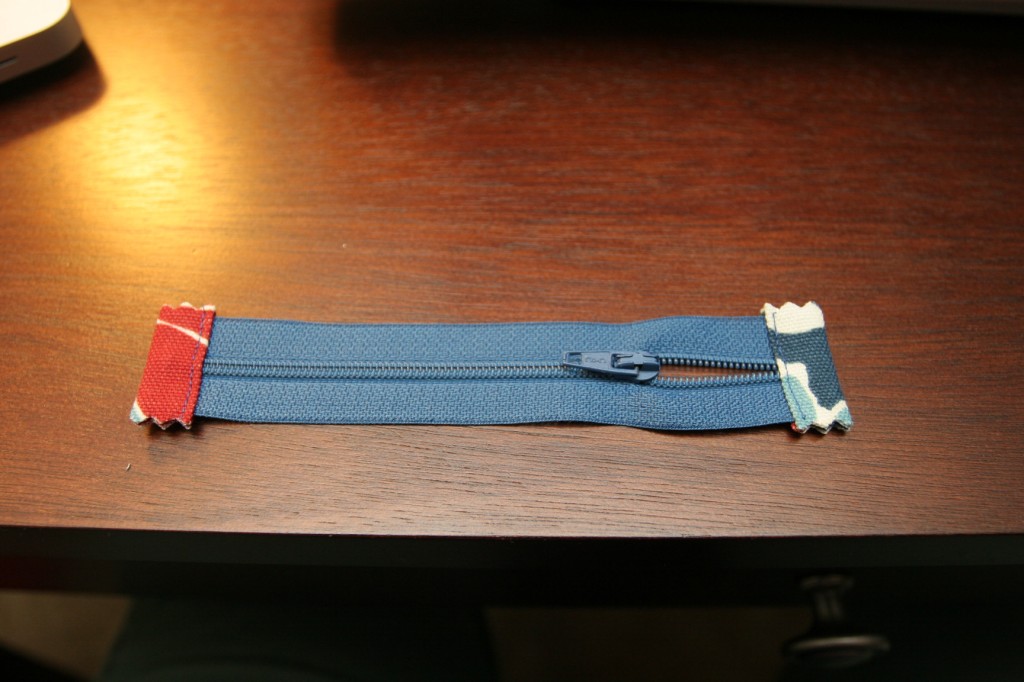
Pretty zipper with finished ends
The key item that really made this pouch tutorial different from several others I’ve seen is that it made the zipper a little prettier by attaching two small bits of fabric to either end. This prevents the small “gapping” that you normally see between where the zipper stops and where the fabric is attached to the zipper tape itself. Those gaps are pretty tiny and I don’t consider them a big deal in most scenarios, but it was still nice to learn a new technique.
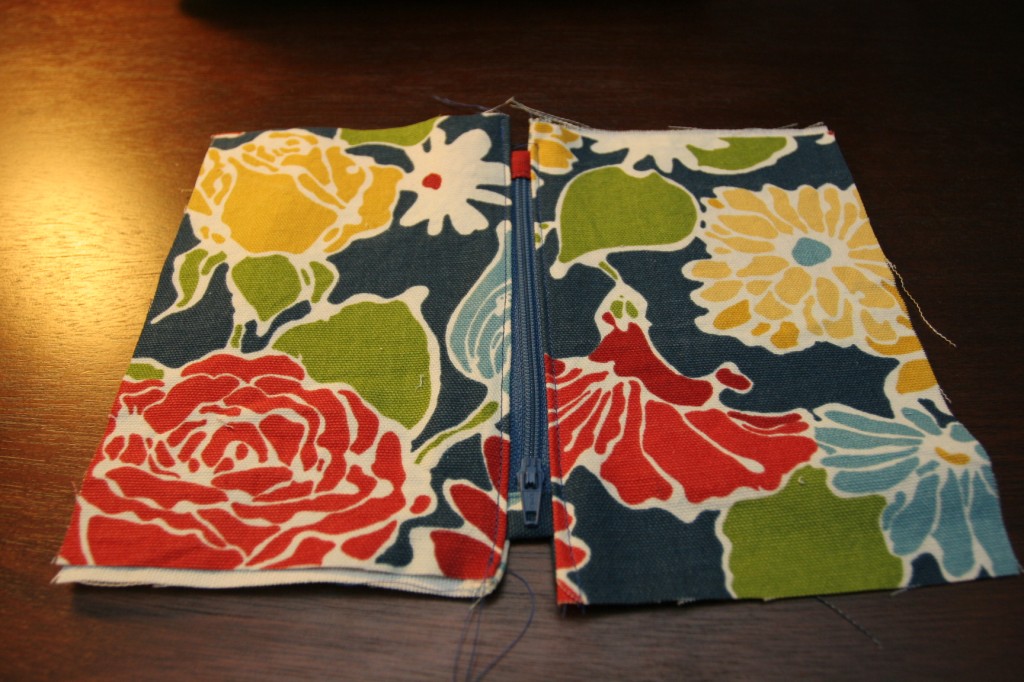
Zipper attached to the exterior and lining fabric on both sides
After the initial step of making a pretty zipper, the rest of the pouch was easy. The exterior and lining fabrics get lined up on both sides of the zipper and sewn to the zipper tape. I also took the tutorial’s advice and top-stitched along each side of the zipper to make things look more finished.
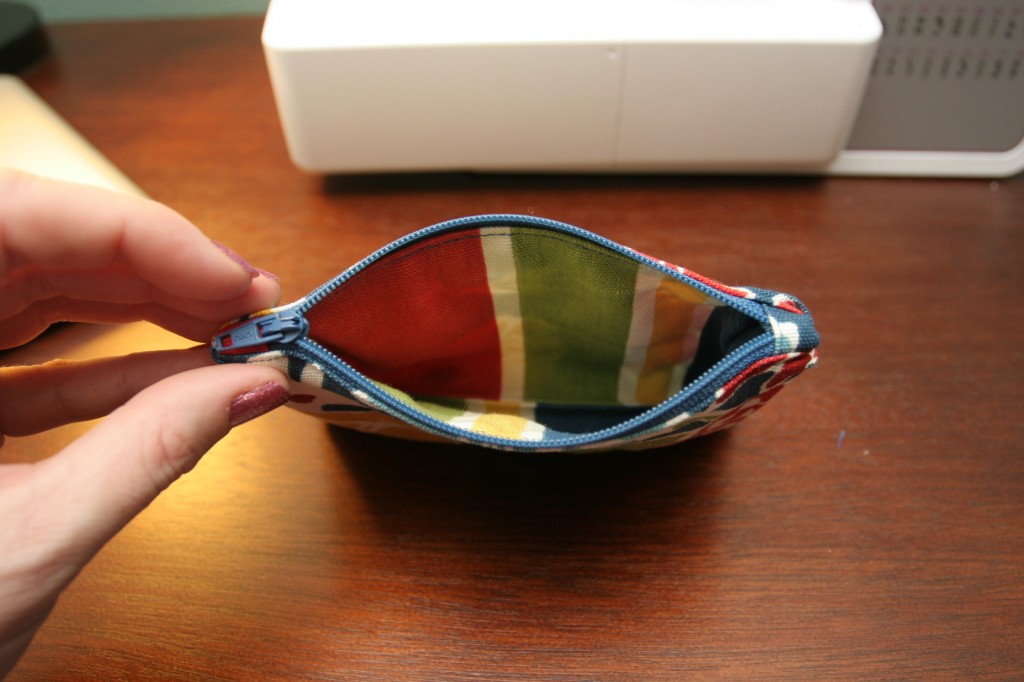
And that was that! Ta da! A finished pouch, and it’s the perfect size to hold all the extra sewing machine parts and equipment.
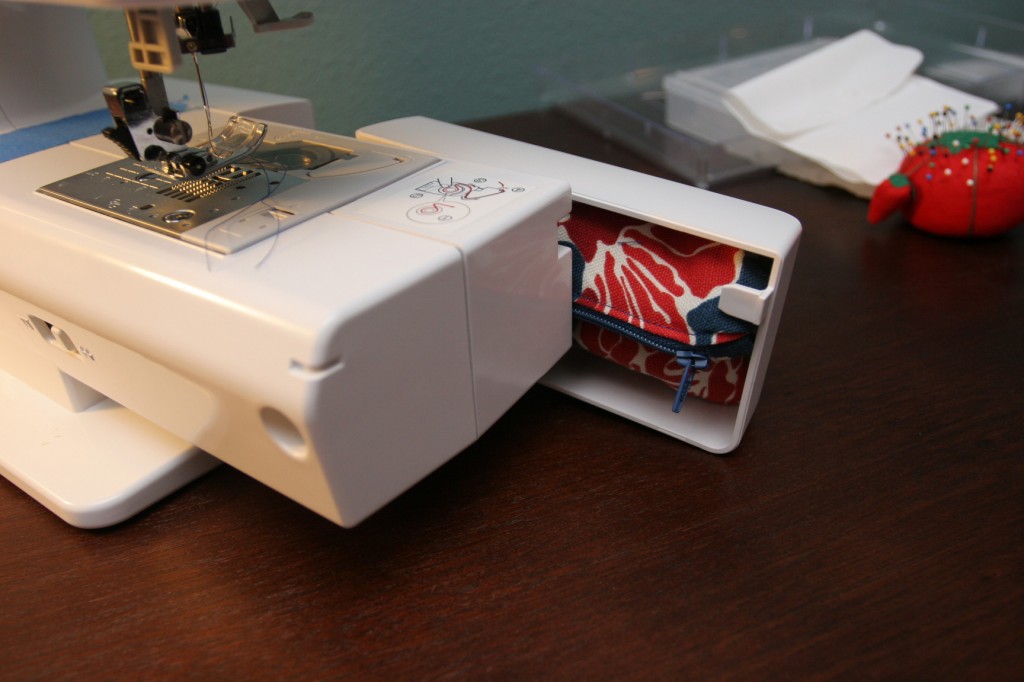
It fits inside the sewing machine compartment perfectly too! Exactly what I wanted. This was the perfect little project to tackle — it took me just over an hour from start to finish. I was pretty sure that making a pouch would be simple, but I’d been putting it off for a while. The Pinterest challenge was a great excuse to finally get it done!




 #saroy1sec #1secondev
Too cute- I love that fabric! The covered zippers definitely make it especially professional and finished looking :).
Ha! I just finished reading Young House Love’s post about this, then went to your blog & saw this. Too funny! I need to take on one of these challenges. I’ve been itching to do something creative from pinterest (besides cooking recipes I’ve found). I can’t even remember the last time I painted something just for fun.
Following your posts always inspire me to sew, but I don’t have a sewing machine. May have to change that later this year when I can free up some money. I used to LOVE quilting.