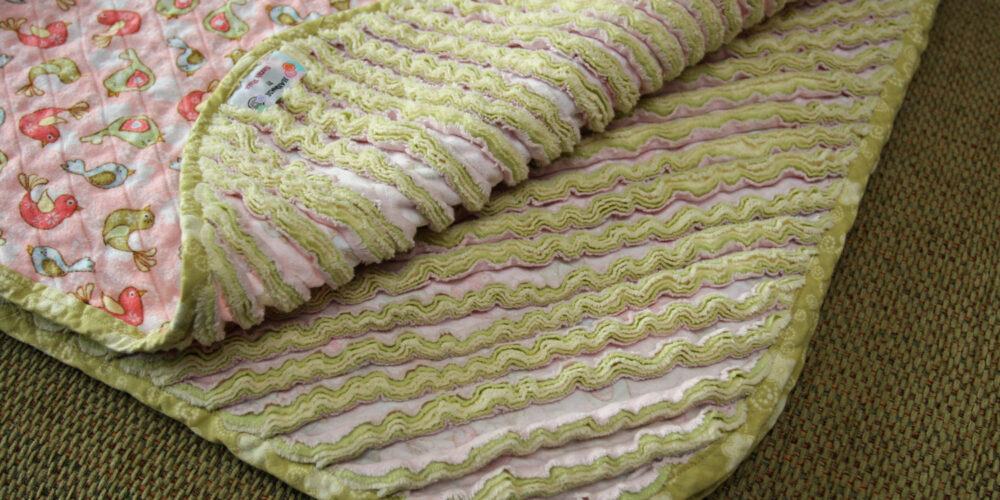
I know about a zillion people having babies right now. For my friend Kelly — who’s having a girl and is due in less than 2 weeks! — I decided to do something slightly different so I made little Kaylynne a faux chenille blanket.

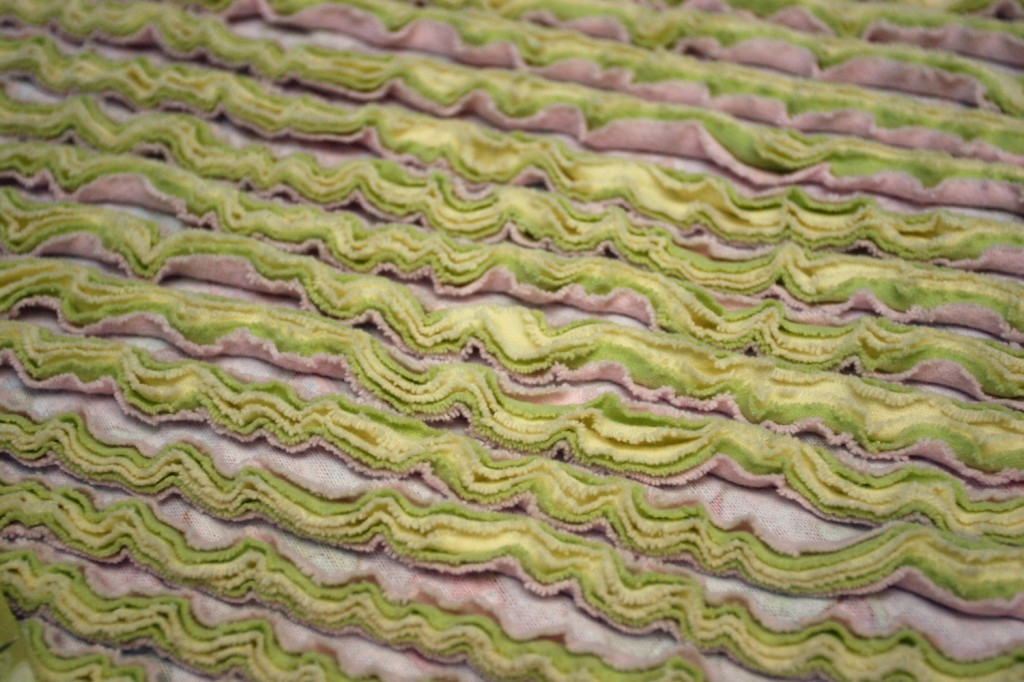
Smooth on one side, ruffly on the back!
I first saw this idea when I was browsing Made. She has all sorts of awesome projects and tutorials, and this one looked cute, quick, and easy. As I was to discover, it was cute and it was pretty easy — but it definitely wasn’t quick! This took me nearly as much time as the other baby quilts I’ve made. There’s a lot less cutting involved, but there’s still a ton of sewing.
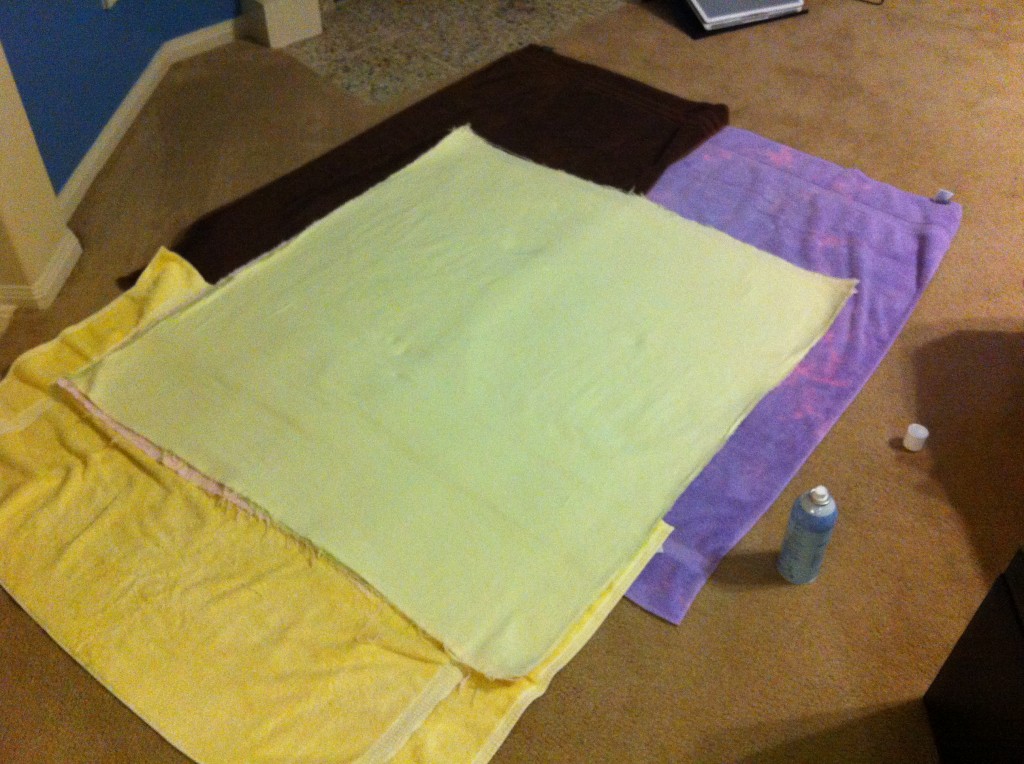
So. I chose a pink flannel with birds on it for the front of the blanket — which is the only part that’s worth buying a print for, since the back gets all cut apart to make the “chenille.” I went with coordinating yellow, pink, and green flannel for the layers underneath, and used my trusty basting spray to stick them all together. I knew I’d be doing a LOT of stitching, and I didn’t want the layers to shift so I actually pinned the layers together too after spray basting as a backup. (You may remember I had huge headaches with keeping the layers together on Erin’s zig zag quilt until I discovered basting spray.)
I chose flannels because I thought they’d fray better and make a softer finished product. I’m curious to try another blanket just to see how well this would work with quilting cotton, since many of the tutorials I came across used that. There’s a much better selection of prints and colors in quilting cotton, but if the blanket is for a baby or if you just want baby colors (pastels, etc), there’s a pretty good selection of flannels too.

From there, it was time to start sewing. It’s very important to sew on the bias of the fabric for this blanket — otherwise the back won’t fray properly once you cut everything. To get started, I used a yard stick to draw a line from corner to corner with a disappearing ink pen. After that, I started eyeballing things and my parallel lines started to become a lot less parallel! I ended up drawing a line every 4-5 inches and eyeballing between each one to keep me on track. If I were doing it again, I would probably try to sew the lines even closer together — like the 1/2-inch the tutorial suggests instead of 3/4-inch like I did. I think this would make the back look even thicker and plusher.
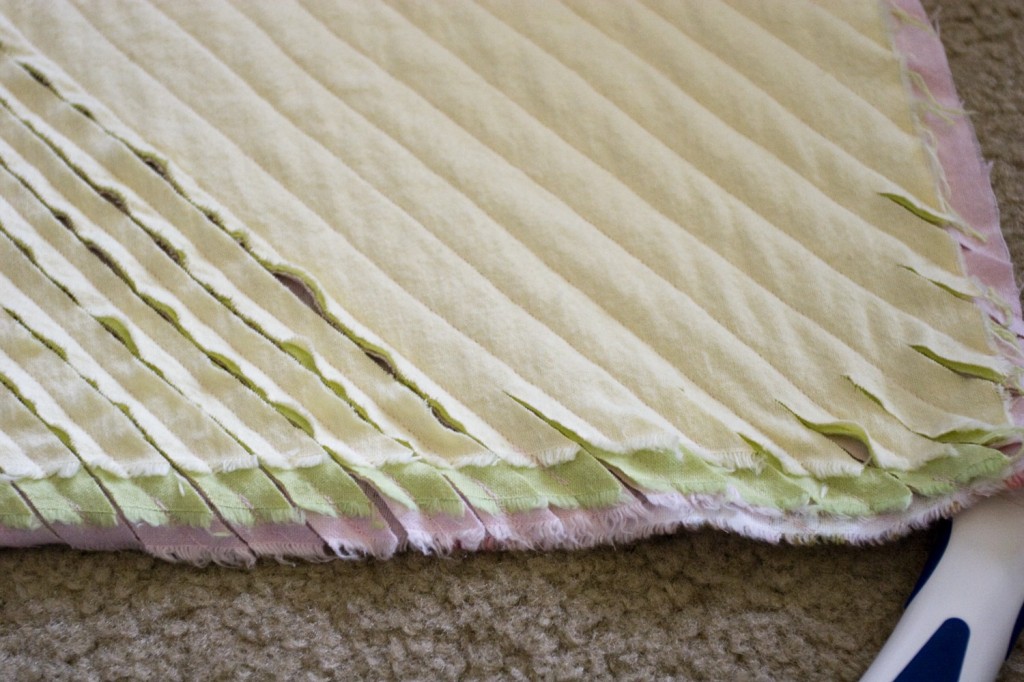
After all the sewing was done, it was finally time to cut. I invested in a special tool just for cutting things like this and I think it was definitely worth it. It made the cutting part go a lot faster than it would have if I’d used scissors, and I didn’t have to worry about accidentally cutting through the bird fabric on the front.
On the morning of Kelly’s baby shower, I’d finished all the cutting but hadn’t had time to attach the binding. I wanted to at least give her the blanket at the shower so she could see it before taking it back to add the binding, and I decided to go ahead and wash it — and thus get the back to start fraying — so she could get the full effect. This, in retrospect, was not the greatest idea!
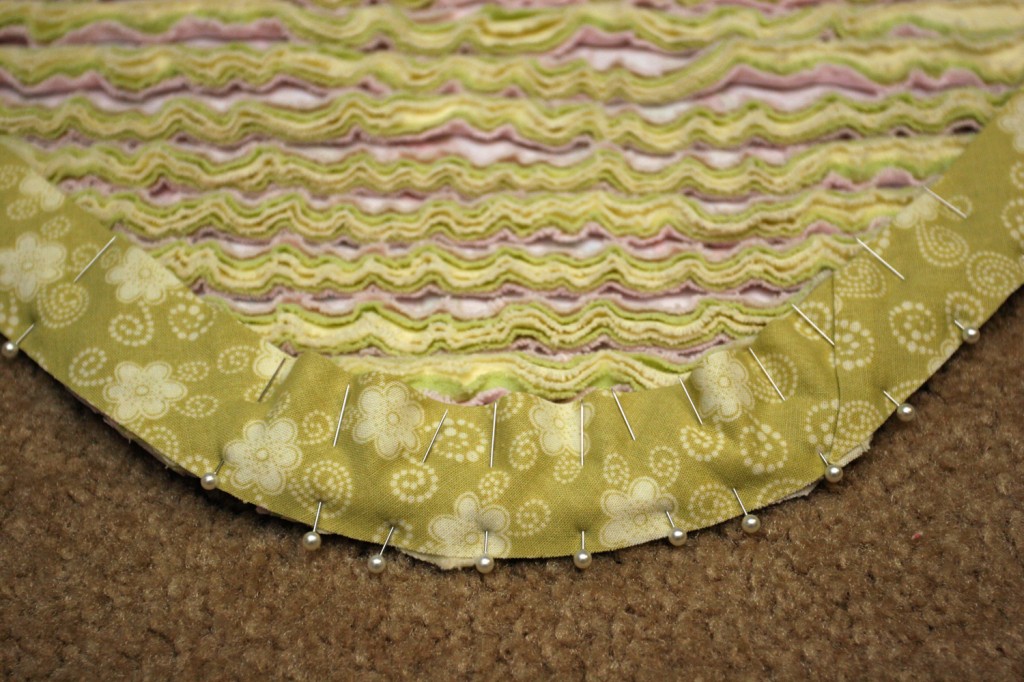
See, it would have been easier to attach the binding pre-washing, when the fabric was still laying fairly flat on the back. With everything all ruffly, I had to do a lot of pinching and smoothing to get the binding attached without too many lumps. I also rounded the corners, and I liked the end result a lot. It definitely gave the blanket one more element of babyness to it.
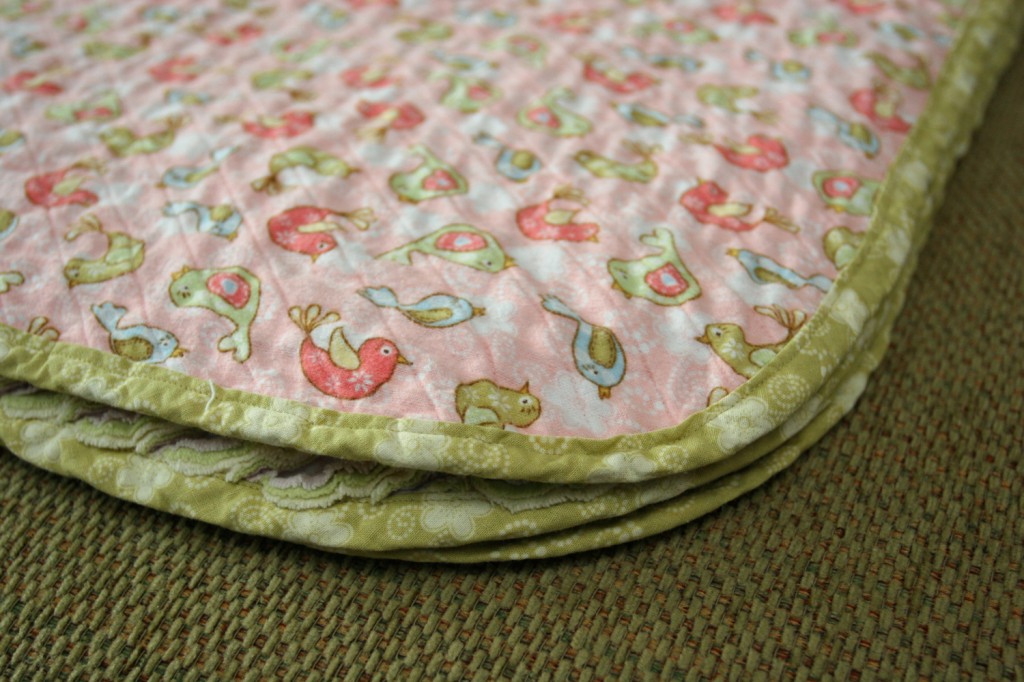
Finish blanket with binding and cute rounded corners

And…done! Ta da! My third baby quilt/blanket this year, and I’ve got at least 3 more on my to-do list — including one for my own baby — before the year is through!



[…] realized the other day as I was finishing up Kaylynne’s baby blanket that it’s been a whole year since I took my first sewing class last July. As a kid, I loved […]