After delving into the world of quilting with the patchwork quilt I made for Isla, I was excited to try another one — and fortunately I know a lot of people having babies right now. My friend and coworker Erin is due at the end of April so I decided my second quilt would be for their baby boy. They’re doing a space theme in the nursery, so I was also excited to use some spacey fabrics. I found a great rocket print for sale at Purl Soho (it was a Birch Fabrics design) and decided to use that and do a version of this zig zag design that I saw on purlbee.com. I thought this looked like a nice step up from the patchwork I did the first time around, and it was — but there were also a lot of challenges in this one!
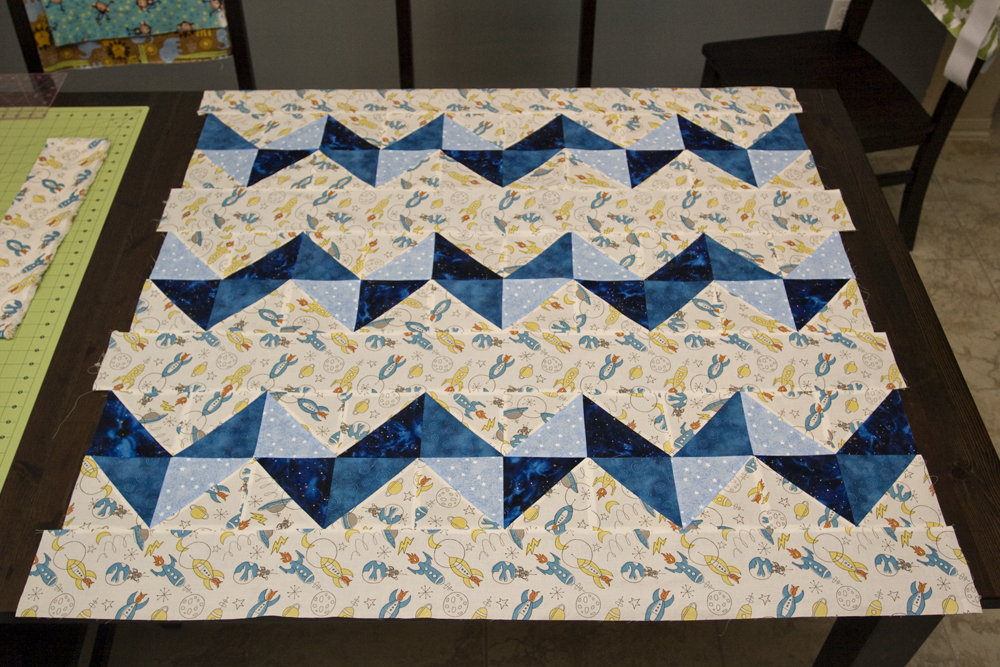
I had to make half square triangles for the first time, and that part was pretty easy — but then it was time to actually line them up to make the zig zag pattern. I had to be VERY careful when pinning things together to make sure all the seams lined up more-or-less correctly. (And I again wondered whether it’s a good idea for a perfectionist engineer to take up sewing…)
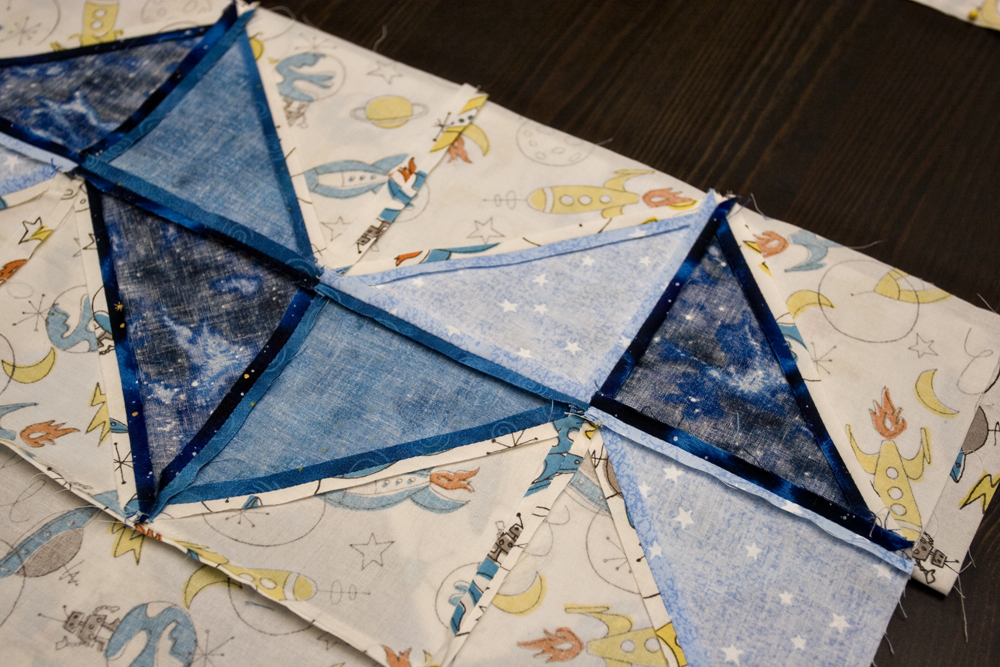
View of the back. There were a LOT of tiny seams to iron open.
However, my efforts paid off, and when I finished the front I was very happy with how well everything lined up!
But then it was once again time to actually quilt the quilt — and this part nearly drove me crazy. (It didn’t help that I was down to the wire in hopes of getting this done on time to give to Erin at her shower on Saturday, and each mistake cost me more time! I did finish it for the shower, but just barely…and then I ended up taking it back for a day anyway so I could add a label and wash it once.)
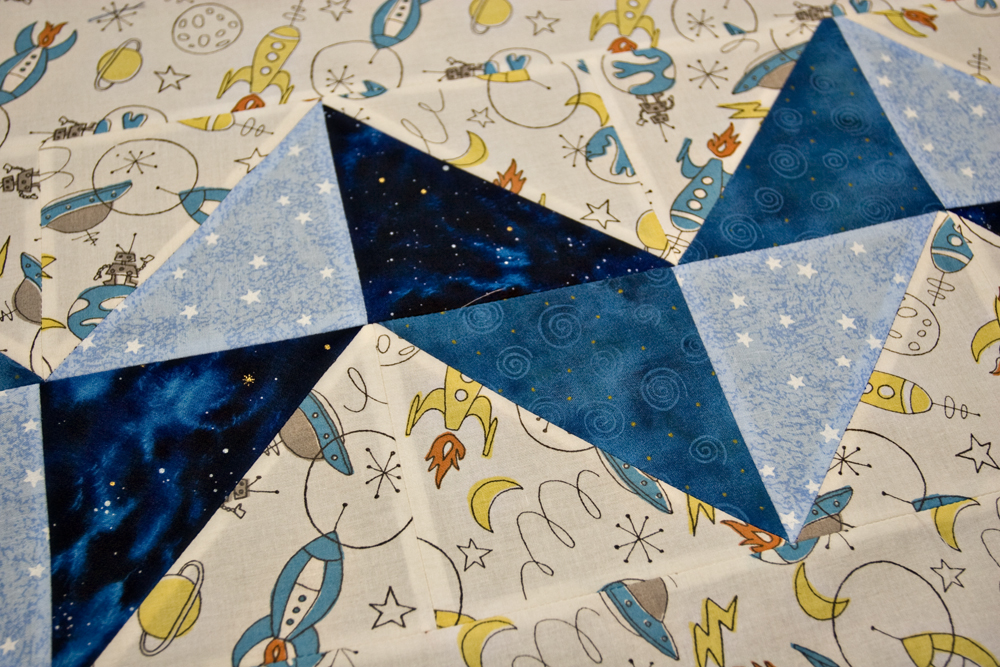
Better view of the fabrics, with 3 blue spacey fabrics from Joann. The binding and back are all the teal fabric.
So anyway, the quilting. It was to be done in a zig zag pattern too, following the lines of the fabric and adding zig zags in the spaces between — so 10 zig zags across the quilt in all. I pinned things together with straight pins and started in the middle like you’re supposed to. But since I had to turn the quilt 90 degrees every few inches to keep following the seams properly, the pins seemed to shift and the backing fabric bunched and puckered. I tried it once, and had to rip out the entire seam. I tried it again, and had to rip out the entire seam AGAIN. At this point, it was about 10:00 on Wednesday night and I decided I needed to call in the big guns: basting spray adhesive.

Attempt to show the quilting pattern.
I stopped by Joann’s on Friday after work and picked up 1) a can of basting spray, 2) a huge box of safety pins and 3) spring clips. I hoped that one of those would work, and I actually ended up using all three to properly quilt this baby. First, Jose helped me stick the quilt sandwich together using the spray adhesive (which disintegrates when you wash the quilt). Then I went over the whole thing with about 40 safety pins just as a backup, since they can’t move around like the straight pins did. THEN I used the spring clips to roll up portions of the quilt to keep it out of the way while I was working on a different part. Failure was not an option this time…and I’m happy to report that my third attempt at quilting was successful! Hooray!
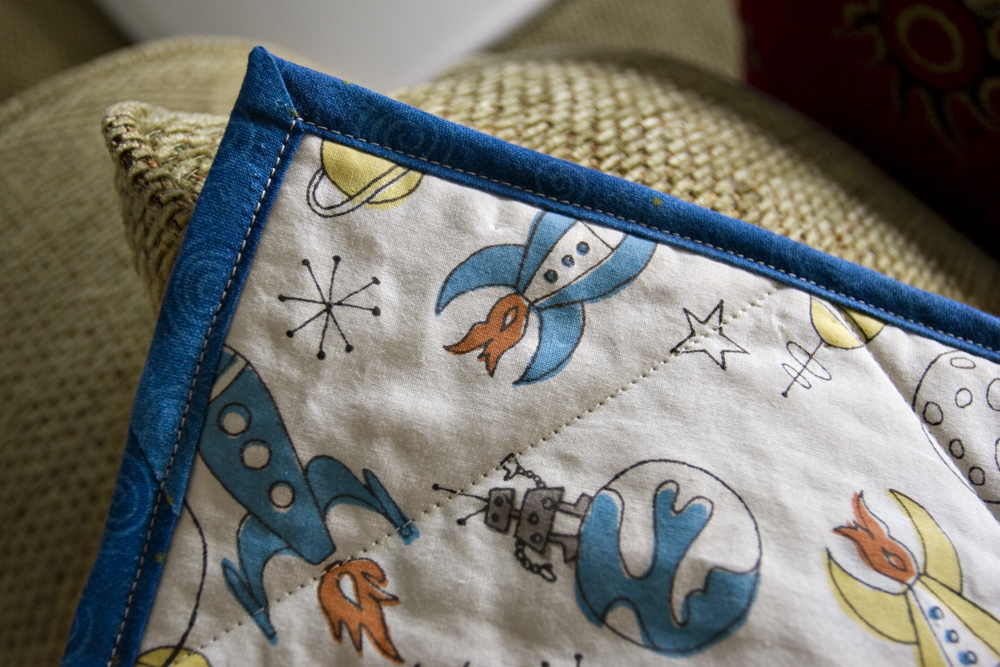
One of the spots where the binding actually looked pretty good.
The last step, of course, was the binding and yet again, it threatened to ruin an otherwise pretty nice looking quilt. I think I just need more practice making and attaching the binding, because just like last time, the lines were a bit crooked and wonky. I did learn one important thing: I should start by attaching the binding to the back of the quilt instead of the front. That way, the final sewing will be done from the front and I can make sure the front looks good even if the back turns out weird.
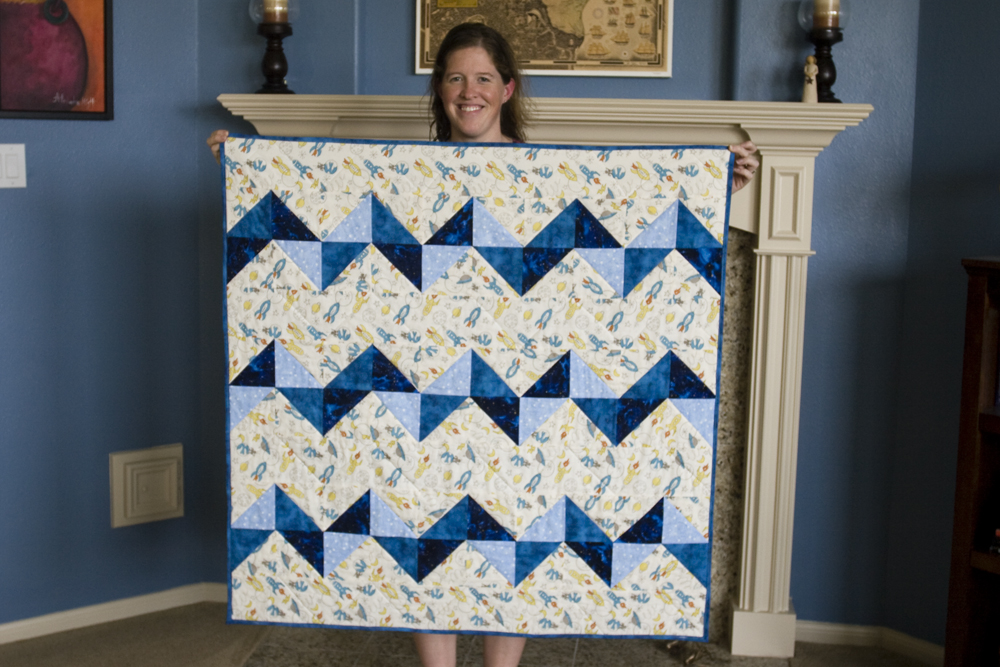
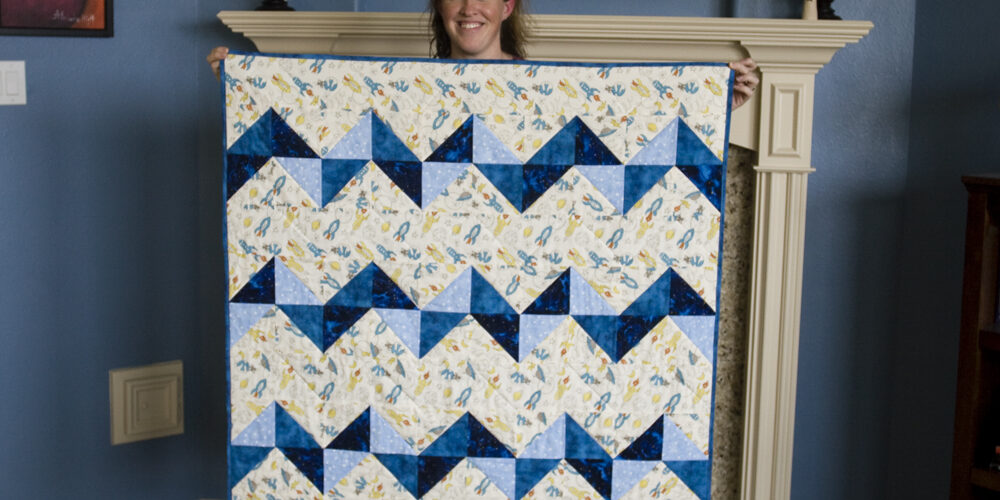
Ta da! The finish product. (Please ignore my messy wet hair.) Overall, I’m pretty proud of how this one turned out, especially considering the challenges I had while making it. I’m excited to try a third quilt sometime soon, although next on my list are a couple clothing items I’m hoping to pull off before we go on vacation at the end of the month.



It’s beautiful! I loves your quilting hobby. I bet there are some really cool quilts you can make.
It looks awesome! I am in awe of your sewing abilities!
Ok this is late cuz I just started reading your blog, but I LOVE Keagan’s quilt! And so does he 🙂
What a gorgeous gift! (And we must shop at the same shops. I recognize many of your fabrics. I’d love to see a photo of your stash!)