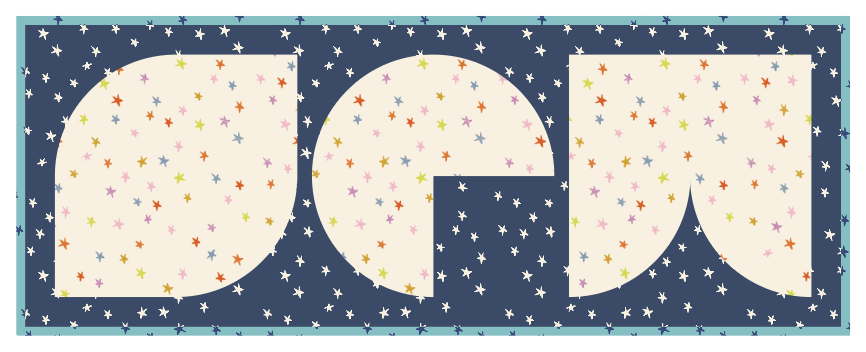
Unleash your creativity and sew a quilt that speaks to you! In this workshop, you’ll practice multiple curved piecing techniques while working on your own unique letter-based quilt design using the blocks in my “Alpha” pattern, which includes different skill-based options for block construction. Beginners will learn how to get started with basic quarter circles, while more experienced quilters will get tips and tricks for full circles and complex curves with partial, tapered ends. Combine techniques and blocks as you wish to make your message come to life in quilt form!

Required Supplies
- Alpha quilt pattern — use coupon code QUILTCON for 50% off
- Fabric — refer to the SEW or QUILTCON planning pages (links below) for fabric requirements for your chosen mini OR bring your own selection based on your own planned design
- Coordinating piecing thread (50 wt or thinner recommended)
- Thin, sharp pins
- Fabric-safe, washable glue stick (Elmer’s school glue sticks are cheap and easy to find)
- Fabric marking tool (such as a Hera marker or chalk pencil)
Class Preparation
Steps 1-3 are the minimum set of template prep and fabric cutting required. Please do at least these 3 steps so that we will be ready to start practicing curved piecing techniques in class.
1. Purchase the Alpha quilt pattern. This is a required purchase for all students. Use coupon code QUILTCON for 50% off. The pattern will be delivered to you as a digital PDF file, and I will have a few printed copies in class to work from.
2. Print Templates A, E, and J. Make sure you are printing at 100% or “Actual Size.”
3. Cut (2) A pieces, (2) E pieces, and (4) J pieces using your printed templates. These will be used for practice and can be cut from scraps.
After this introduction to curved piecing, we will spend the rest of the workshop working on your quilts.
4. Plan your project. I have pre-planned two mini quilt options specifically for our workshop. If you would like to make one (or both!) of these, you can download the planning page here: SEW or QUILTCON.
If you prefer to make your own unique project, plan your project using the planning sheets on pages 16-17 the pattern.

Optional Prep: You are welcome to do more pre-cutting if you choose, or you can wait until class, where I will have acrylic templates available to share. If you choose to pre-cut additional fabric, refer to the pattern for tips and tricks; we will also discuss this in class. You may need to print additional cutting templates, depending on your chosen construction method (option 1 or option 2) and the letter(s) you are making. Refer to the pattern for more details.
Optional Supplies
- Square quilting ruler at least 8.5″ x 8.5″ in size for trimming blocks
- Printed templates for the letter(s) you plan to make
- Acrylic template set (available for purchase from Cut Once Quilts)
- Small scissors for thread trimming
Additional Supply Info
These supplies will be available in the classroom. You do not need to bring your own.
- Various sized quilting rulers
- Rotary cutters and cutting mats
- Irons and pressing mats
