
After making and gifting this cute purse to my niece for Christmas last year, Charlotte requested one for herself. Embarrassingly, it remained on my to-do list for 7+ months — but last weekend when I realized we had blessedly little on the family calendar, I was finally able to dedicate several hours in my sewing room to making her purse.
This is the Little Busy Bag by Rosie Taylor Crafts. The first step — after cutting out all the pieces and fusing the various pieces of interfacing, which takes a while — is to quilt both outer panels and the inner pocket panel. I assembled my quilted panels wrong not once but TWICE, so learn from my mistake and make sure you double check which pieces go in which quilt sandwich!!
The quilted panels give the bag great structure, but be warned that some of the seams are quite thick. I wouldn’t be surprised if some sewing machines have difficulty getting through all the layers, but thankfully my semi-industrial Juki machine can handle it. The most tedious/annoying part of the bag construction (in my opinion) is the final step of stitching the binding to cover the inner seams — but it’s worth it to make the bag look polished.
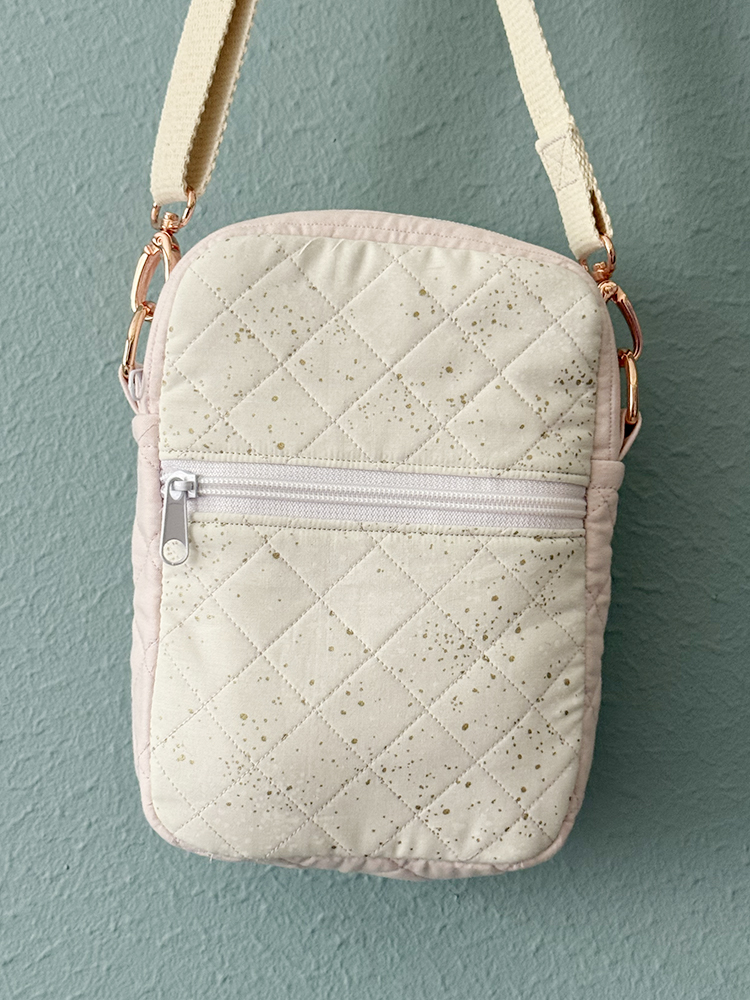
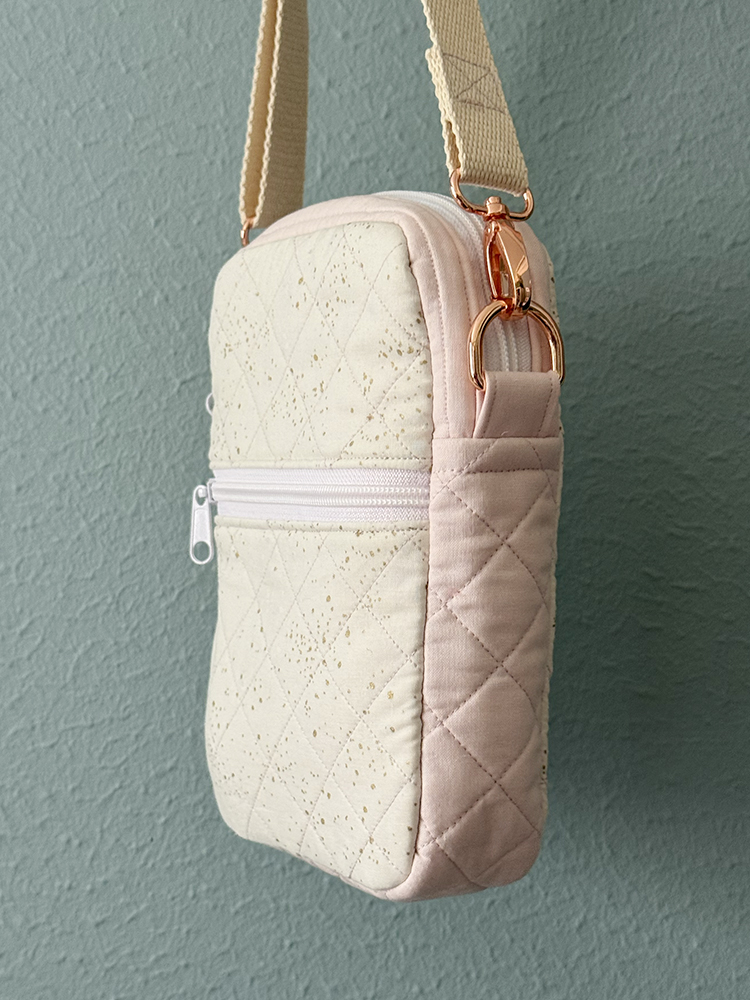
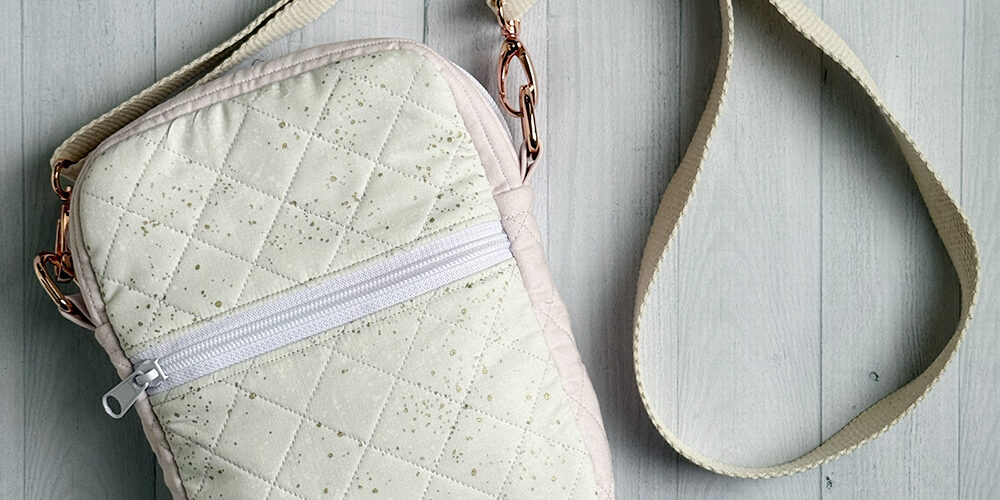
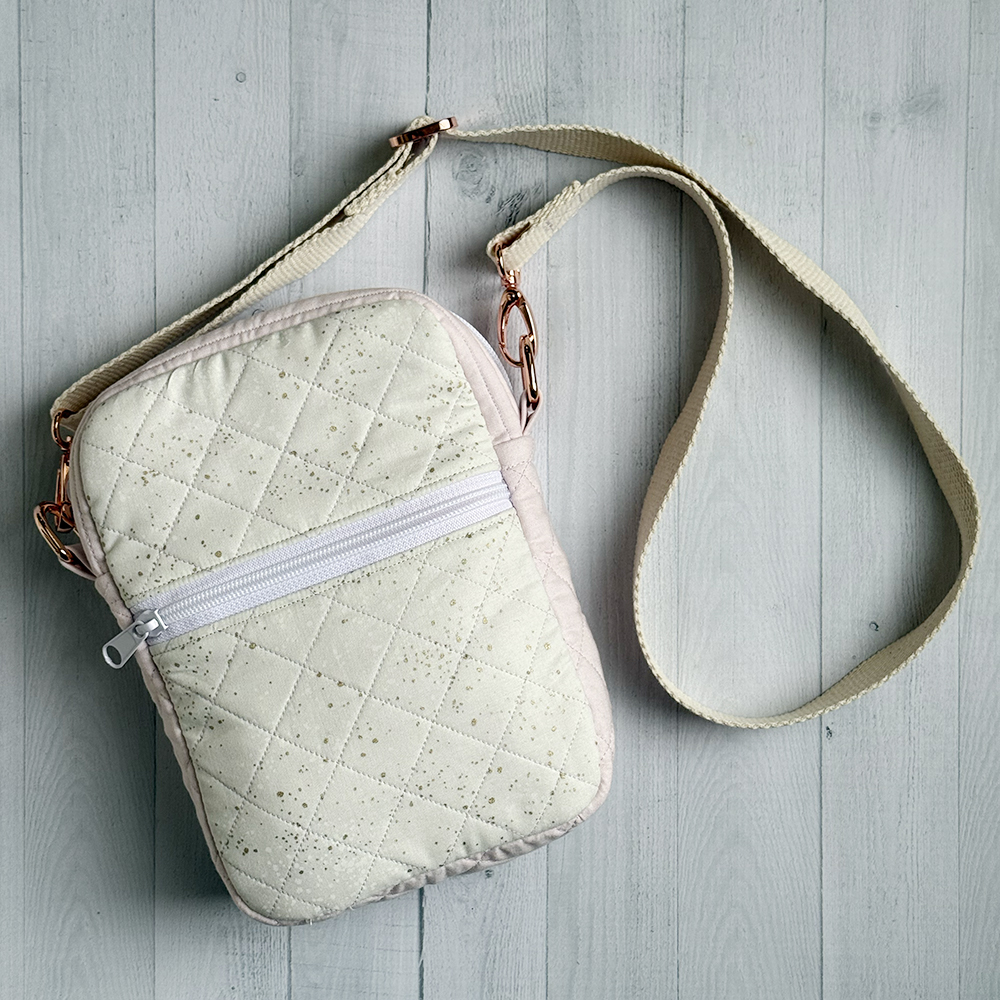
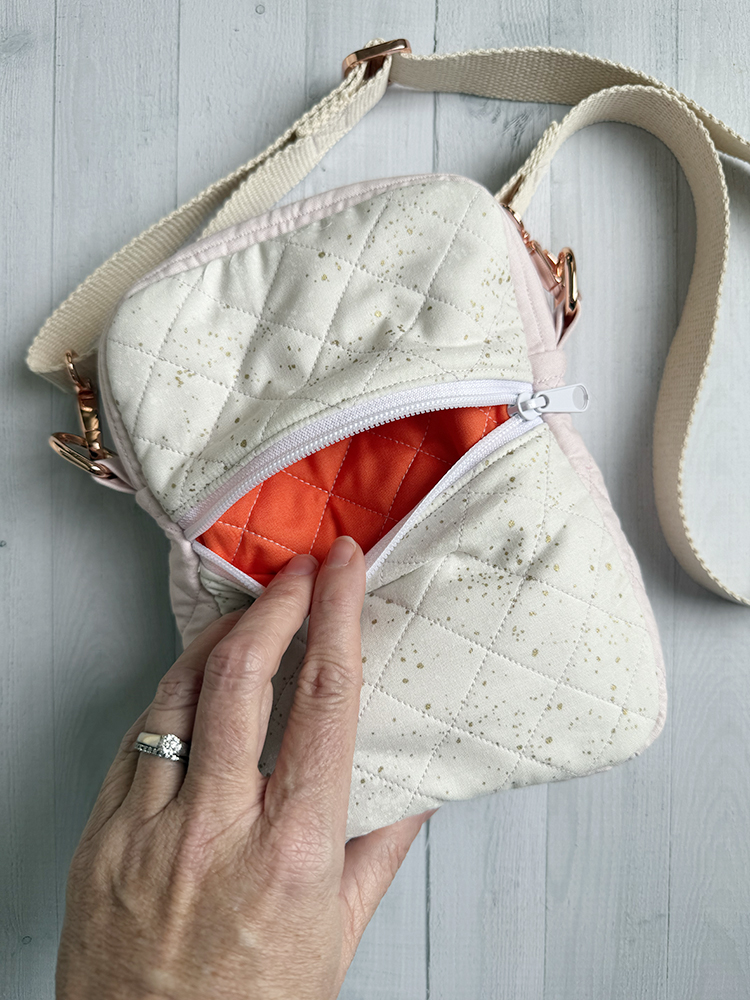
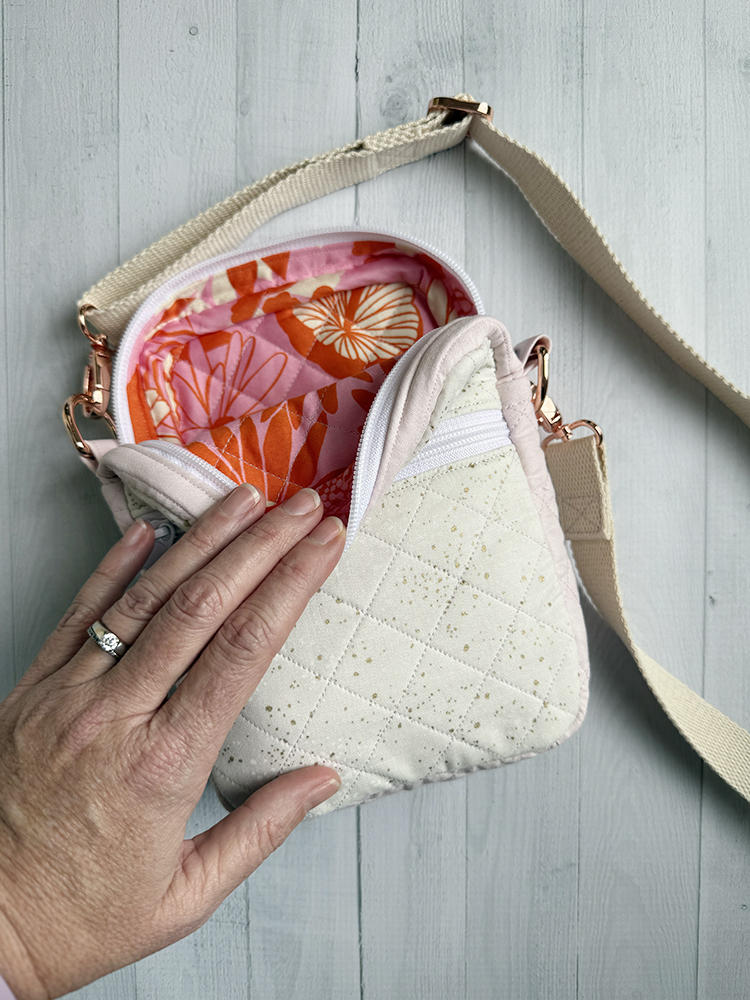
Charlotte picked all of the fabrics from my stash. The main panels are a Ruby Star speckled print, and the gusset is a light pink solid. The pocket is orange solid, and the lining is a pink and orange Ruby Star sateen print. She picked out the rose gold hardware at Lyons Quilting when we stopped there in June during our Colorado vacation. The hardware might be my favorite part! I love the color, and it definitely gives the otherwise understated bag some pop.
I’m happy to report that Charlotte was very pleased with her purse and has already filled it with trinkets!
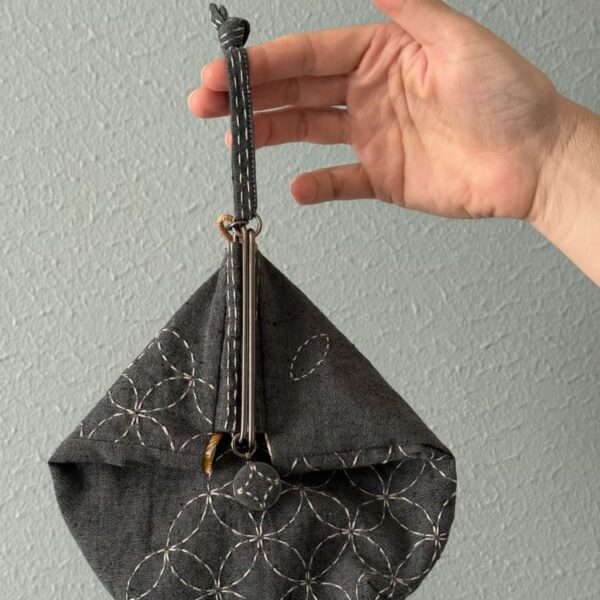

Charlotte has great taste; the rose gold hardware is *chefs kiss*!