While quilting has dominated my creative pursuits over the last decade, I learned how to cross stitch many years before learning to sew — my grandmother taught me the basics when I was around 10 years old! I’ve stitched on and off over the years since, but one of the best things about cross stitch is that it’s very simple. Even if you years between projects, you won’t forget how to do it.
I’ve written this basic cross stitch tutorial to accompany my quilt-inspired cross stitch patterns. If you’ve never tried cross stitch before, I encourage you to give it a go!
- Materials
- How to Read a Cross Stitch Pattern
- Prepare the Fabric and Thread
- How to Cross Stitch
- Tips & Tricks
(This tutorial is also available as a free downloadable PDF.)
Materials
Fabric
Cross stitch is done on fabric with a visible grid, and there are several options. Aida cloth is a common choice and readily available at most local craft stores, and linen is another popular option. The fabric will be labeled with a number such as 14-count, 16-count, or 18-count. This is the number of squares, or stitches, per inch. A larger number indicates more stitches per inch. I’ve been using a lot of 18-count Aida fabric because I prefer smaller stitches and tighter details, but if you’re a beginner, you may want to start with 14-count — with fewer stitches per inch, each stitch is a little larger.
One other thing to keep in mind is that your choice of fabric will determine how large your final design is. The same pattern stitched on 14-count cloth will measure larger than if stitched on 16-count or 18-count.
Note: if you move beyond the basic Aida cloth into linen or other evenweaves, you’ll find that some options are more tightly woven, with more stitches per inch. In these cases you’ll often end up stitching a pattern “over 2” — essentially making, for example, a 28-count fabric into a 14-count fabric.
Hoop
A hoop holds your fabric taut while you stitch, and gives you something your hand can grip. Again there are many options — wooden hoops are common and cheap, though whatever you get you’ll want a high quality item that will be strong and have a smooth finish. Plastic hoops are also widely available. For the last several years, I’ve used a Q-snap frame because it feels good in my hands and I like how easy it is to adjust.
Hoops come in many sizes, but in my experience you’ll want something in the 7-8″ range. Too large and it’ll be awkward to hold; too small and you’ll have to shift the fabric more frequently if you’re working on anything larger than a few inches in size.
Needle
For cross stitch you’ll generally want to use a tapestry needle, which has a large eye and a blunt, rounded tip. They come in different sizes, where larger number = smaller needle. If you are using a lower count fabric such as 14-count Aida, you can use a larger needle, while if you are using a higher count fabric like 18-count Aida or many linens, you’ll want a smaller needle. I often use size 26.
Thread
The standard for cross stitch is 6-strand embroidery floss, which you separate into strands. Most patterns will call for using 2-3 strands at a time, though sometimes you may use a single strand for fine details. DMC is the most well-known brand and their 6-strand floss comes in hundreds of colors, but as with sewing thread there are plenty of other thread manufacturers. Aurifil makes a nice 6-strand floss that comes in the same color range as their standard sewing thread. As with sewing fabric and threads, I do recommend purchasing a higher quality thread — you’ll get what you pay for.
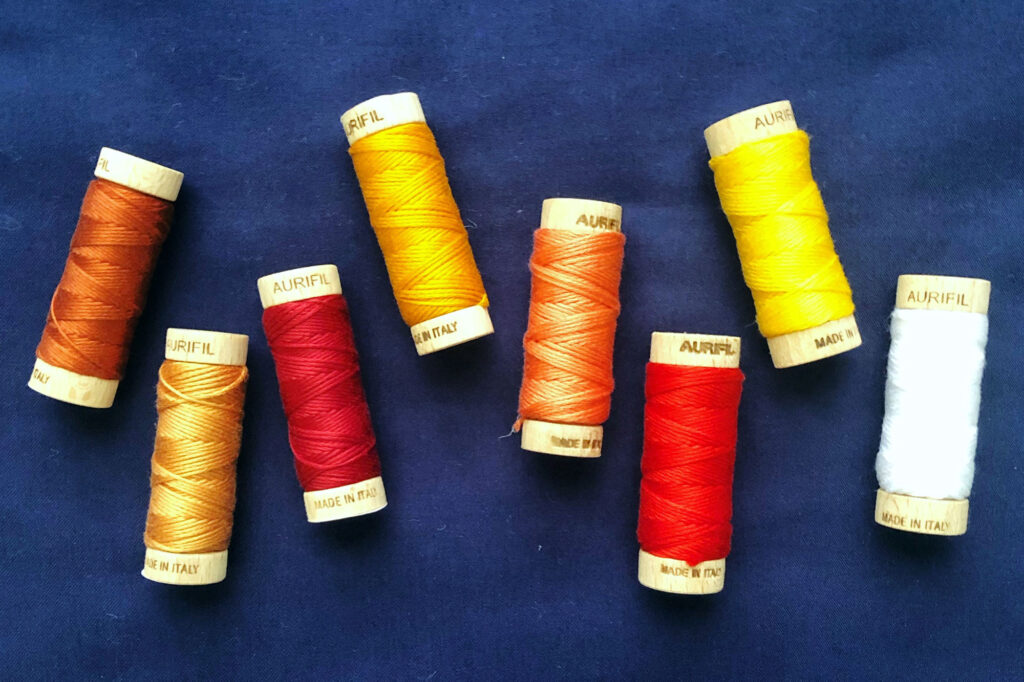
Another option I love, particularly when using more tightly woven fabrics, is 12 wt thread which is similar in thickness to 2 strands of embroidery floss. I have many spools of Aurifil 12 wt thread in various colors for quilting, and I’ve found that it works great on 18-count Aida.
(For reference, I’ve also found that 28 wt thread is similar in weight to a single strand of embroidery floss!)
Pattern
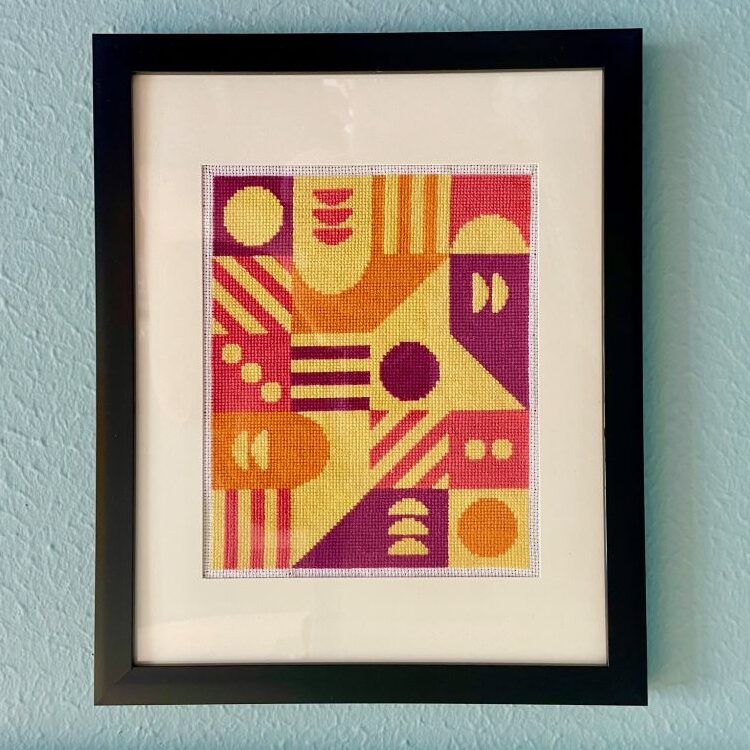
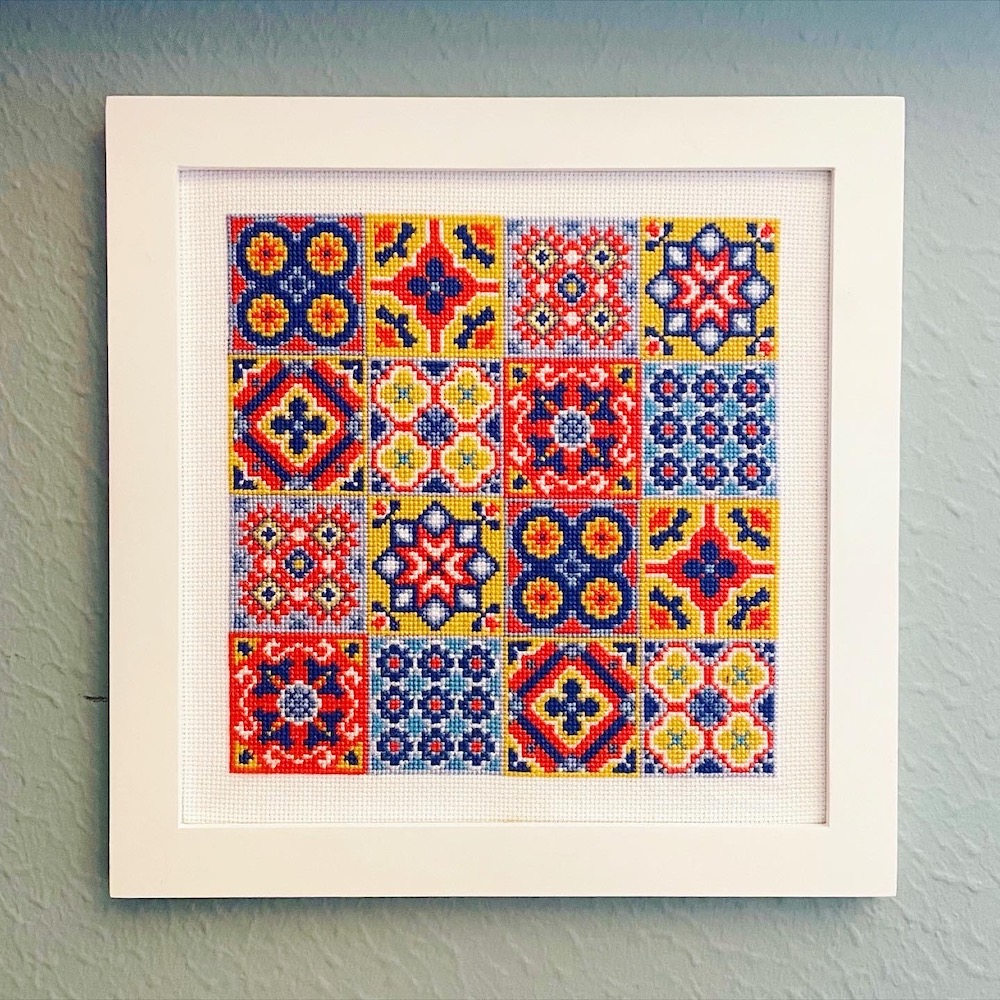
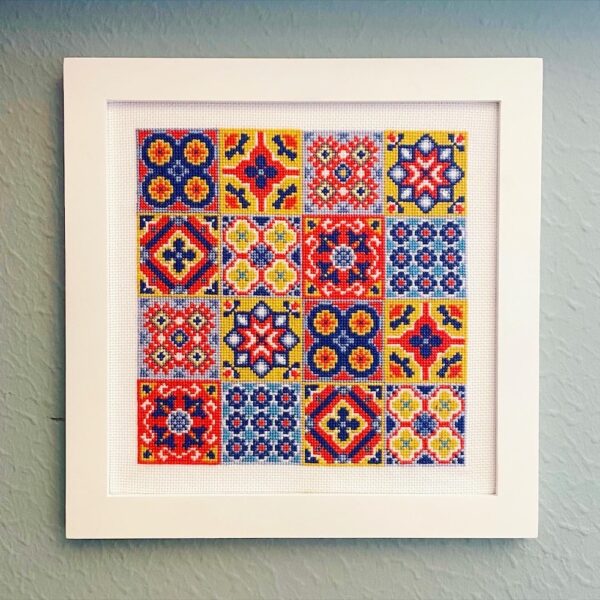
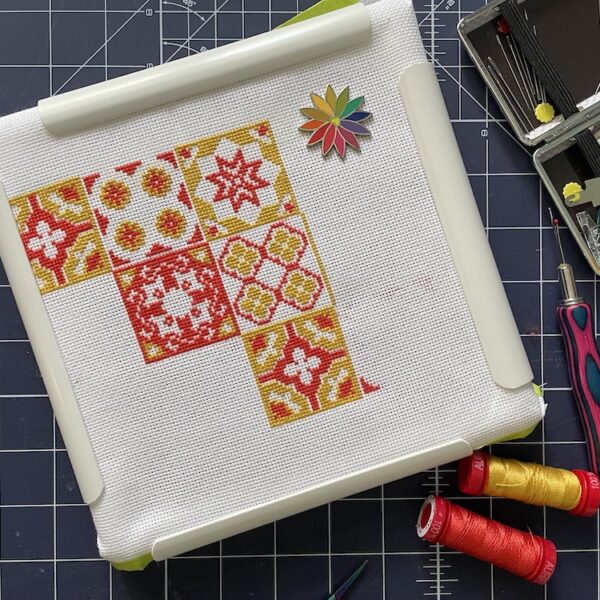
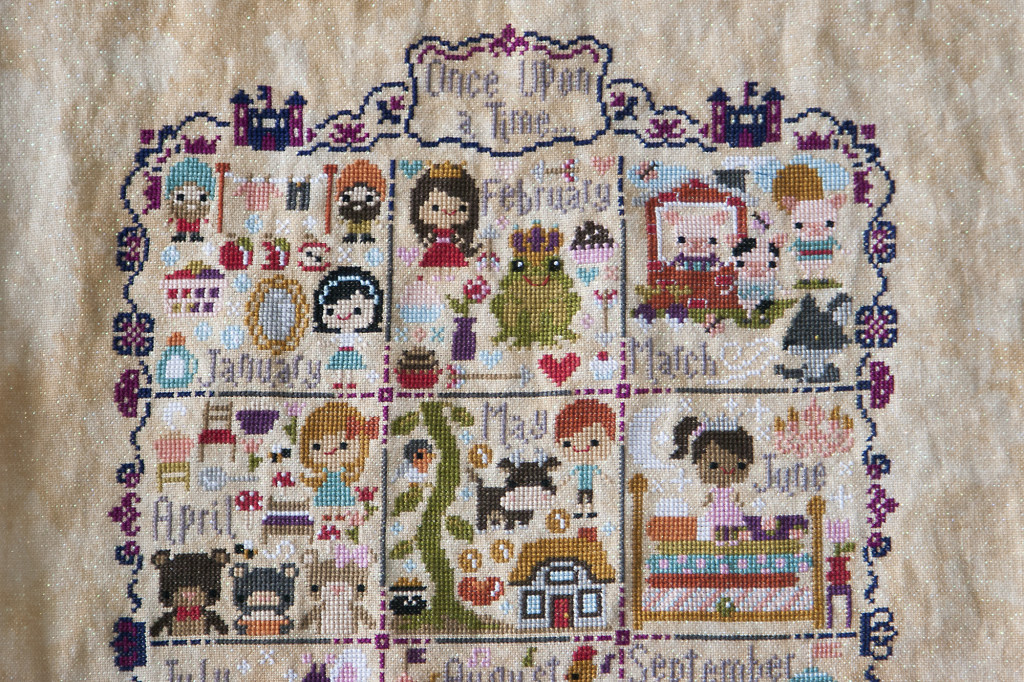
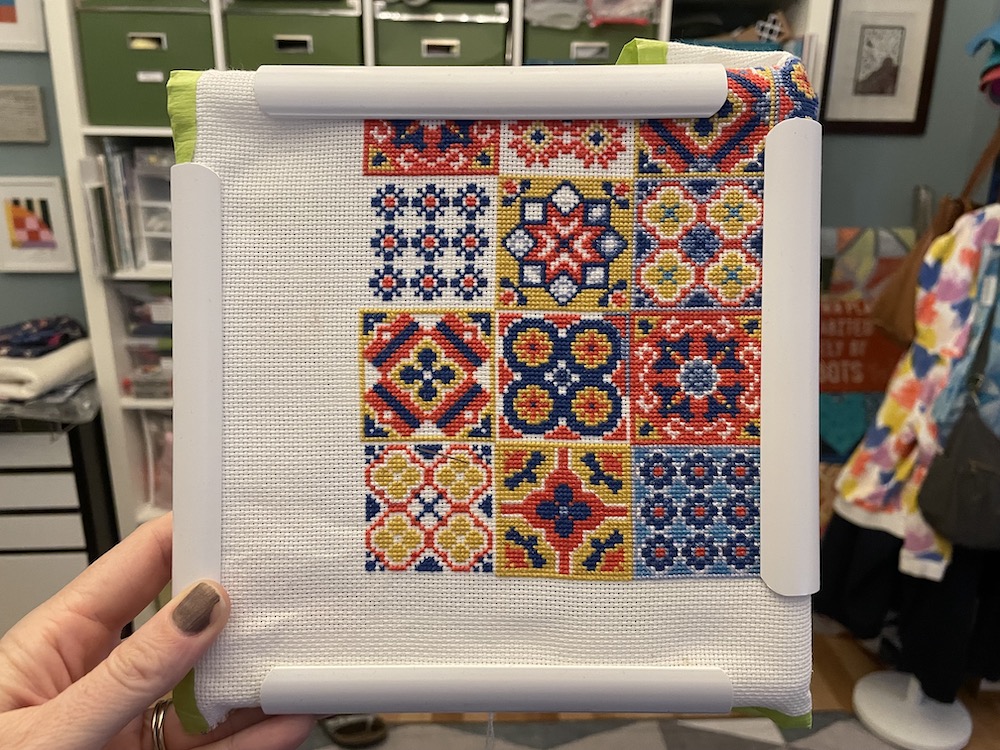
The final item, of course, is a pattern to show you what to stitch! I certainly hope you’ll check out the cross stitch patterns in my shop, which are very beginner friendly thanks to their smaller size, big blocks of color, and few fine details. But there are endless other options as well.
Optional
As with most crafts, there are plenty of other things you can add to your cross stitch toolbox beyond the basics when you’re ready, such as:
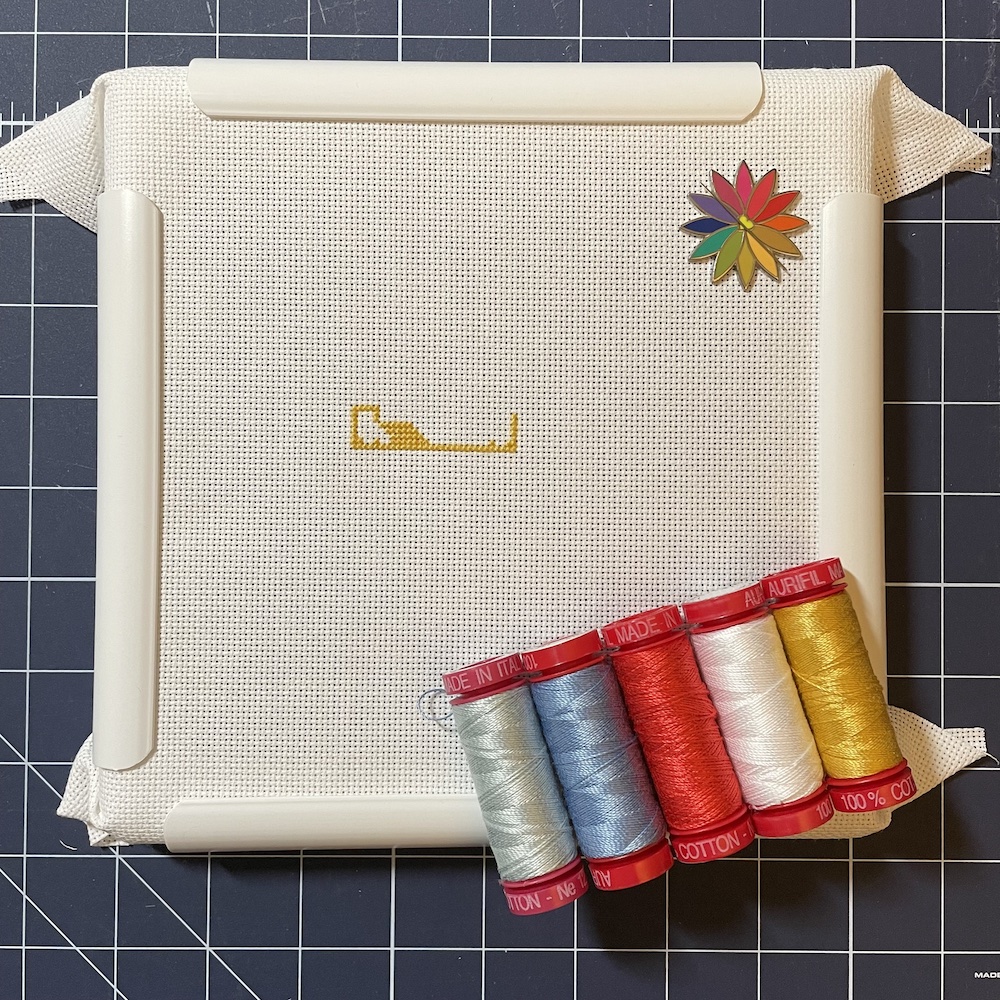
- A needle minder is a fun accessory. There’s a magnet on the back so you can attach it to your stitching and have a spot to rest your needle so it doesn’t get lost.
- Thread conditioner can help you avoid knots and snags. I don’t use it regularly, but some people swear by it!
- A hoop stand can hold your hoop so both of your hands are free. I’ve never used a stand but have been thinking about trying one out. There are several options, from stands that sit on a tabletop to on the floor, and some that are held in place by your legs while seated.
How to Read a Cross Stitch Pattern
Cross stitch patterns are laid out in a grid, just like on the fabric. Rows and columns are labeled in 10-20 stitch increments to help you keep your place as you stitch. (You’ll sometimes see cross stitch called “counted” cross stitch — because you’ll be counting often!)
Different symbols and/or colors are used to represent the various thread colors and types. The pattern will have a key included to show you exactly which colors to use — and cross stitch kits will come with those thread colors — but you can obviously change things up to use whatever colors appeal to you.
The center of the design will also be marked on the pattern, and it’s usually easiest to start stitching somewhere near that middle point. It doesn’t have to be the exact center — just a central spot that make sense. If there’s a larger-ish area of a single color near the middle, that’s where I would start.
Prepare the Fabric and Thread
Start by prepping your fabric. You’ll want a piece that’s at least 2-3″ larger than your finished design on all sides — so, for example, if your design will finish at 6″ square, you’ll want to cut a 10-12″ square of fabric. (I’ve used fabric with tighter margins and it’s doable, but annoying.) Many cross stitch fabrics, and Aida in particular, will fray along the edges, especially with the amount of handling that comes with hand stitching. To prevent this, you can wrap the edges with masking tape, or finish them with a zig zag stitch. If you’ve got a serger, that’s a great option too.
Find the center of your fabric — I do this simply by folding the square or rectangle in half in both directions to make a small crease. If you’re going to stitch immediately the crease may be enough, or you can mark it with an erasable pen or other marking tool — whatever works best for you.
Since you will probably start stitching in the center, you’ll want to roughly center your fabric in the hoop as well. Standard embroidery hoops have two rings — an inner ring that goes beneath the fabric and an outer ring with a screw that lets you loosen or tighten as needed. The fabric is placed over the inner hoop, and then the outer hoop goes on top to sandwich the fabric between the two rings. Pull the fabric taut as you go — pull, tighten, pull, tighten — until the outer ring is tightened fully and your fabric is spread evenly across the ring. You’ll want the fabric taut, but not so tight that it gets stretched or warped. Over time, the fabric will probably loosen a bit as you work, and you can readjust as needed. For larger designs, you’ll need to unscrew the outer ring and fully move the fabric as you move from section to section.
Separate your thread into 2 or 3 strands, depending on either the pattern instructions or your personal preferences. (If you want to get a better feel for the difference, try doing some sample stitches with 1, 2, and 3 strands and compare your results!) Separating embroidery floss can be a bit tricky. For best results, I recommend pulling one strand at a time, and going slowly/gently to avoid tangling.
How to Cross Stitch
Cross Stitch
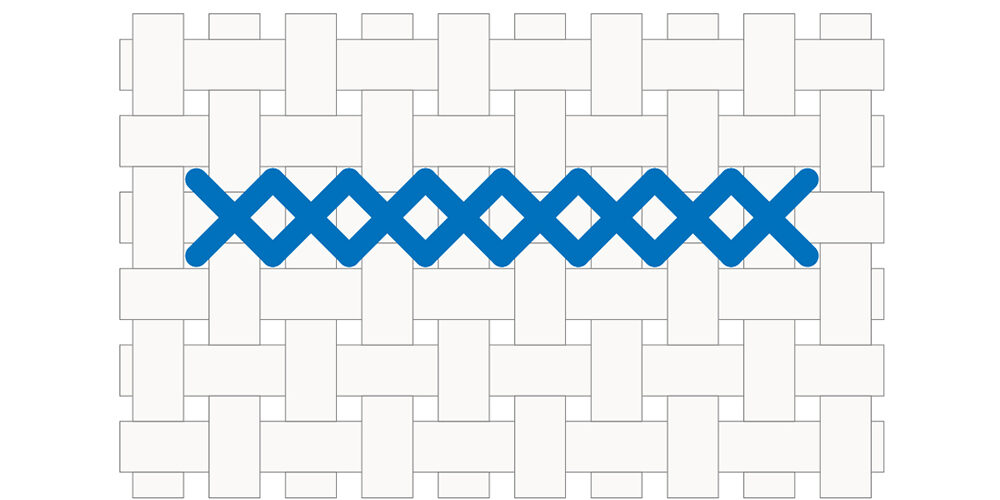
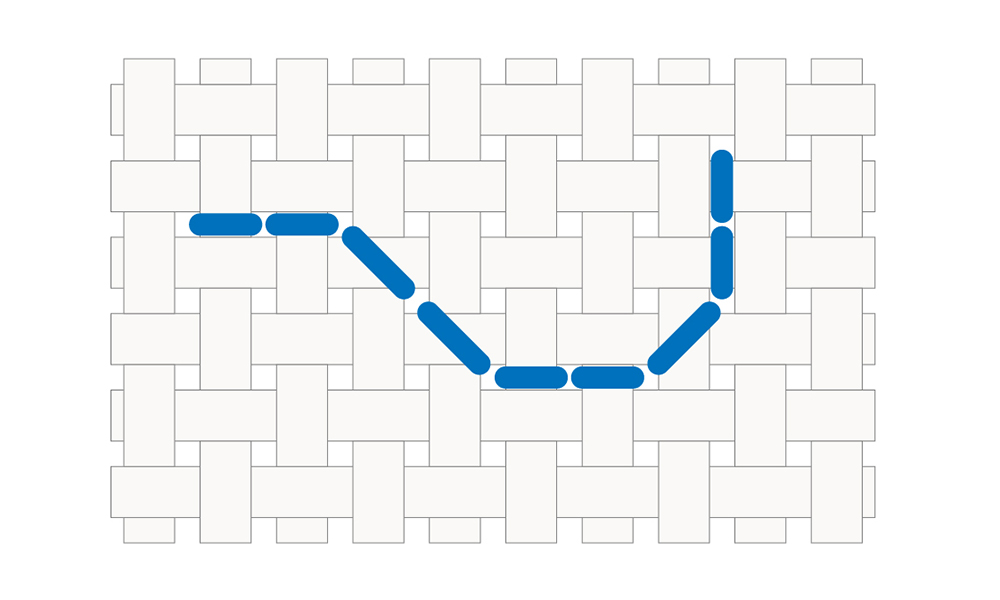
Cross stitch is all about making small X-shaped stitches over each square of the fabric grid. It’s generally worked in rows, moving from left to right and top to bottom.
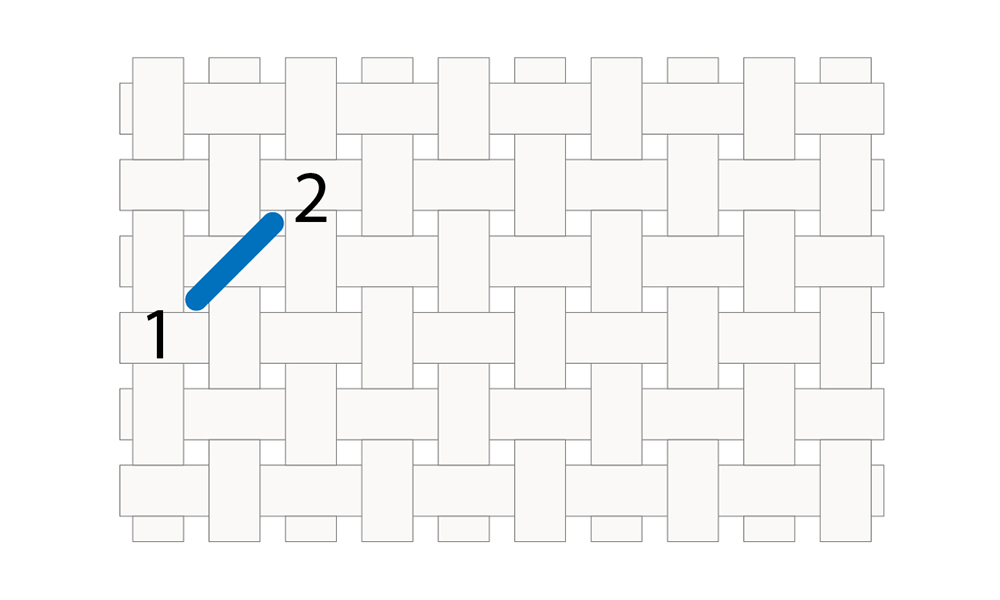
To start, bring your needle up from the back of the fabric to the front (1). Leave a short 1-2″ tail on the back. You don’t need to tie a knot; instead, you’ll secure that tail underneath your stitches as you go.
Next, insert your needle into the hole that’s one space up and to the right (2). This creates a diagonal line, or a “half stitch.” Hold the thread tail in place with your finger on the back so it doesn’t accidentally get pulled through.
Bring your needle back up through the hole directly below the one you just used (3). As you do this, make sure the thread tail gets caught underneath the stitch on the back — this is what secures it without needing a knot! Keep stitching across the row, making a series of half stitches and continuing to trap the tail underneath them as you go.
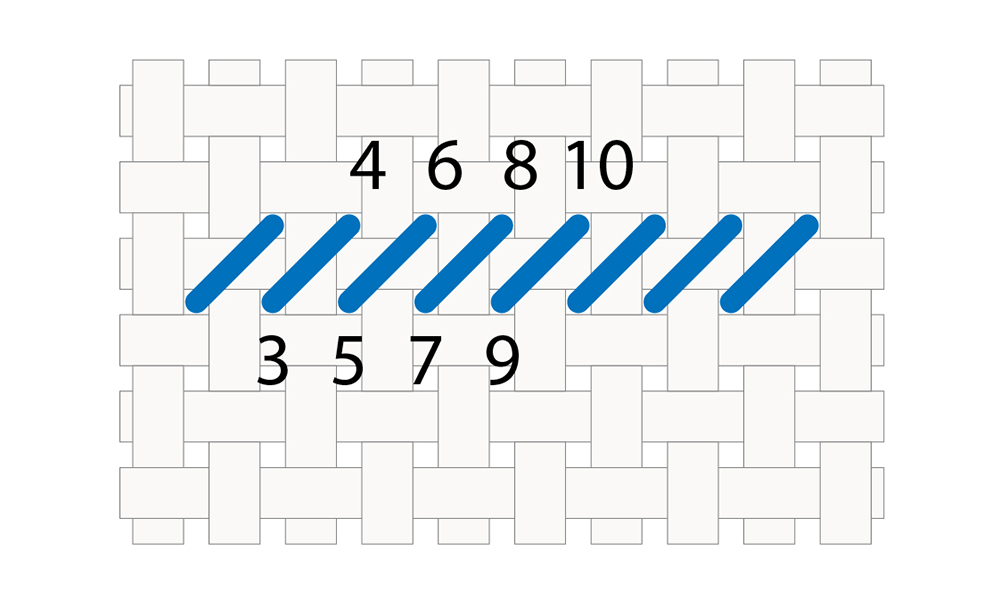
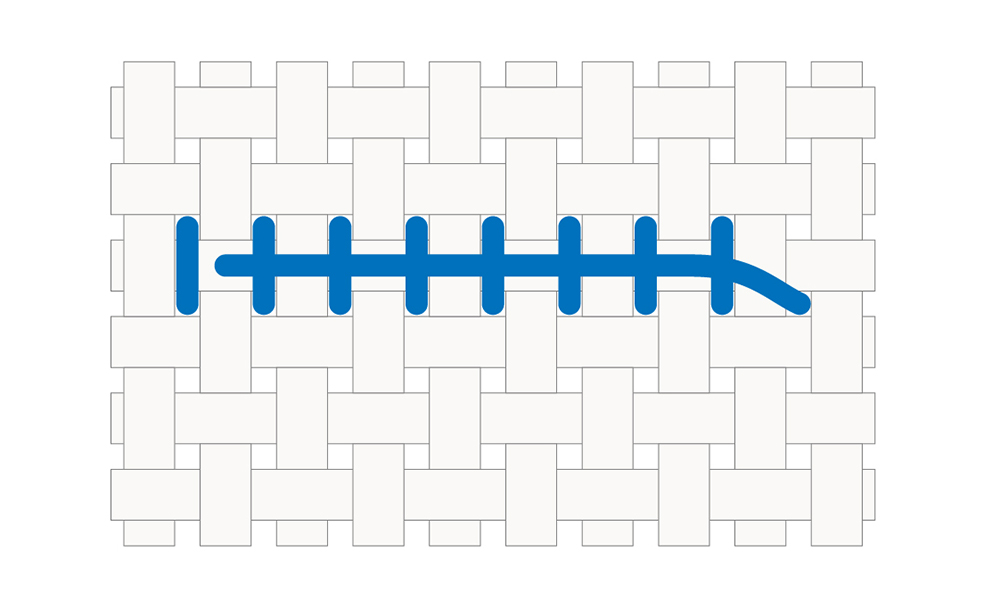
When you reach the end of the row, reverse direction. Now you’ll stitch from right to left, working from the bottom hole to the top one in each square. This completes each X and gives you a full row of cross stitches! On the front, you’ll see a neat row of X’s; on the back, you’ll see vertical lines.

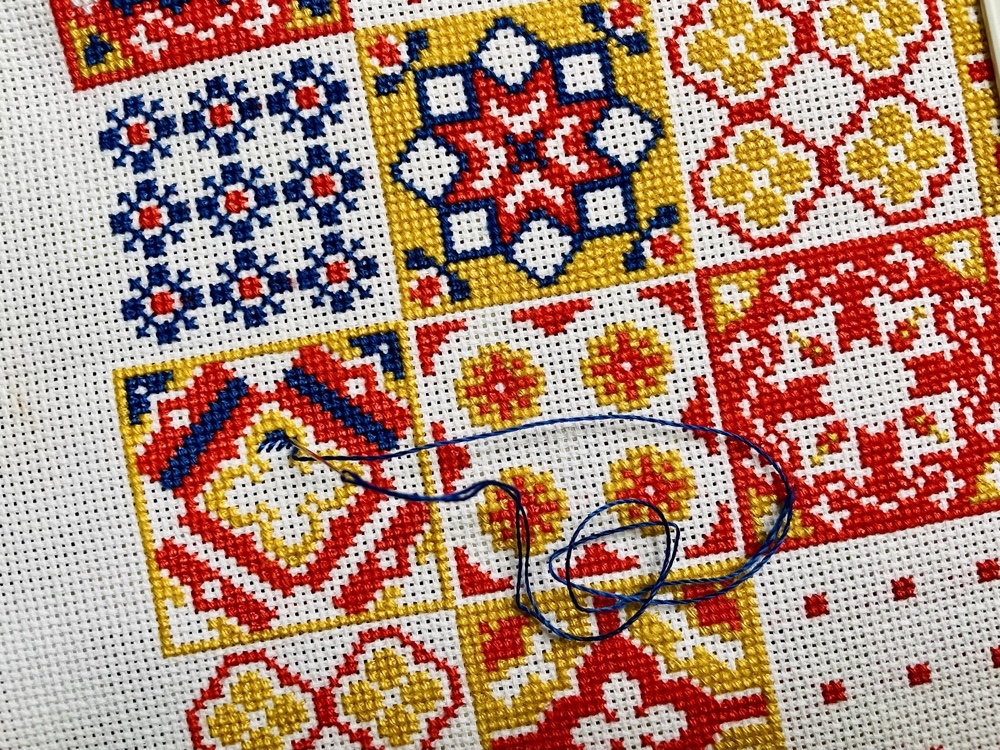
Once you’ve finished your first row, just move to the next row and repeat the process! When your thread gets short or you’re finished with a color, pass your needle under several stitches on the back to secure it, then trim the excess.

For small areas or single stitches, the same basic principles apply. I prefer to stitch large areas of color first, and then fill in smaller areas. To secure my thread at the beginning and end, I often pass my needle under existing stitching on the back — just be cautious about doing this if you are anchoring a piece of dark thread under an area of lighter colored stitches.
Backstitch
This is the stitch most commonly used after standard cross stitch, especially in patterns that include outlines or fine details. You can backstitch in any direction — left to right or right to left — and the resulting line can go horizontally, vertically, or even diagonally.
To begin, bring your needle up through one hole (1) and down through the hole directly behind it (2). Next, bring your needle up through the hole that’s two stitches ahead along your intended path (3), and back down through the hole where your first stitch began (1).
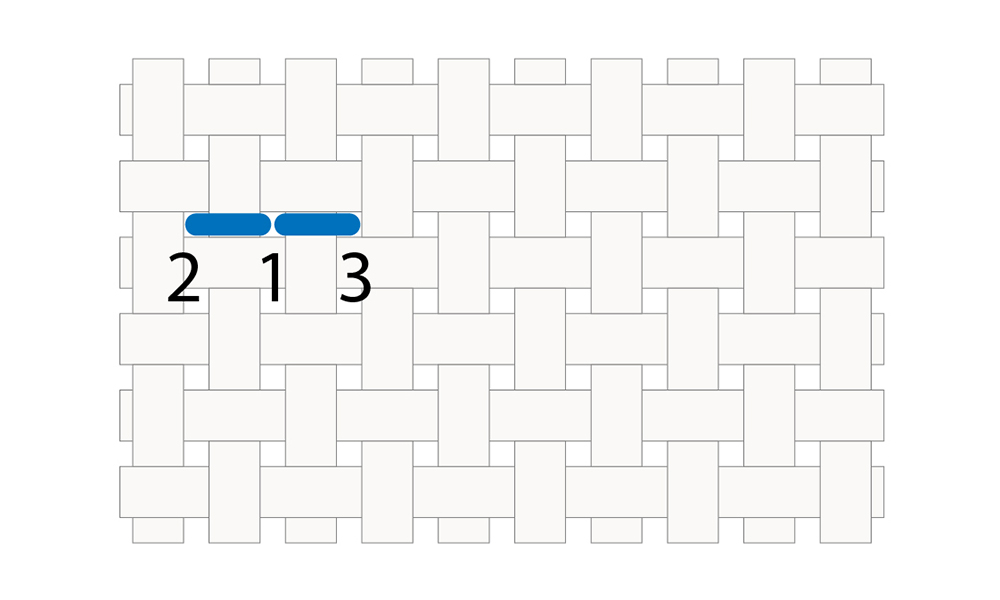
Continue stitching in this manner, moving forward two holes on the back of the fabric, and stitching back one hole on the top. When doing backstitch, I like to either weave my thread tail through the stitches on the back as I go, or use existing cross stitches to secure the thread before I start.
Tips & Tricks
That’s the basics, but here are a few more tips and tricks to help you succeed.
- Don’t pull the thread too tight or leave it too loose — you want the stitches to lie flat without pulling or warping the fabric, and without looking loopy or messy.
- For the best-looking result, be consistent with your stitch direction. If you start by making a row of right-slanting stitches /// and finished with left-slanting stitches \\\, do that for every color and every stitch.
- For areas of like color that are close together, you can travel across the back of the fabric — this is always nice because it’s one less start and stop! But you’ll want to avoid long jumps, since those can show through on the front or cause long loose threads that get caught.
- It’s common for the thread to get twisted as you stitch, which can cause tangles and knots. To avoid this, I take a moment every few dozen stitches to hold my piece upside down and let the weight of the needle pull the thread down. While hanging, the thread will “untwist” itself, and I can keep going after that.
- If you are having a lot of trouble with tangles or knots, you may also want to try using a thread conditioner. This lightly coats the thread in wax and can make it glide more smoothly.
If you’ve got any questions, feel free to drop them in the comments. Happy stitching!