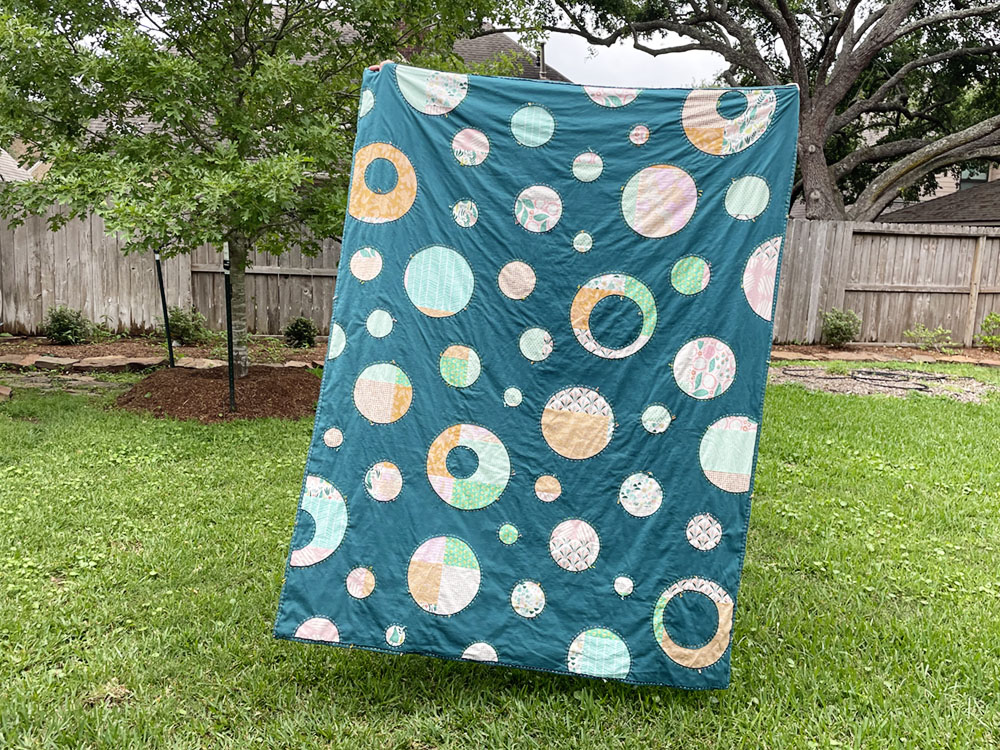
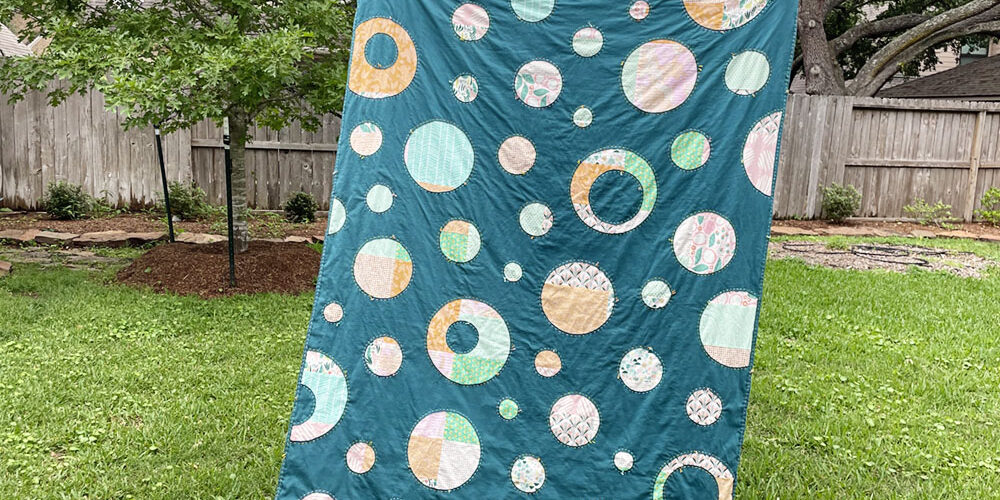
I finishd my cozy quilt last month! This was such an enjoyable project and the finished quilt definitely lives up to the cozy promise.
This was a sew-along hosted by Alison Glass and her team. I jumped onboard when they first announced it last fall, and fortunately they followed a long, relaxed schedule to give everyone plenty of time to make their quilt.
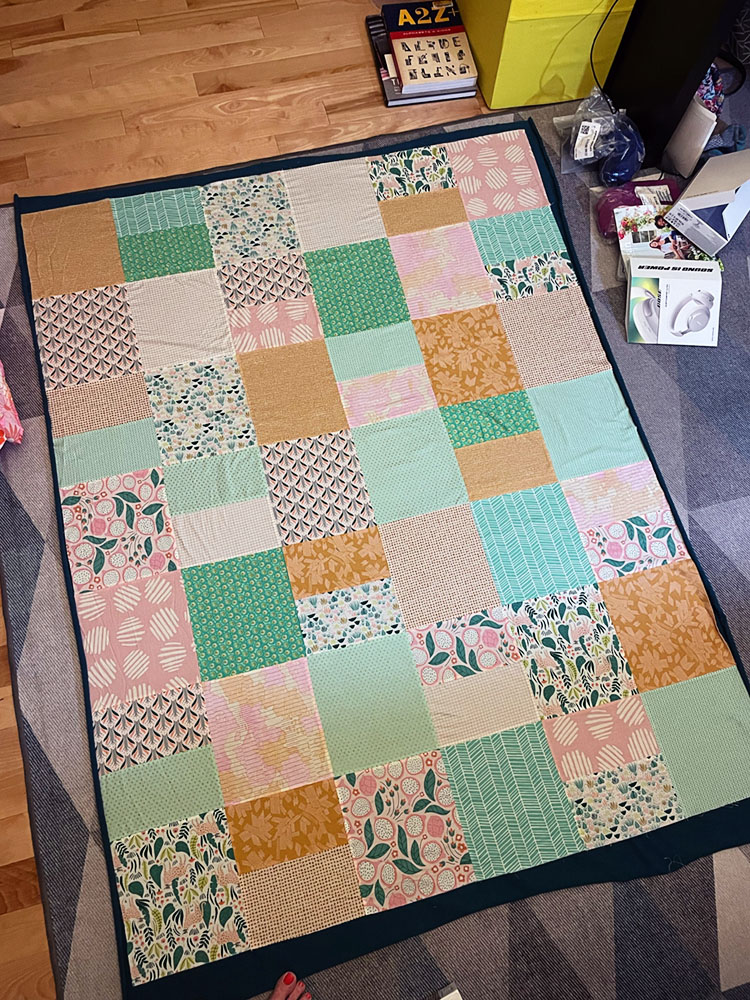
I bought the forest green knit from Alison’s shop, and pulled a selection of 14 fat quarters from my stash in shades of pink, aqua, and gold. These fabrics are truly a mixed bag — some are from recent collections, and some have been hanging out in my house for years. I can’t even remember where a few of them came from!
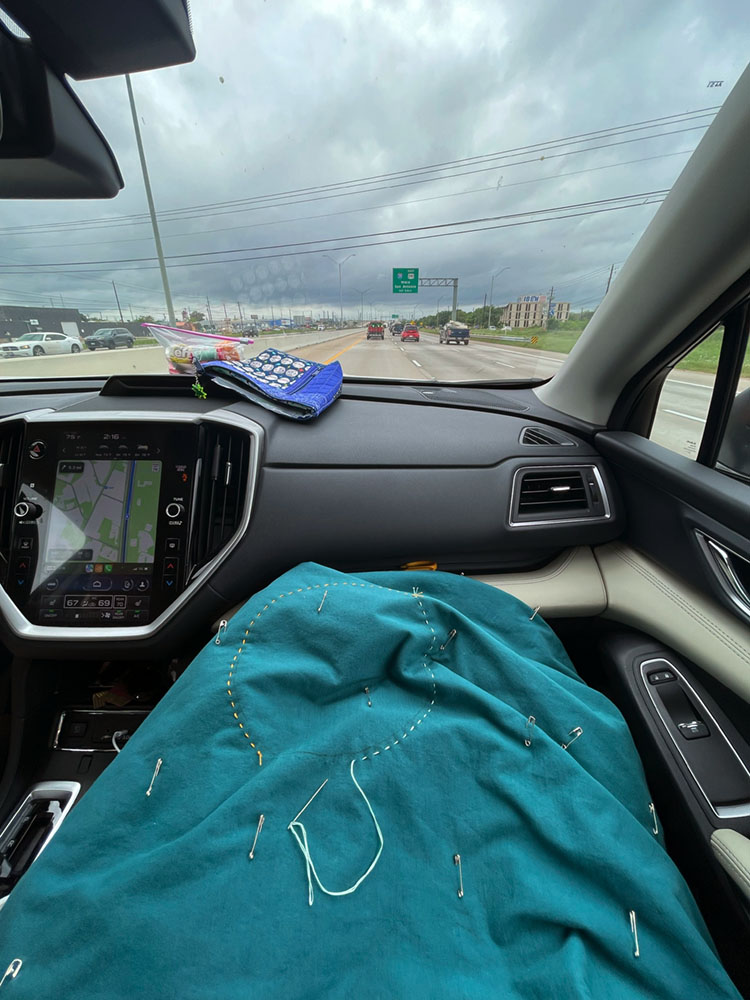
A few days before we left on our eclipse viewing trip, I realized that 1) I needed to start my cozy quilt if I wanted to finish by the end of the sew-along and 2) it would be a good project to take with me for the long weekend. So I scrambled to sew together the middle layer using a very simple patchwork motif that got max usage out of each fat quarter. I pin basted it the night before we left. (Pin basting on the floor is always an adventure. Bah.)

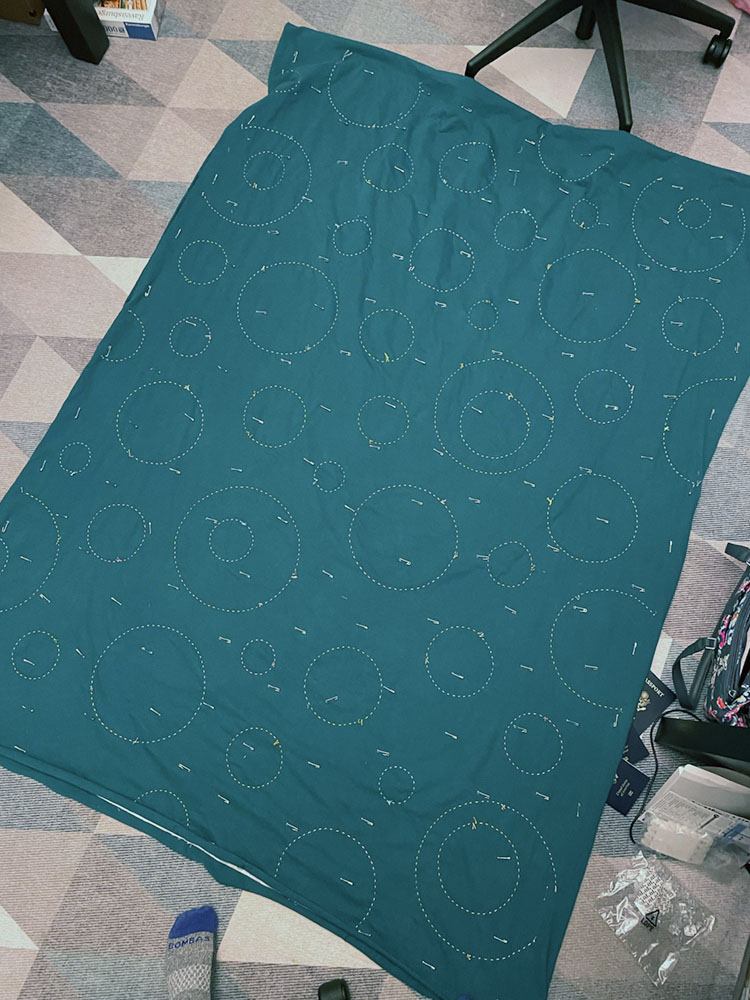
The next morning, shortly before we headed out the door, I grabbed a few larger bowls from the kitchen and traced some large circles on the top with a Sewline Duo pen. This gave me a starting point for our weekend trip, and when we got back home I filled in with additional circles in various sizes. (I was going for an overall motif similar to my Zero Eccentricity quilt from a few years ago.)
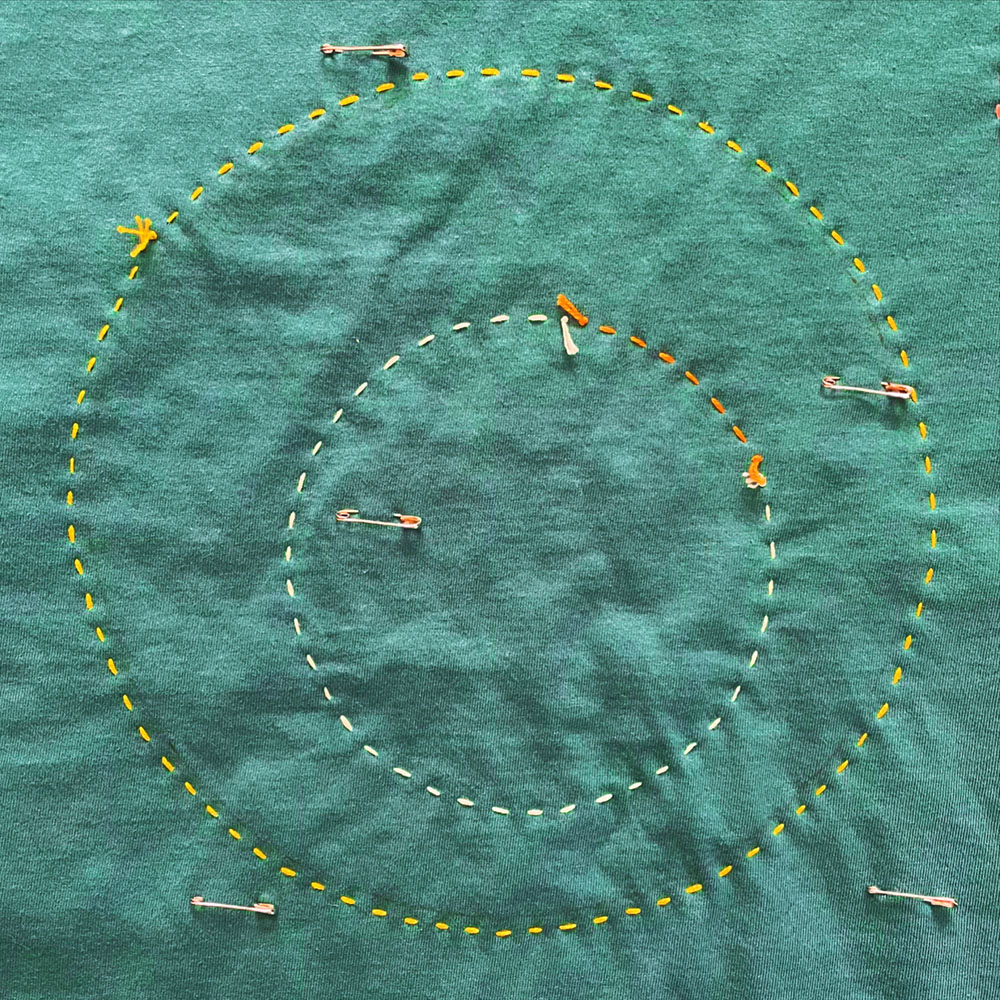
For the stitching, I used 3 colors of Wonderfil Eleganza thread (an 8 wt perle cotton) and 1 shade of Aurifil 12 wt thread. The sew-along recommended using a double strand of thread, so I did that with the Wonderfil. Since the Aurifil is a bit thinner, I used a triple strand of that so that the stitching lines would have the same visual weight.
With the thickness of the quilt sandwich and tight weave of the knit, pulling the needle through the quilt wasn’t always easy. I wore my usual leather thimble on my middle finger, which I use to push the needle. But for this quilt I had to add a rubber thimble on my index finger to give me additional grip for pulling the needle through. (You can see that in this IG video.)
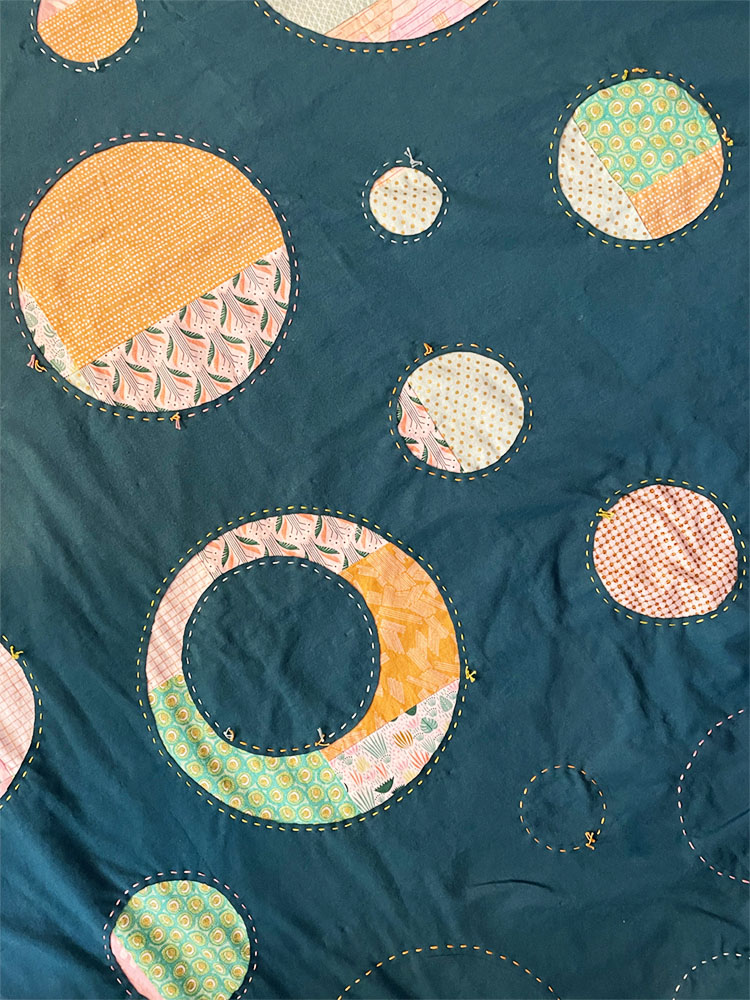
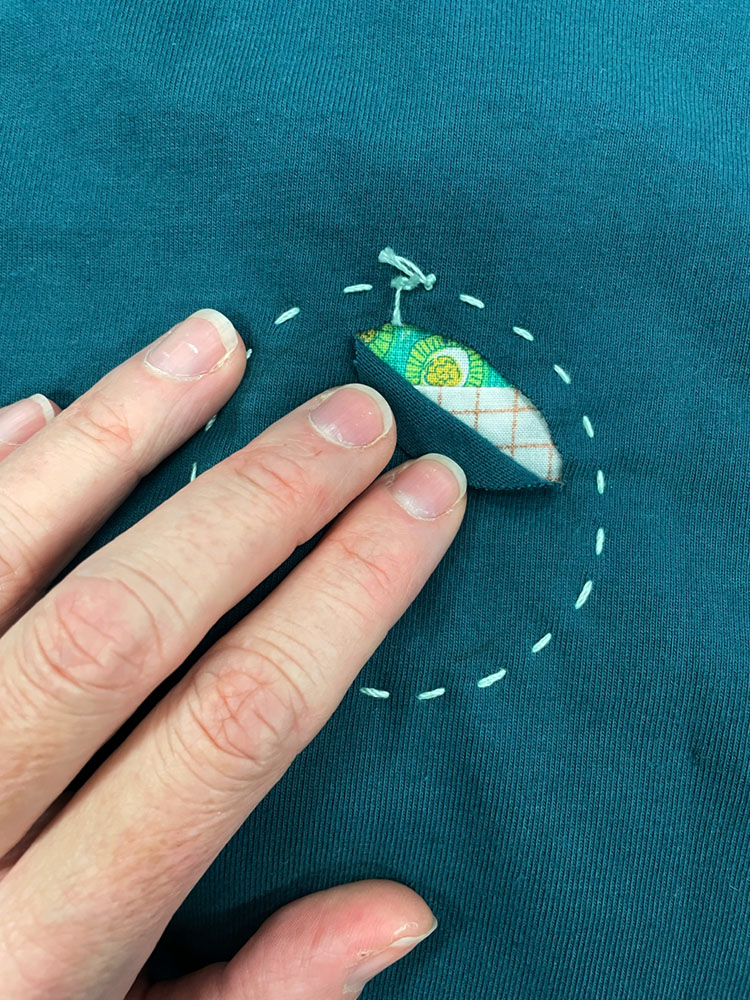
You can see that I chose to leave my knots exposed on the top of the quilt — I didn’t think too hard about it, but it seemed like a fun idea, and I didn’t want to spend the time burying all the knots. I like the results!
It took me about 2 weeks to do the stitching, and then it was time to cut away to top layer and reveal my patchwork! I’ve done this type of reverse applique technique a couple times before, but not in a while. It’s so fun and so satisfying. I started cutting while listening to a lecture at the April Houston MQG meeting, and finished it later that day while watching the F1 race. Once I started, it went surprisingly quickly!

I chose to finish the edges using a method recommended by the sew-along. While trimming the quilt, I left the backing about 1/2″ larger than the front, then folded it around to the front and stitching it down with another visible running stitch. The beauty of knit fabric is that it doesn’t fray, so the “binding” has raw edges, just like all of the reverse applique circles.
From start to finish, this quilt took me about 3 weeks. It was a really enjoyable project and I’d love to make another one at some point. We’ll see! In the meantime, I expect this quilt will get plenty of use around my house. Cozy indeed.
The stats:
- Quilt measures 54″ x 70″.
- Fabrics are a mix of fat quarters from my stash in pink, gold, and aqua.
- Top and backing/binding is Alison Glass Cozy Knit in Billiard.
- Pieced with Aurifil 50 wt thread in #2600 (Dove).
- Quilted with Wonderfil Eleganza Perle Cotton & Aurifil 12 wt thread in #2830.


 #saroy1sec #1secondev
I really like the overlapping circles and how the squares of the patchwork middle play with the peak-a-boo nature of the quilt.
Nice step-by-step instructions. Your explanation makes it sound very easy to do! Thank you.