It’s the final day of the 100 Day Summer Sew-along, hosted by my friend Jenn of SewFine Thread Gloss, and I’m happy to share my finished project. (See lots more from me and many others at #100DaySummerSewAlong.)
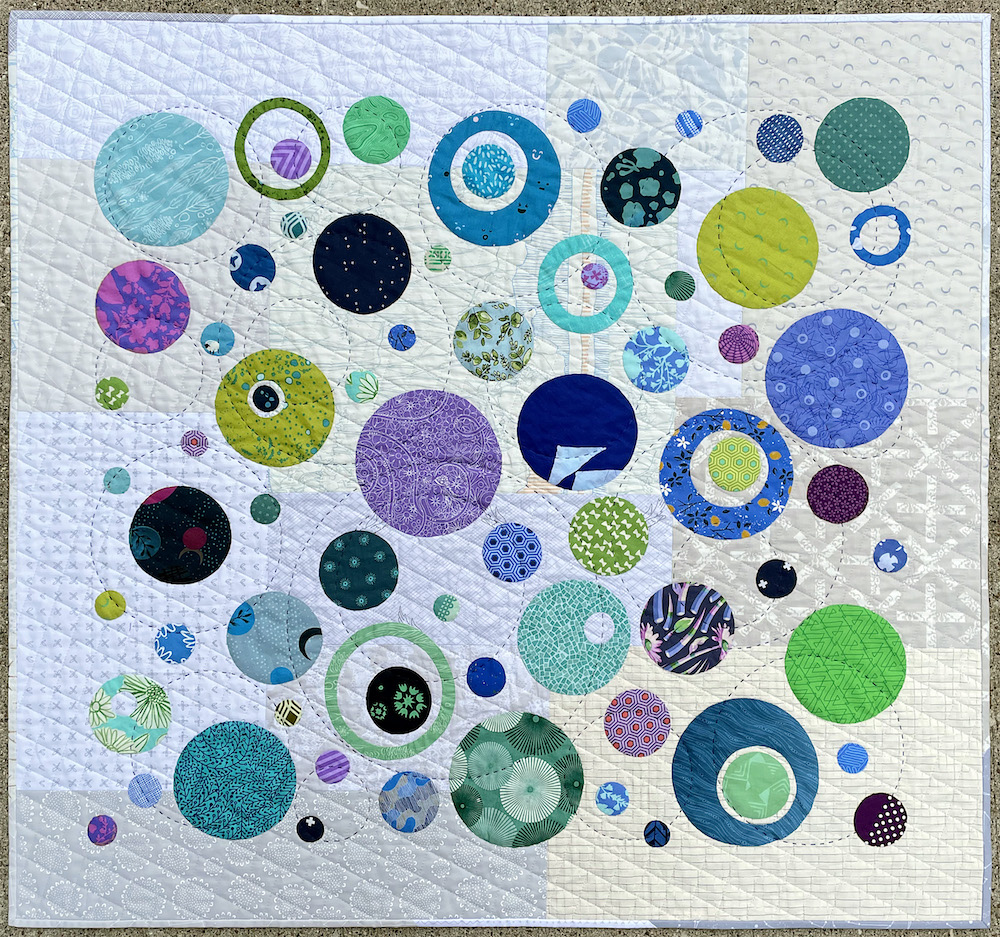
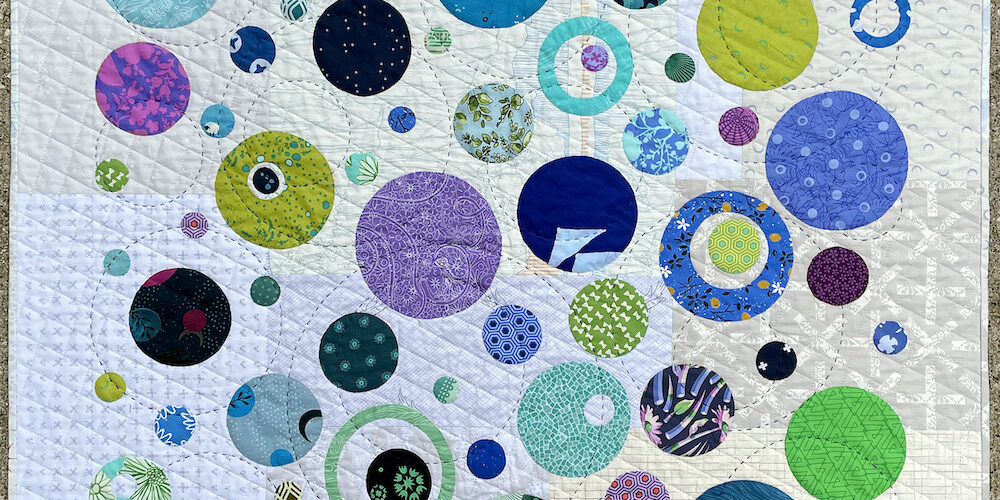
This quilt was inspired by an image of wood-look floor tile (I think) that had been cut into circles of various sizes and laid out in a random way like this. Since the focus of the summer sew-along was handstitching, I thought making and sewing applique circles would fit the bill perfectly.
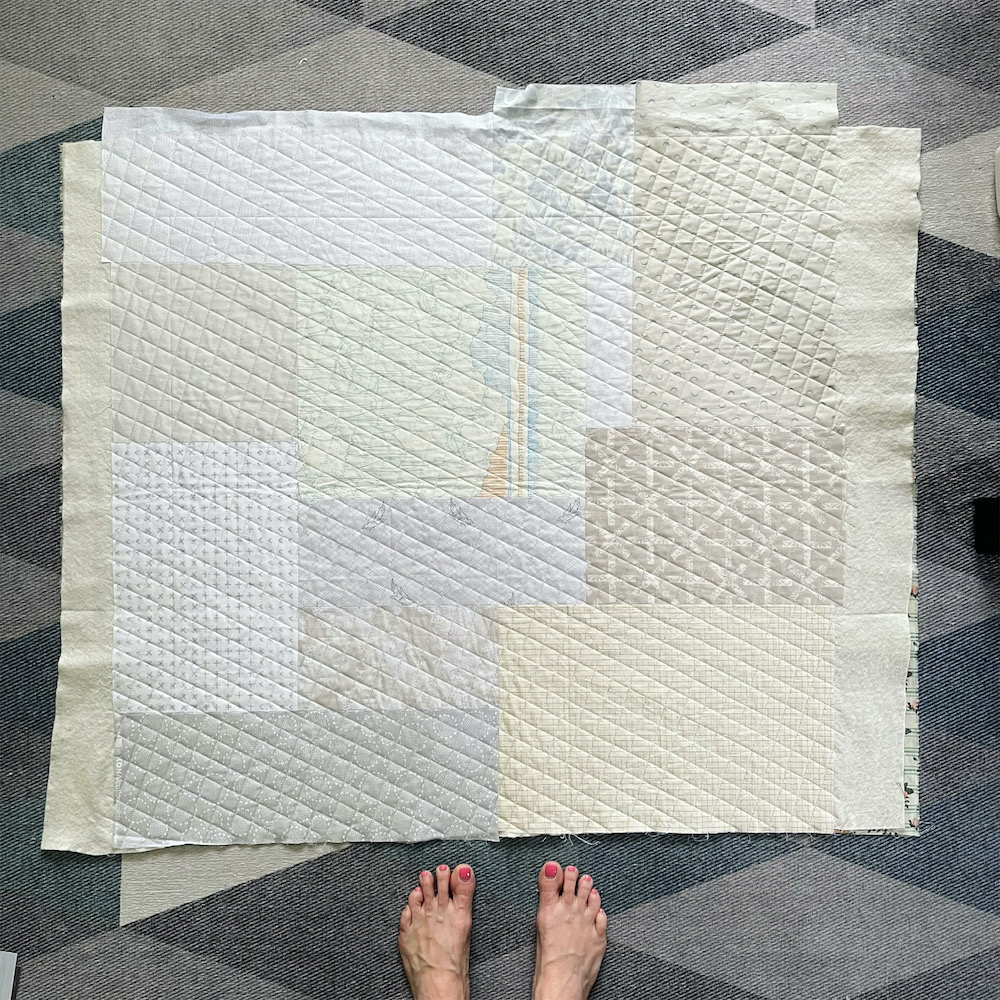
I made the background rather spontaneously one day! I’d been sewing with a lot of solids, so pulling prints out of my fabric bins was a nice change of pace. I had a yard of fabric from a previous QuiltCon swag bag that I didn’t think I would ever use in the top of a quilt, so I decided to make that the backing. That drove the overall size of my quilt to be around a square yard. I knew from the start that I didn’t want lots of quilting lines crossing over all my circles — I just thought it would take away some of the impact. I chose to quilt a sandwich with just my pieced background on top in a slanted crosshatch motif.
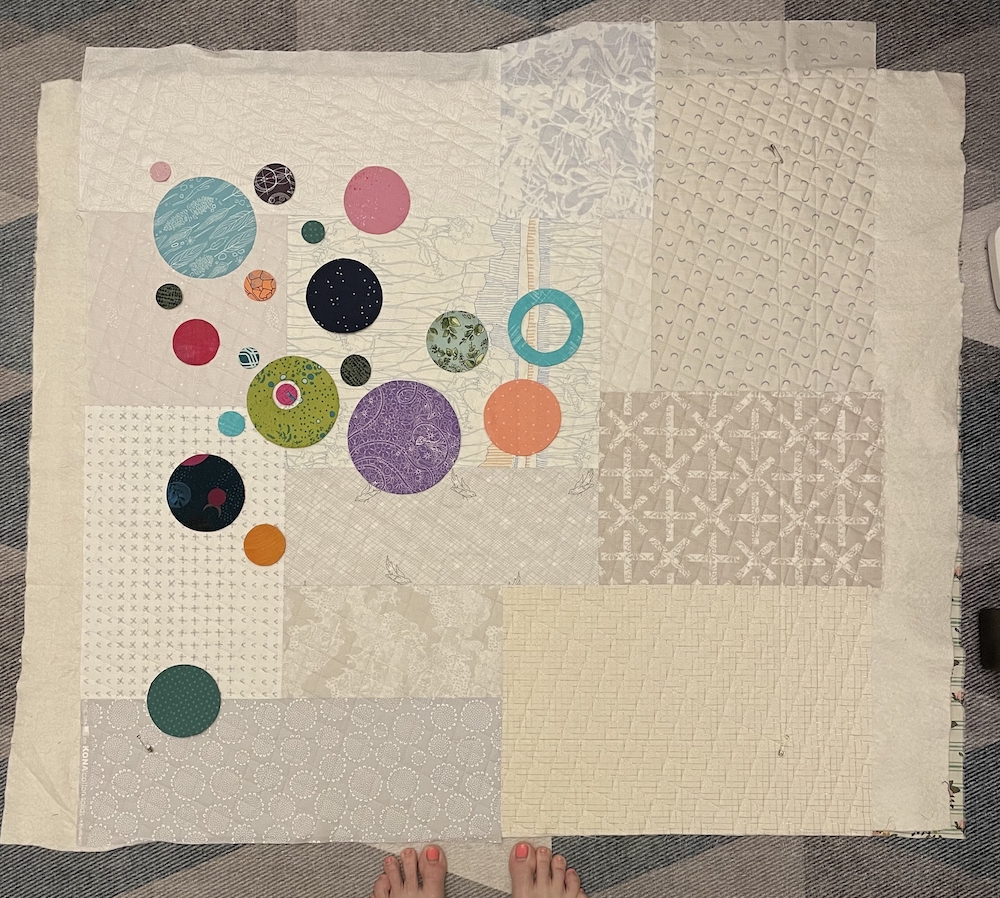
Then it was time for circles!
As you can see in the photo above, early on my plan was to make the circles in pretty much all colors. But as I started laying them out, I wasn’t loving the overall look. So before stitching anything down, I decided to pivot to cool colors — my favorites — and was much happier with that approach.
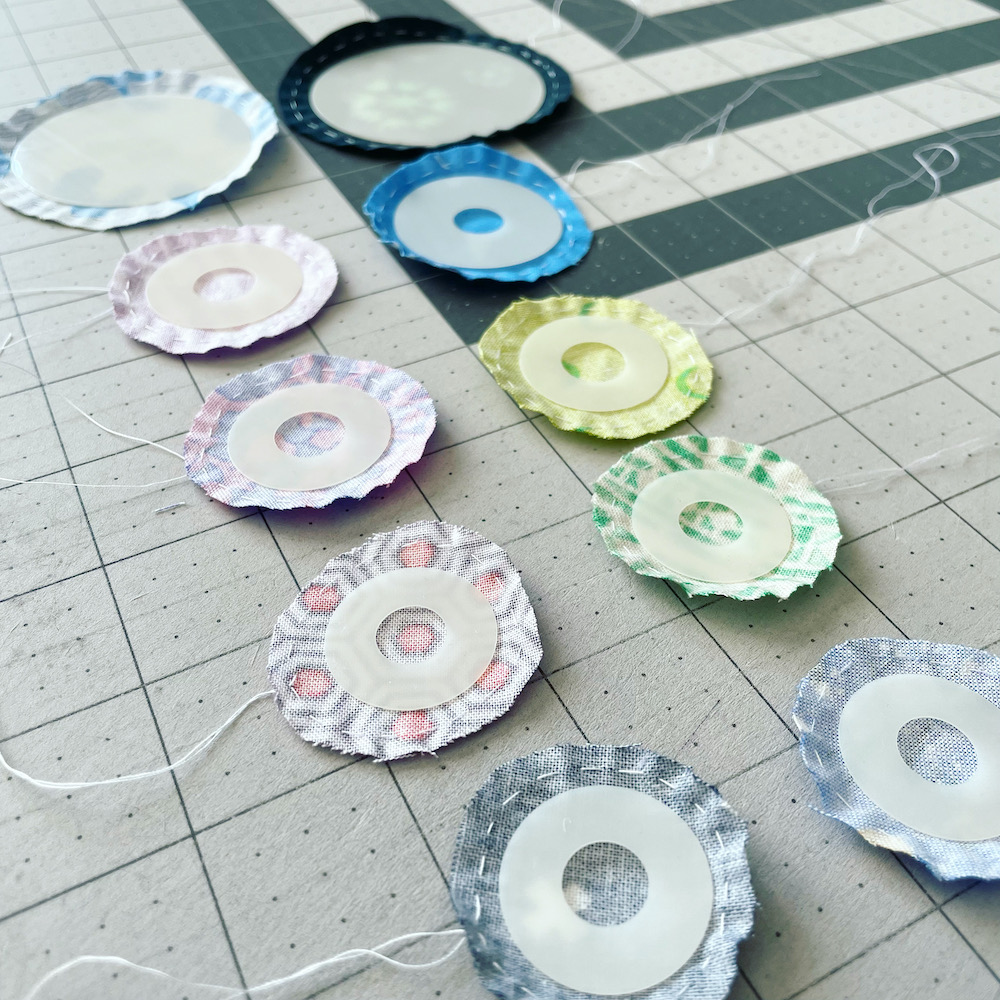
Here’s a look at how I made the circles, which range in size from 1″ to 6″. I used the Karen Kay Buckley’s Perfect Circles template sets — there’s both a large pack and a small pack. The template sets topped out around 5″, so I had to make my own cardstock templates for the largest circles on the quilt. But these template sets were a very worthwhile purchase! They worked great and I’m sure I’ll use them again.
(I got a lot of great advice on how to make applique circles at the start of my project from Instagram friends. There are lots of options but this one worked great for me! I’ve been meaning to record a short video to show the whole process, so hopefully I can do that soon.)
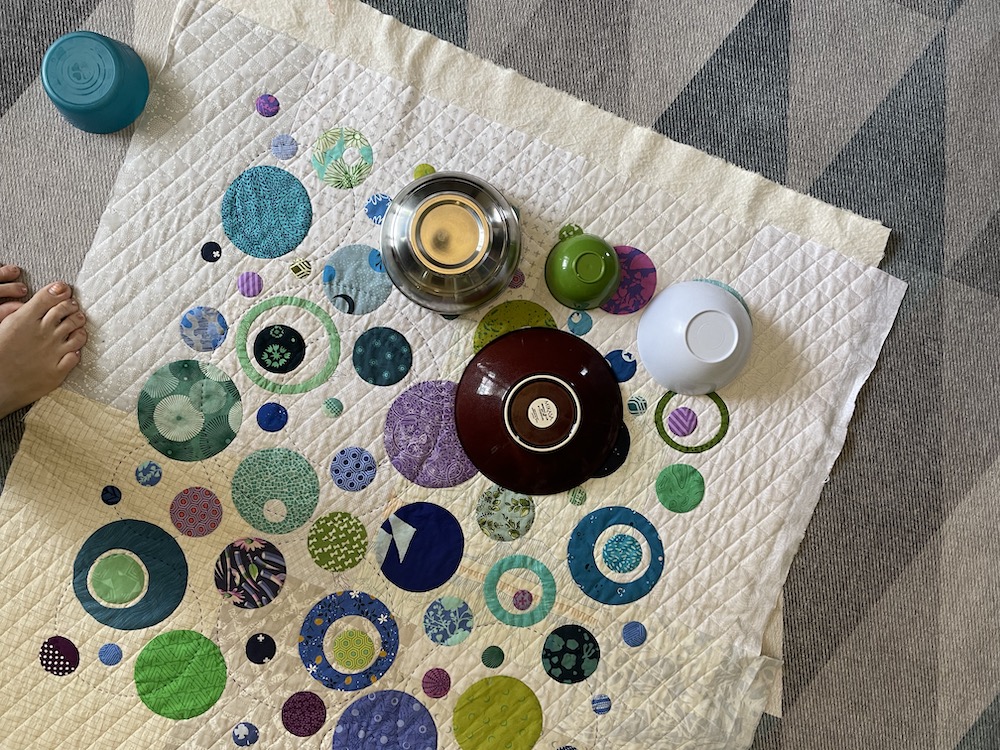
I knew from the start that I would add hand quilted accents at the end, but again the plan morphed from one thing to another. I thought I’d add lines or crosses on top of each circles, but after stitching a couple I didn’t love it. I decided to try stitching large circles on top of the fabric circles and after doing just two I knew it was the right choice! The most challenging part was finding “templates” large enough to mark the quilt top. Fortunately, we have plates and bowls in all sizes in our kitchen — ha! They came in very handy.
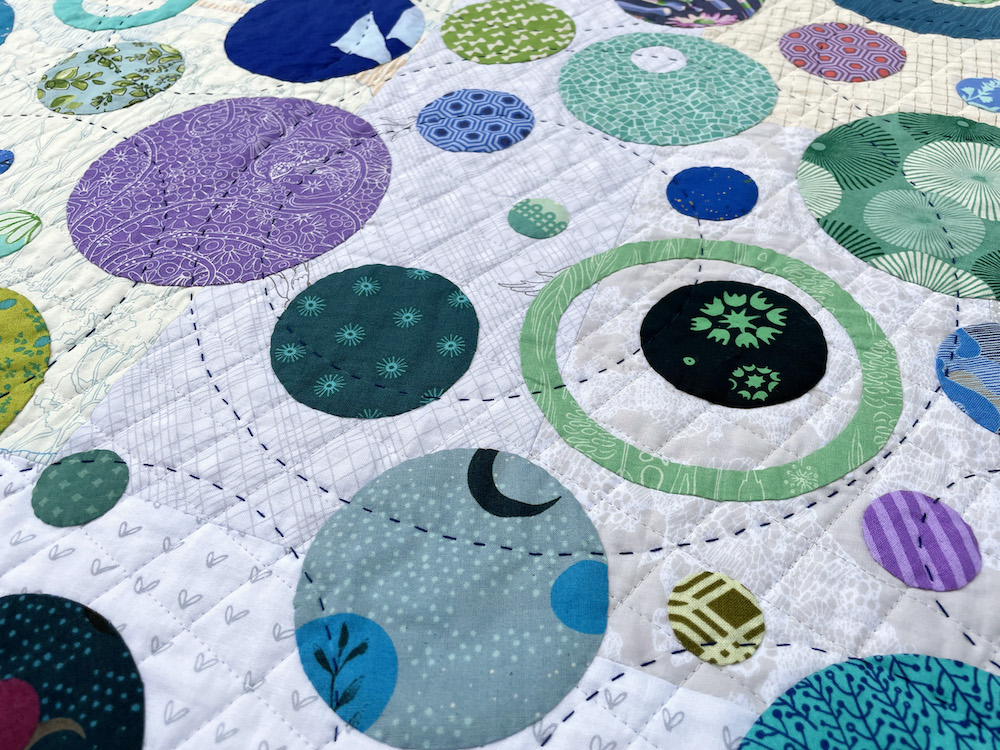
I ended up using 3 different thread weights in this quilt, since the different thicknesses are well suited for different things! I quilted the background crosshatch and basted my circles with Aurifil 50 wt, but switch to thin 80 wt thread for the applique. I haven’t used 80 wt too much, but as expected it was a great choice for applique as it becomes nearly invisible once the stitches are pulled tight. And then of course the hand quilting was done with yummy thick 12 wt thread.
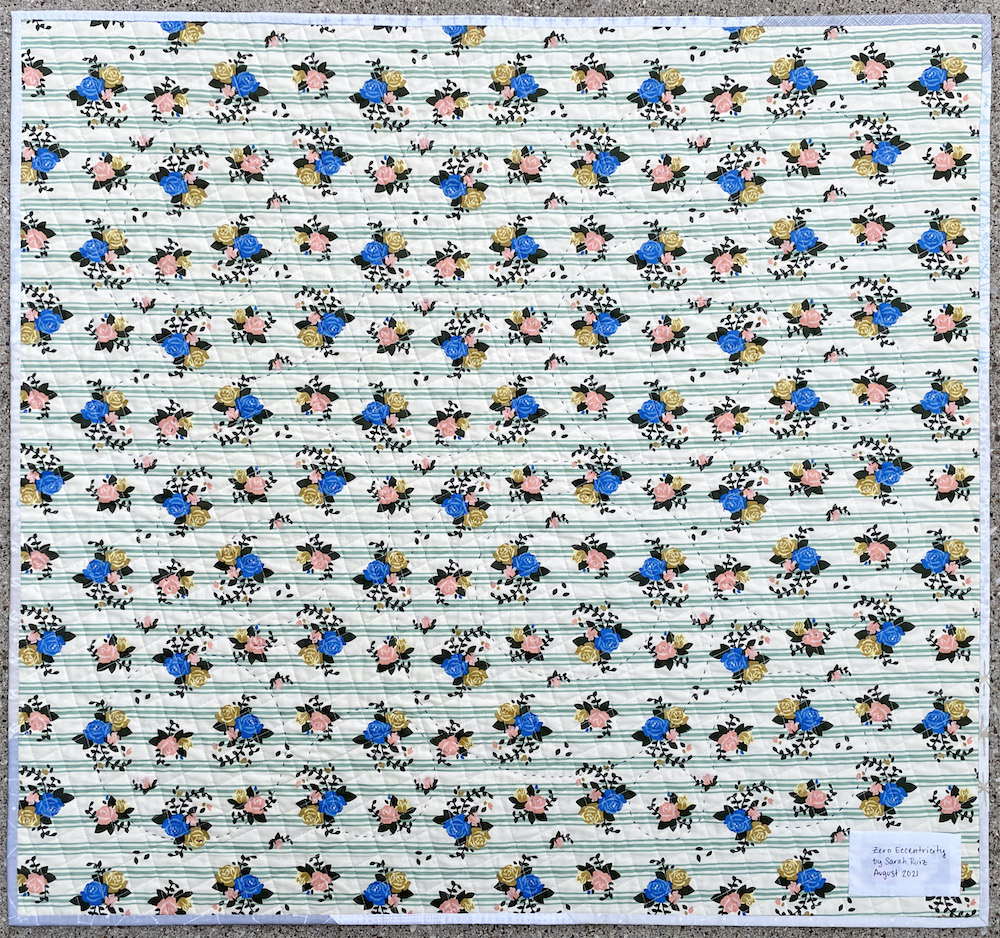
I entered this quilt in the upcoming Pacific International Quilt Festival in the “wall quilts” category, so I’m hoping it will get to make a little trip out to California next month. We shall see!
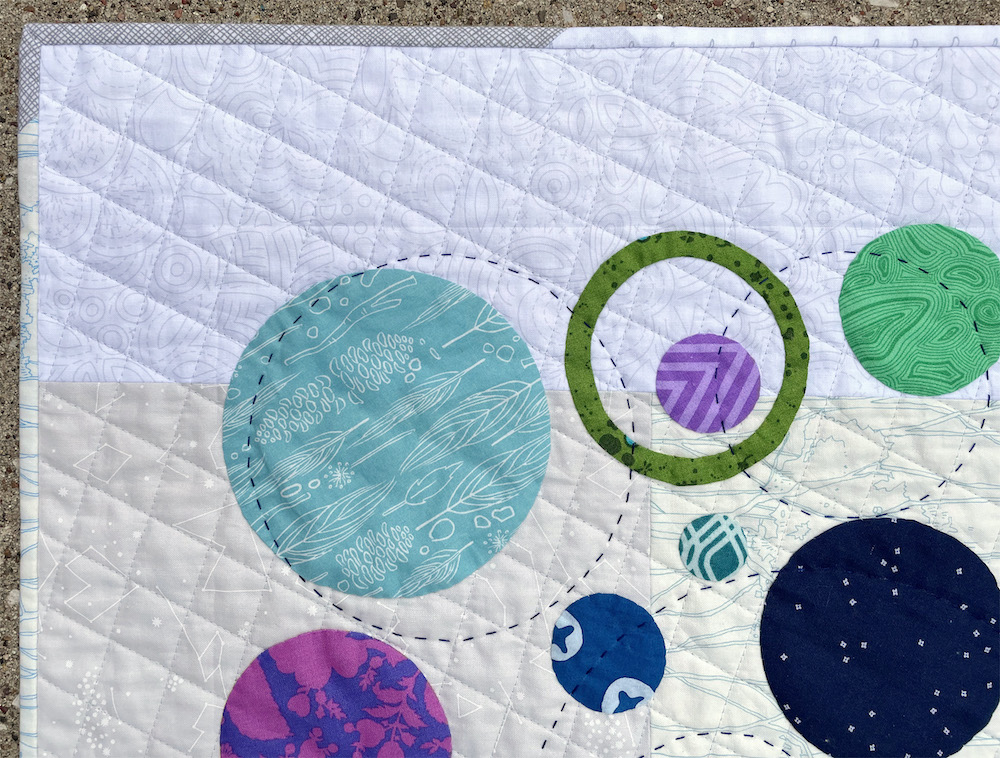
The stats:
- Quilt measures 34″ x 37″.
- Top fabrics are all miscellaneous neutral and blue/green/purple fabrics from my stash.
- Backing is a print that came in a QuiltCon goodie bag.
- Binding is scrappy, from low volume prints.
- Hand applique stitched with Aurifil 80 wt thread in #6722 (Sea Biscuit).
- Machine quilted on my domestic Juki with Aurifil 50 wt thread in #2600 (Dove).
- Hand quilted with Aurifil 12 wt thread in #2784 (Dark Navy).


 I desig


It turned out great! Thanks for sharing your process – and I would love to see a video of how you deployed those templates – might even get me back to hand quilting once again!
This is a delightful quilt and the hand quilted elements really pull it all together. I also really like your description and explanation of the name of the quilt that you shared on Instagram today!
This is a super fun quilt and I loved reading about the different steps! Nicely done!! I hope it gets to be shown!