When my friends Tina (@tina1802) and Jessica (@maeberrysquare) announced they’d be hosting a Quilt Coat Sew-along, I immediately knew I’d participate! I’ve admired the quilt coat trend for a while now, and had even bought a pattern and had the pieces printed on large paper back in October or November. The #QuiltCoatAlong was just the motivation I needed to finally make it happen.
(Definitely check out the #QuiltCoatFashionShow hashtag on Instagram for all the amazing coats people made!!)
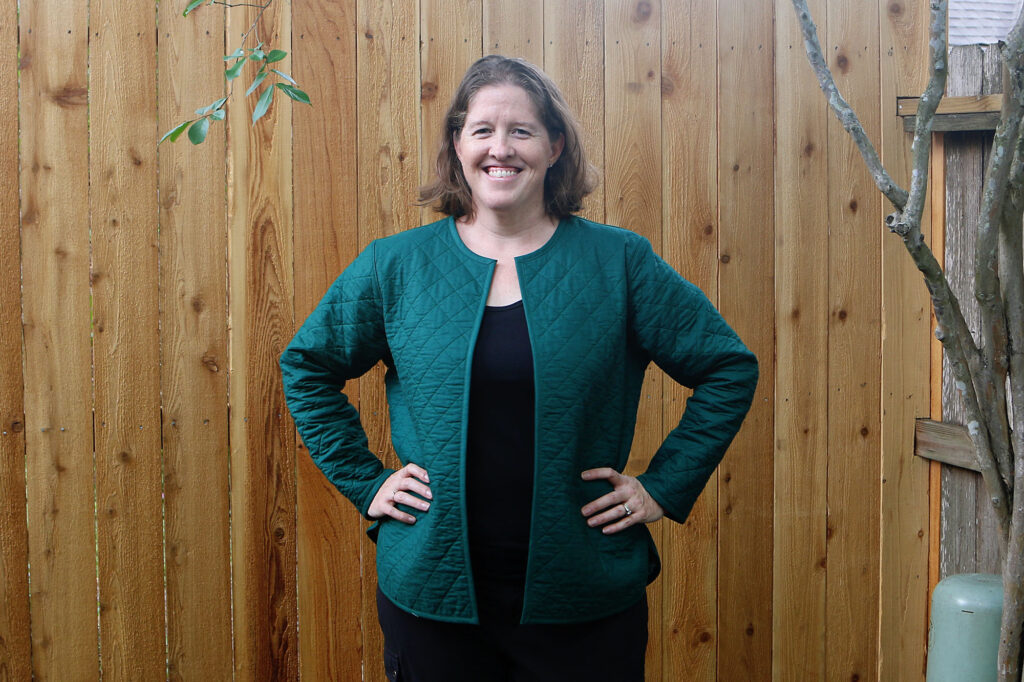
I chose to make the Tamarack Jacket pattern from Grainline Studio. This is designed as a quilted jacket, and is a very popular pattern for quilt coats. It’s a more fitted jacket than some other popular quilt coat patterns, which is what I wanted. It’s also very similar in style to an Eddie Bauer quilted down jacket that I’ve worn and loved for years, so that gave me confidence that I would like the fit and style of the Tamarack pattern as well.
In the spirit of full honestly, I thought the Tamarack pattern is good but not great. There were several parts that could have been beefed up, particularly for a beginner like me with hardly any garment sewing experience. Fortunately, Grainline does have a couple tutorials on their site that are super helpful! One cover the welt pocket construction, and one talks about how to finish the edges of the coat.
(And on the flip side, I found it odd how the pattern instructs you to quilt the pieces. The pattern has you cut the fabric pieces to size first, then quilt them together. But as a quilter, it made much more sense to me to quilt oversized pieces, and then trim them down to size.)
One area I could have used more guidance was how to finish the seams on the inside. I really wanted to have all the raw edges encased — not to make the jacket reversible (although that is possible), but just to have a nice, clean finish. Raw edges always scream “homemade” to me, and finished edges are just so much more polished! But again, because this is a popular pattern, there are also a ton of other blogs that have tips and tricks. I managed to figure things out using a combination of YouTube and looking closely at the Eddie Bauer jacket I already had for guidance.
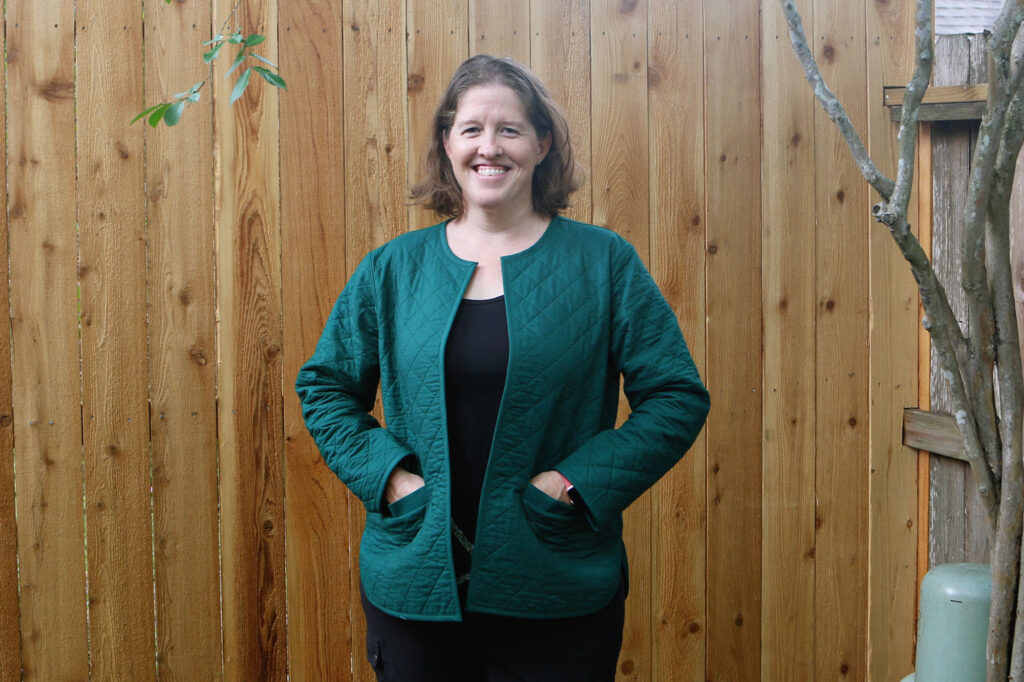
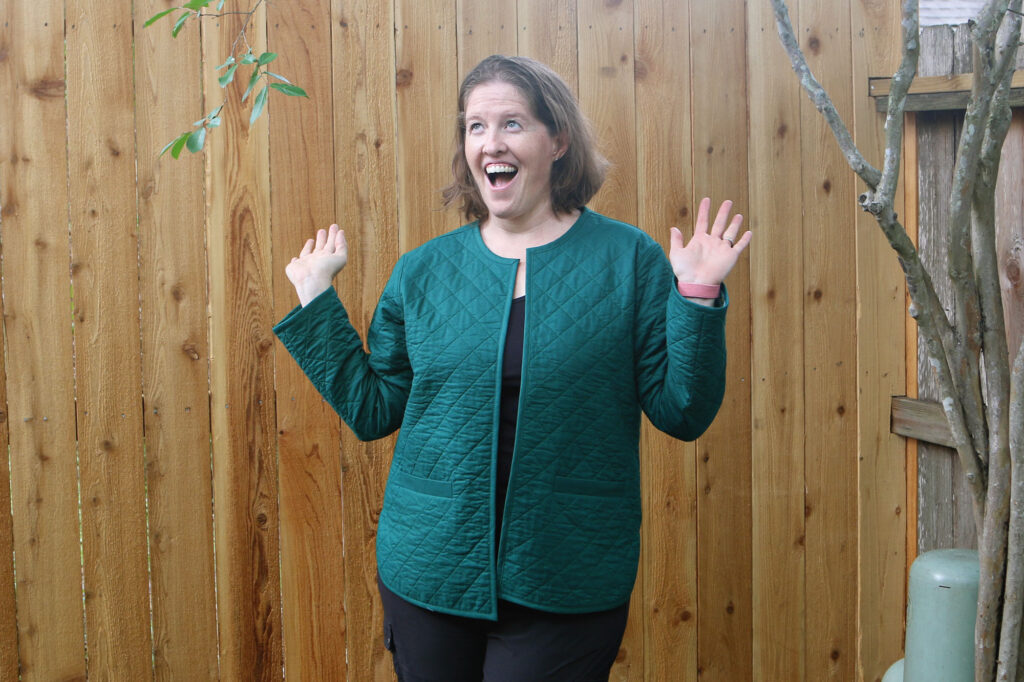
Since I live in a warm climate, I didn’t want the coat to end up too heavy. My vision was something I could wear almost like a cardigan — less true outerwear, and more of something I could wear around town or even to work if it turned out well enough. (And I think it did!)
To keep it thin, I chose lightweight fabrics. The outside is Michael Miller Cotton Couture solid in Spruce. The inside is a cotton lawn print from the Nature’s Notebook line by my friends at Briar Hill Designs. In between, I used Hobbs Batting’s Tuscany Silk.
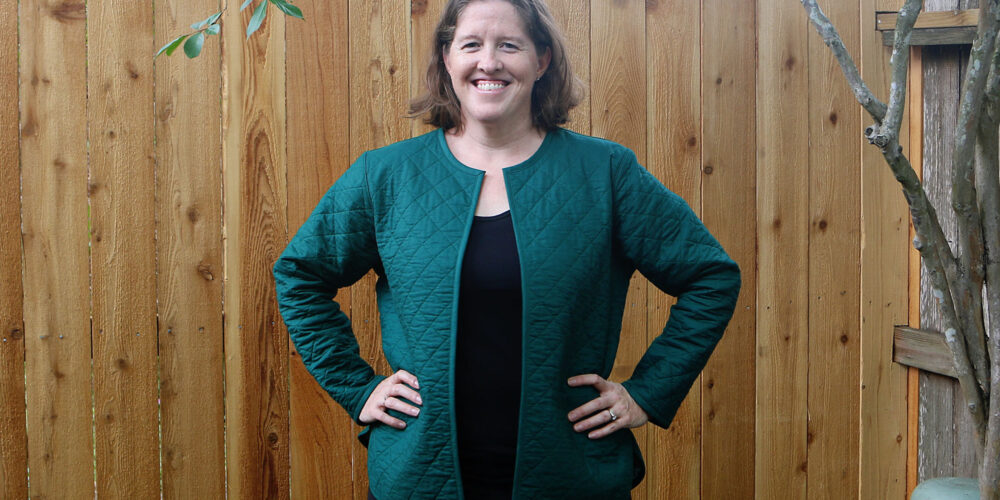
The pattern has instructions for a button or hook-and-eye closure, but mine doesn’t currently have any sort of closure. I had ordered a zipper and planned to add that in myself, but when it arrived I decided it was too chunky/heavy for this jacket. (It was a nylon sport zipper.) I may add a hook-and-eye in the future, but for now I’m happy with no closure at all!
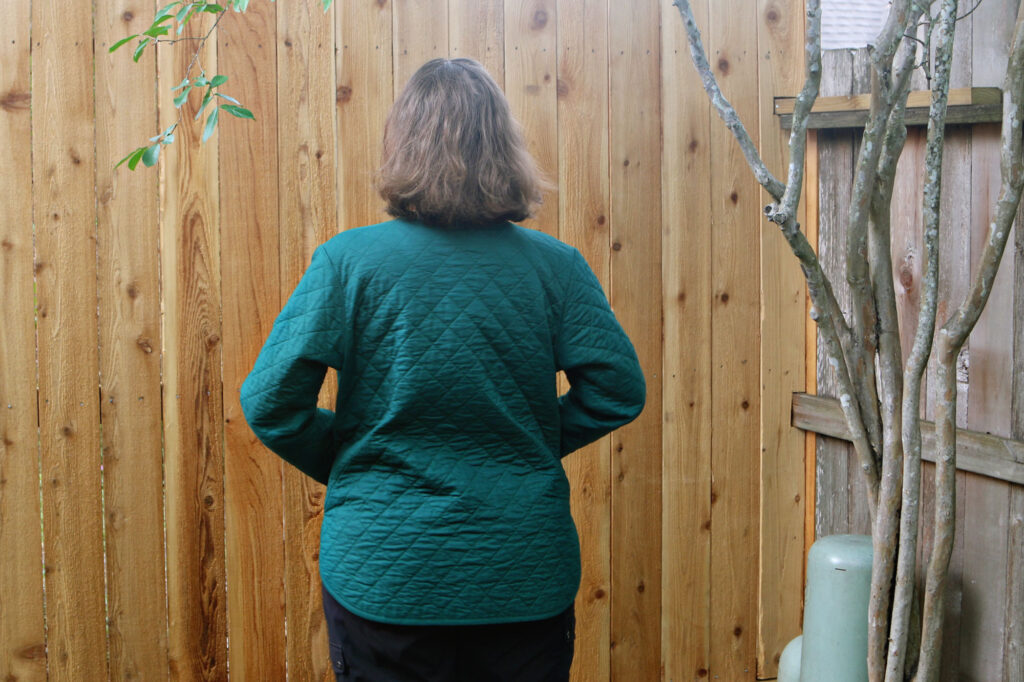
I chose not to do any piecing on this jacket. I do think I’ll make another one at some point that is multicolor with fun piecing, but for my first one I really forced myself to focus on what I thought would be most wearable for me, and what would fit best into my current wardrobe. I wear a lot of solids and jewel tones, particularly when I dress for work (which I will someday do again), so toning things down for this jacket felt like the right way to go.
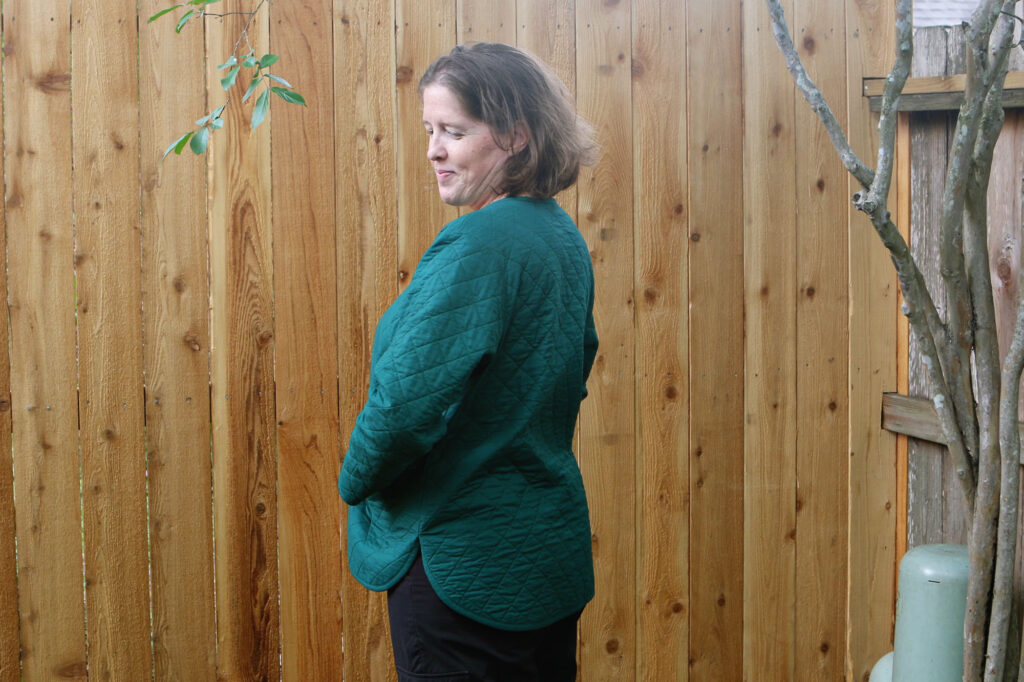
I started by making a practice jacket (muslin) using a cheap quilted blanket I bought online. I wanted to make sure I knew how using quilted fabric would affect the fit, which is why I used a blanket instead of plain fabric. I am impatient and one of the reasons I’m not always happy with the small amount of garment sewing I’ve done is that I never seem to get the fit quite right. Making the practice jacket definitely helped with that!
I started with a size 16 based on my measurements, but that came out way too big. Maybe my measurements were off? Who knows. I sized down to 14, and finally to 12, which fit nicely. I was also very lucky that the jacket fit well with no other pattern modifications — because I’m intimidated by those! I think the shoulders could use a slight adjustment if I really wanted to dial in the fit exactly, but that’s a detail I’m not really worried about.
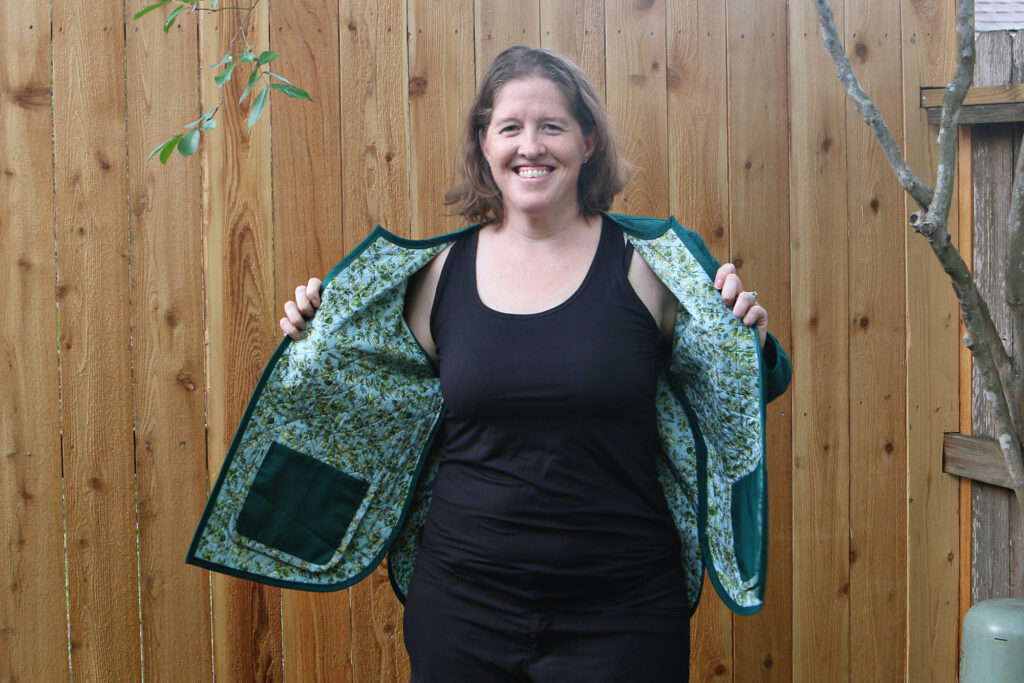
The print fabric on the inside does add a fun hidden element that I enjoy, and the cotton lawn is nice and soft. I’m particularly proud of the welt pockets! I had never done that technique before and after a practice run on the practice coat which wasn’t great, I was able to nail them on the real coat. Whew!
I documented a lot of my progress on Instagram, which you can find saved in the stories on my profile.
Ironically, I finished this coat right as the weather is getting too warm in Houston to wear it! But I suspect it’ll come in useful in indoor settings during the summer (because all a/c systems are set to “frigid” around here) and it’ll be great to wear it this fall and winter.
Hooray for a finished quilt coat!


Your jacket is so pretty.
Hooray for sure! I like your ‘wholecloth’ version alot, especially with the hidden fun print inside!