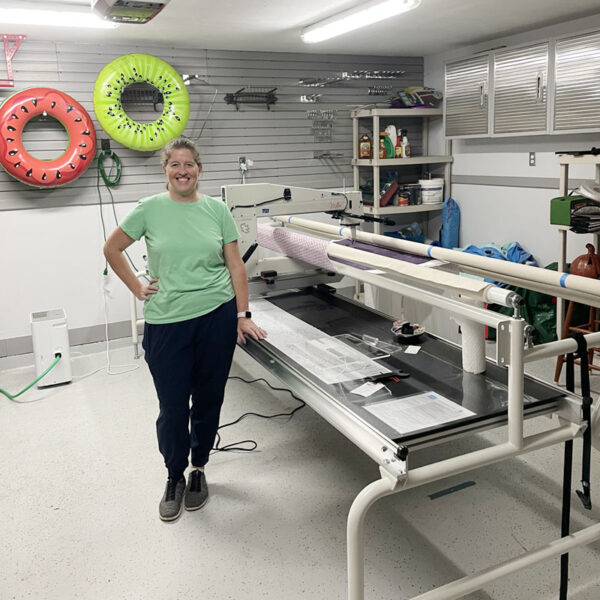
Today’s 31 Days of Blogging prompt is “my machine” so I thought I’d share more about my new-to-me longarm and how I got it up and running! I tried longarm quilting for the first time almost 3 years ago by renting time on a Handi Quilter Avante at a Houston-area shop. I went back a few times to work on other quilts, and dreamed about someday having my own longarm…but I truly thought it would be something I did at least 5-10 years down the road, when my kids are older, or maybe even after they’re off to college.
But then my friend Anna texted me in early October that she was looking to sell her longarm, and was I interested?
It took me about 5 seconds to say yes.
Coincidentally, the machine in question was also an Avante, so I had the benefit of having used the model before. I spent a couple days giving myself a crash course in longarms (and the Avante in particular), and then went over to Anna’s house to test it out. Once it was clear that the machine was in working order, she helped me disassemble everything and load it into my car for the trip to its new home.
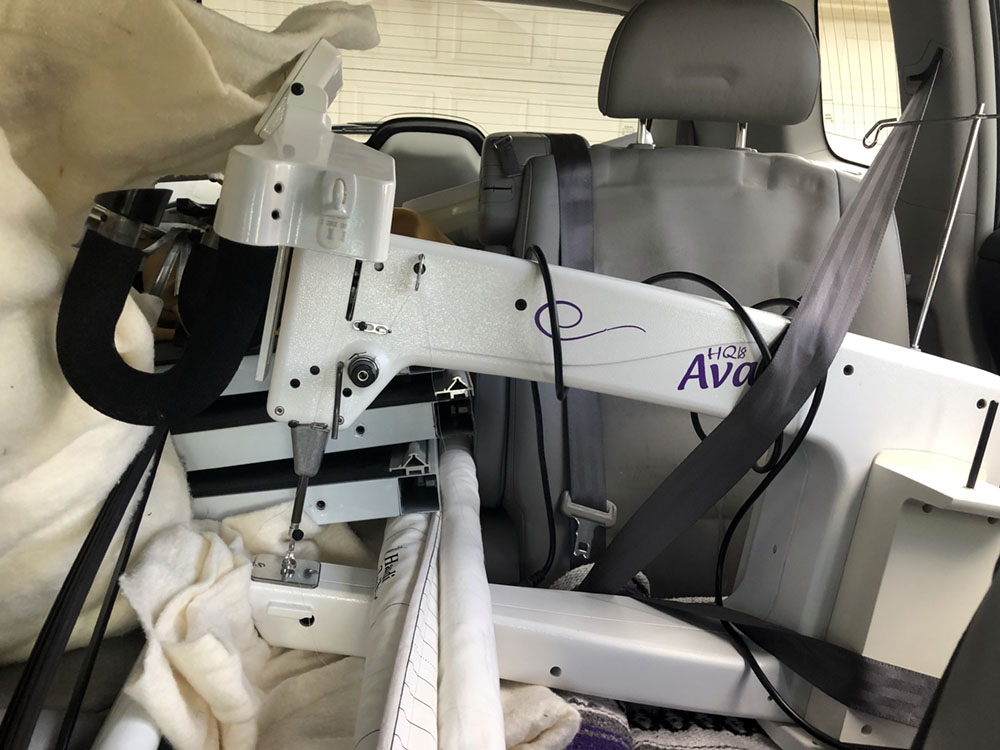
I think the two big issues people deal with when considering a longarm are 1) cost and 2) space. These are not small or cheap machines! I considered putting it in my sewing room of course, but in the end it made more sense to set it up in our guest room. We only use the room for guests a handful of times each year, and it just didn’t make sense to try to cram the longarm somewhere else when we had a whole room that was virtually unused. So the guest room is now a guest room/longarm room!
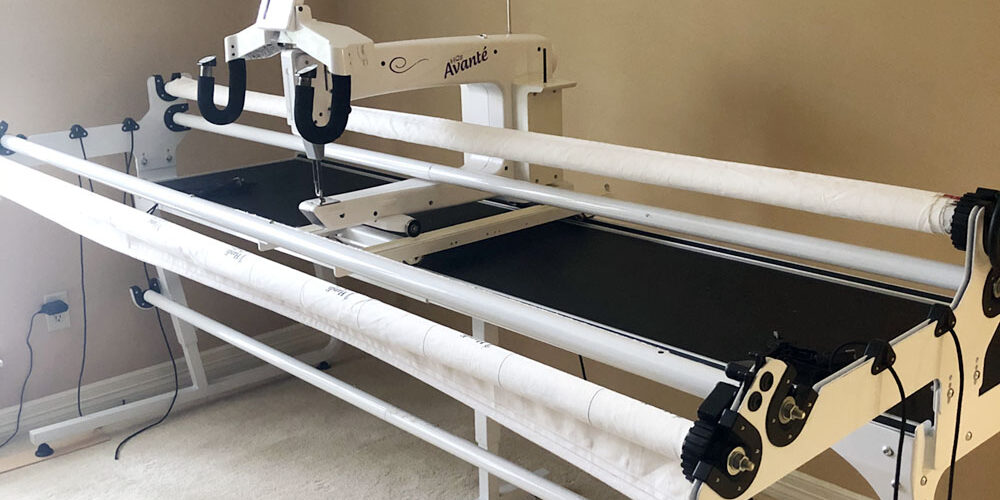
We moved an armchair into the girls’ playroom, and moved a large dresser into the garage (and will eventually get rid of it). That freed up one wall for the longarm. The full-size frame is 12 feet wide, but the room isn’t big enough for that so I set up 2 of the 3 sections for an 8-foot frame. This seems to be a VERY common setup due to space limitations; I’ll still be able to handle up to a full size quilt.
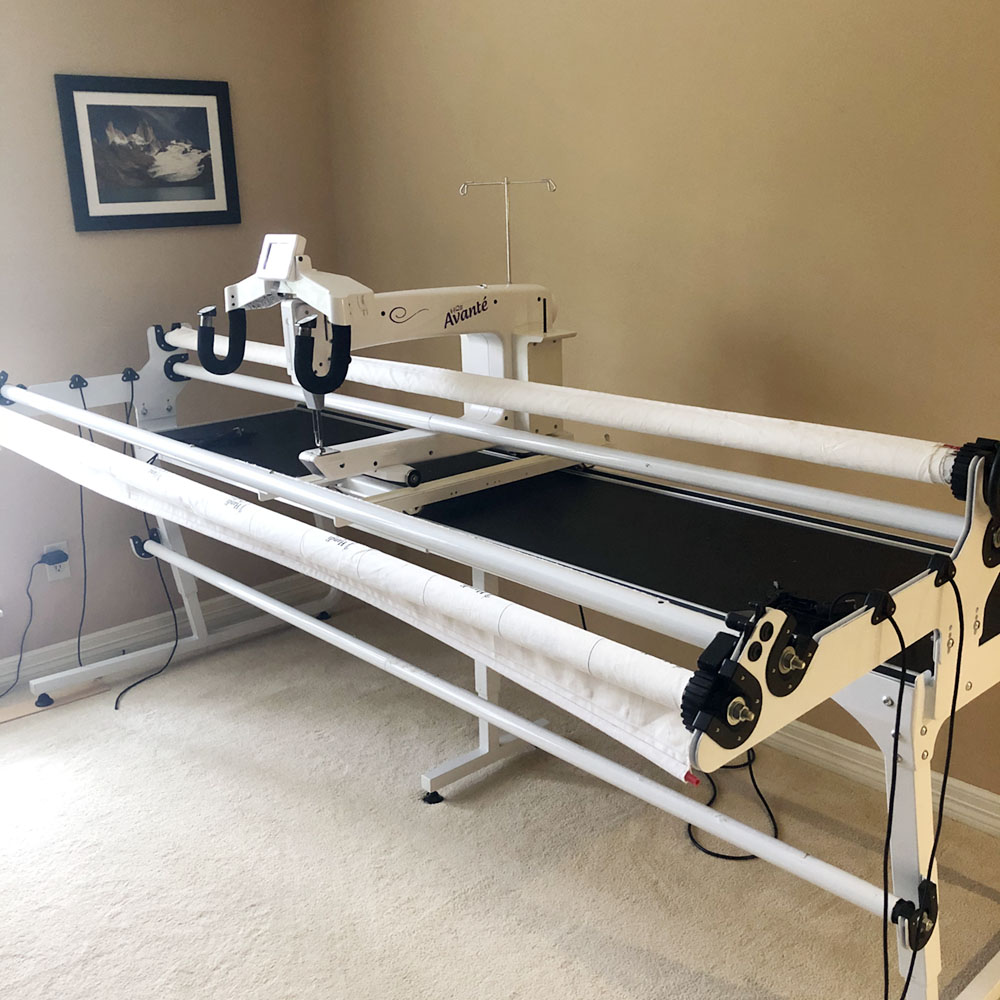
This is the original Avante model from 2009. It was heavily used for many years by the original owner, but then very lightly used after Anna bought it a couple years ago. So I inherited a well-used but somewhat dated machine. It had not been serviced in several years so while everything is working smoothly, I do plan to have it serviced as soon as I can get an appointment.
(A note: Handi Quilter recently discontinued this particular machine, although they continue to support it. Part of my research before buying included calling my closest Handi Quilter dealer and confirming that service and parts would not be a problem, at least not for the near future.)
(Also FYI this machine did not come with a computer, and I don’t have any immediate plans to add one.)
I took great care while setting up the machine to make conditions as ideal as possible. I carefully leveled the table, then cleaned and dusted the exterior of the machine, the carriage tracks and wheels, and the table tracks. The tracks did have some grime and dirt build-up, and once that was removed I was happy with how smoothly the machine glides in all directions.
Although the machine came with a ton of bonus accessories and supplies, there were a couple things I needed to pick up to help ensure success:
+ The bobbin case (which I believe was the original) showed a bit of wear, so I purchased a new one to make sure it didn’t cause any strange thread tension issues.
+ The oiler pen was practically dried up and clogged with gunk, so I bought a new one in order to make sure I can maintain the recommendation to oil the bobbin case at the beginning of each new project.
+ I could only find one plastic channel lock in the bin of accessories, so I picked up a new set to have one for each carriage wheel. These are just plastic rings so they’re quite cheap, but also pretty effective.
+ Two of the bungee clamps were missing gripper pieces at the clamp ends, so I bought a new pack of clamps. (Tip: I was able to buy cheap generic clamps and just attach them to the bungees I already had.)
+ I just bought the Sure Foot presser foot (an upgrade from the standard foot included with the machine) during a Black Friday sale to help with ruler work.
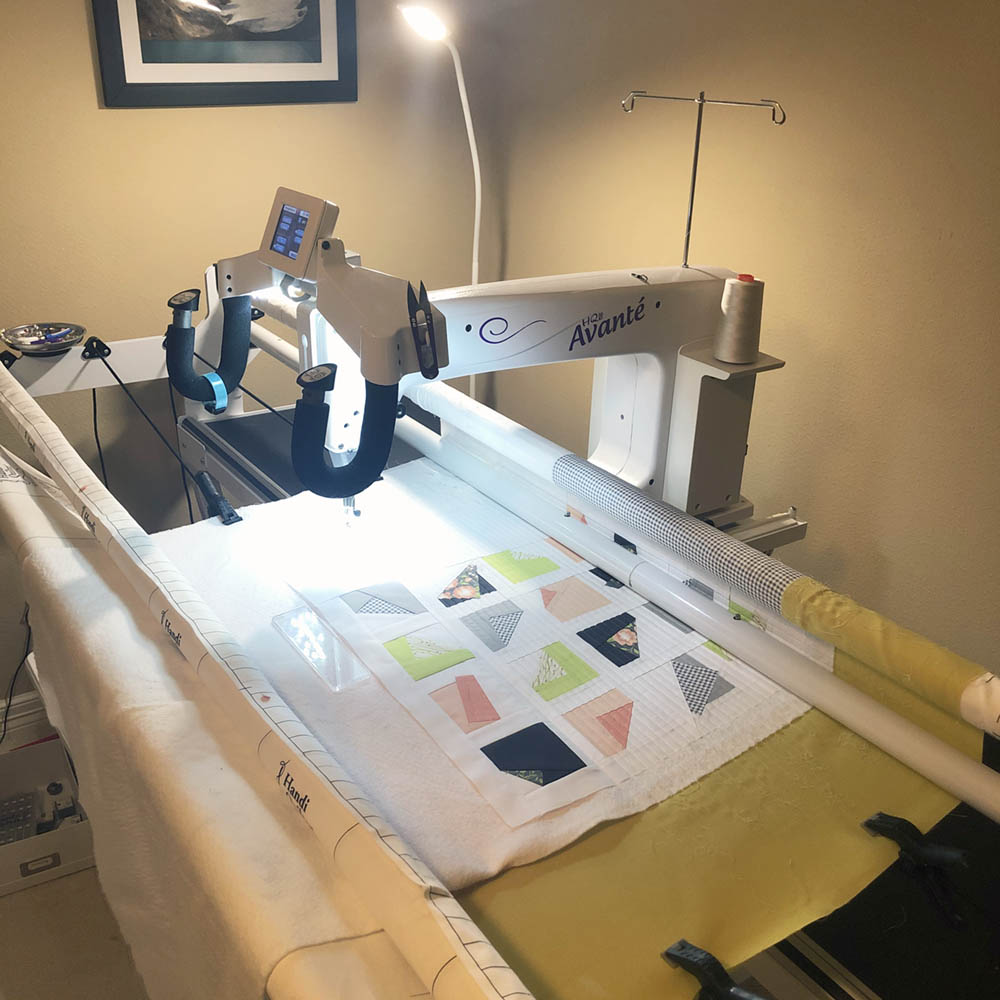
+ And finally, while not directly related to the machine, I found I wanted more light than what the overhead fan light in the room put out, so I added an adjustable LED lamp (seen in the photo above) that’s working well.
In addition, there are two more things I may pick up in the near future:
+ Because the plastic carriage tracks show some wear and pitting, I’m strongly considering this carriage track upgrade kit.
+ The bobbin winder that came with the machine is functional, but requires me to physically push and hold the winding mechanism forward in order to engage with the motor. This is not how the bobbin winder is supposed to work, so I’ve asked for a new one for Christmas!
Longarms are very pricey machines. Buying a new one would be easily over $10,000! But because of the age and high number of stitches on this machine, Anna was willing to give me an extremely fair price. That makes the ~$200 I’ve spent thus far in replacing and/or upgrading components feel much more reasonable.
From my research, I know that the Avante is a quality machine and while I’m sure I’ll discover some quirks (as it seems most longarms have!), I think this older, well-loved one is the perfect way for me to gain experience and build skill. If/when I choose to upgrade in the future, I’ll have a much better idea of what I want!
I’ve had my longarm for a month and a half now and have quilted 3 quilts on it. I really enjoy having this machine and am excited to learn more about longarm quilting in the months and years to come!
p.s. I’m doing a 31 day blogging challenge.



How totally awesome for you!!! If you had a larger quilt you wanted to quilt, you could always put the third section in temporarily and have the frame at an angle. So exciting!!! I know I love my 2008 Innova longarm that I bought 9 months after I pieced my first quilt!! YAY for you!!!!!
Honestly adding the 3rd section seems like a lot of work — ha! If I ever do a king size, I’ll just rent time on a machine somewhere else!!
You don’t need the rail upgrade, you already have current rails. You can just replace the black inserts( much cheaper also! Maybe 20 or 30$.
I also have a Avante and a HQ Forte.
The black inserts on the table rails are fine! The upgrade I mentioned is for the carriage rails and machine wheels. My carriage has plastic tracks that are worn and pitted.