I’ve had a lot of conversations with quilty friends in recent months about quilt photography, and how to get good photos — both for sharing on social media and to use for quilt show entries. The type of photo used for Instagram is often TOTALLY different from the type of photo needed for a quilt show entry — and I find the quilt show entry photo to be much harder to shoot!
Here’s a quick behind-the-scenes look at how I shot and digitally processed photos of my Clean Room quilt for a QuiltCon entry.
I took these with my Canon digital SLR. I definitely think you can get great quilt photos with a phone — and I use my phone for at least 90% of my quilt photos! But since I have an SLR, I figured I’d use it here.
Caveat: I am NOT a great photographer; I have researched a lot of tips and techniques, but still struggle with getting great photos. I’m 100% sure there are better ways to shoot, and probably better settings I should be using on my camera. I’m also sure there is additional equipment I could buy, but I really want to work as much as I can with what I already have.
This was my first photo. I was standing on a stool, and the quilt is on the floor of my sewing room laid on top of a white flannel sheet:
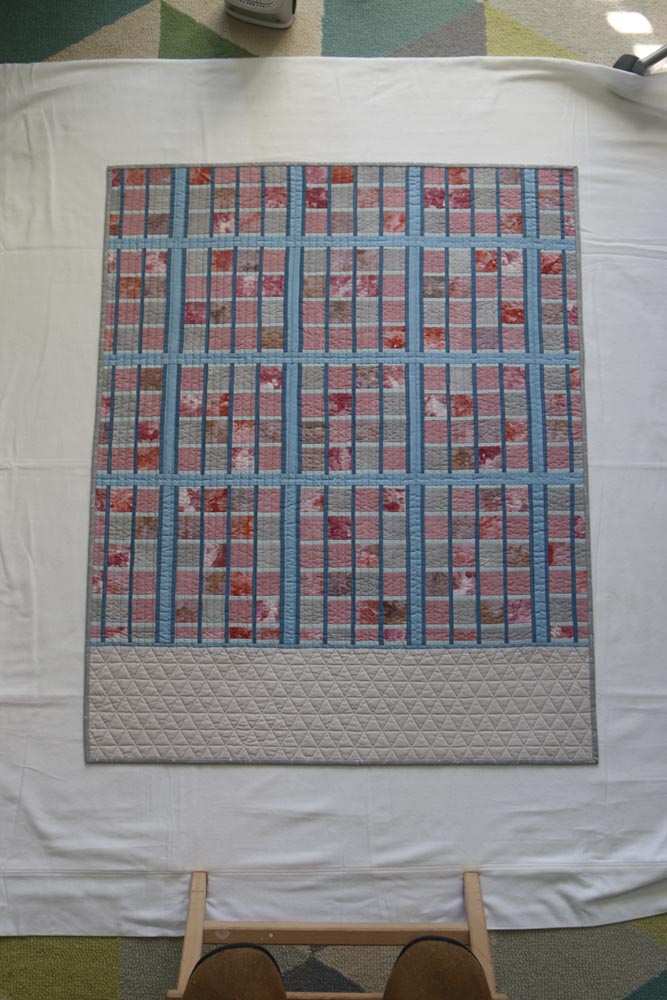
Since I couldn’t get directly above the quilt, the straight-out-of-the-camera image skews the shape of the quilt and it looks a bit like a trapezoid instead of a rectangle. I adjusted that in Photoshop, and cropped and brightened the image a bit.
I have heard a lot of debate about the use of imaging software with quilt show images. For the record, I think you can and absolutely should use a tool like Photoshop or one of the many cheaper alternatives to adjust brightness and colors to be as true-to-life as possible. I don’t think this is “cheating” in any way.
I DON’T think it’d be fair to use the cloning or patch tools, or digitally erase/replace trouble spots in the quilt — basically, do anything that would make the quilt look different in the photo than what someone would see in real life. But basic level adjustments and color correction is not the same as digitally altering the image.
After adjustments, I ended up with this photo:
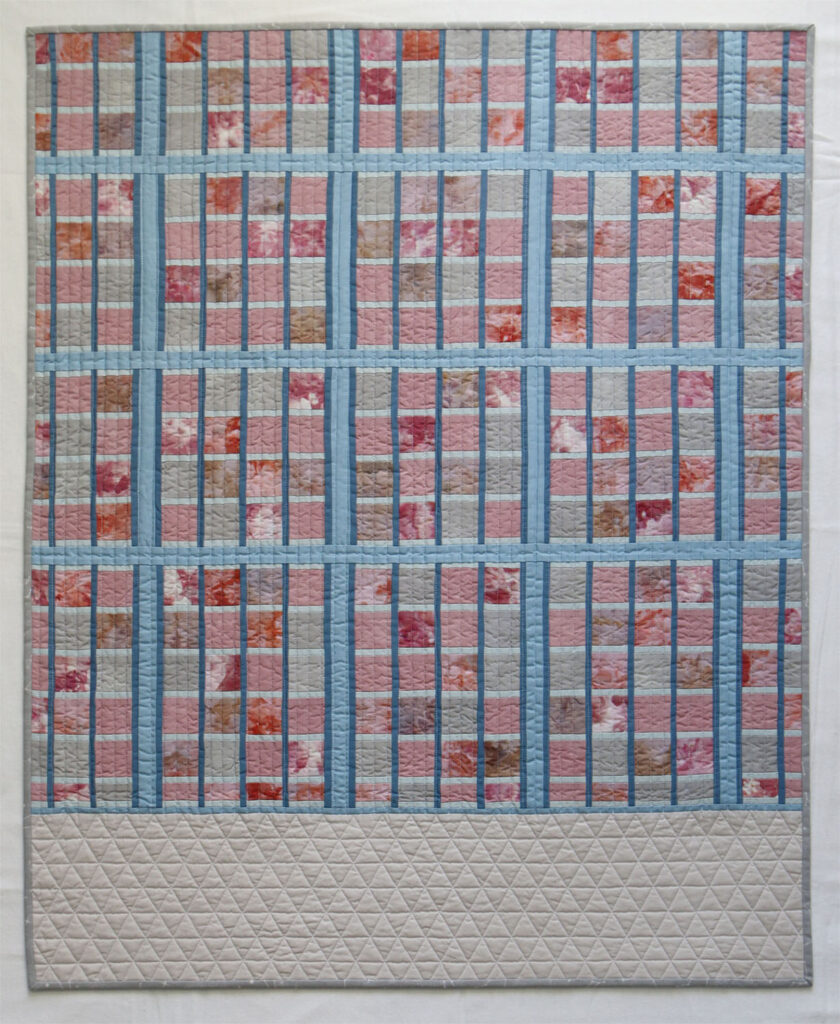
It’s…ok. It shows the whole quilt and relatively true-to-life color, although it looks a bit duller than the quilt really is. The lighting is brighter from upper right and darker at left. Part of this is my fault — if you look at the first image, you can see I inadvertently left my iron sitting on the floor and it cast a slight shadow that I didn’t notice. The other part is simply that my window is located on one wall of the room and I don’t have reflectors to help bounce the light around.
I probably could have played around in Photoshop a bit more to adjust the colors to be as true-to-life as possible…but instead, I decided to try something different.
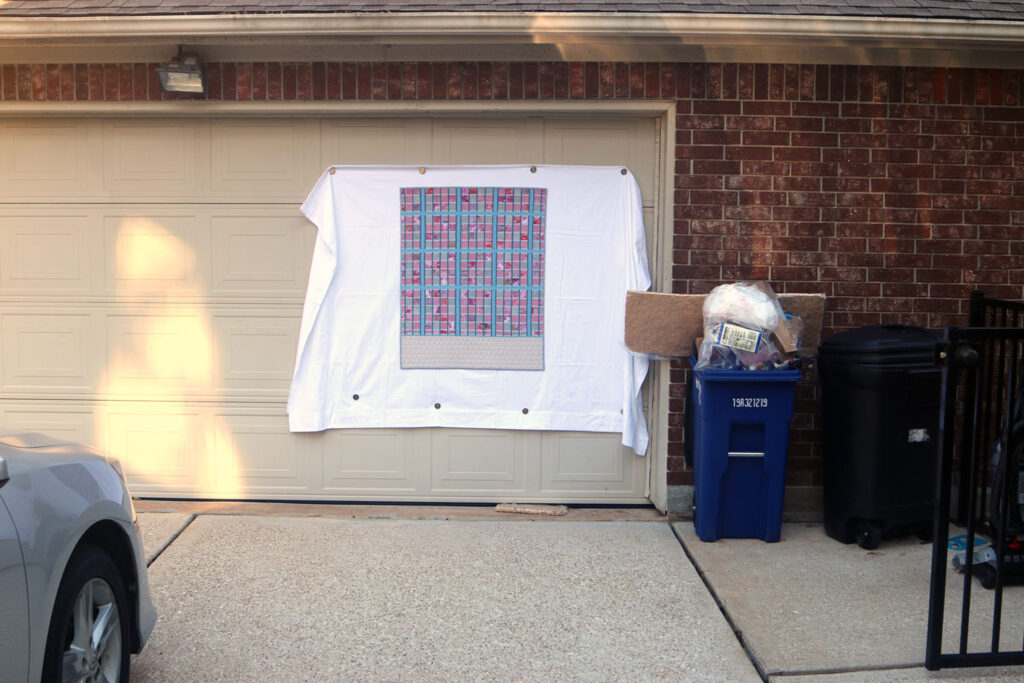
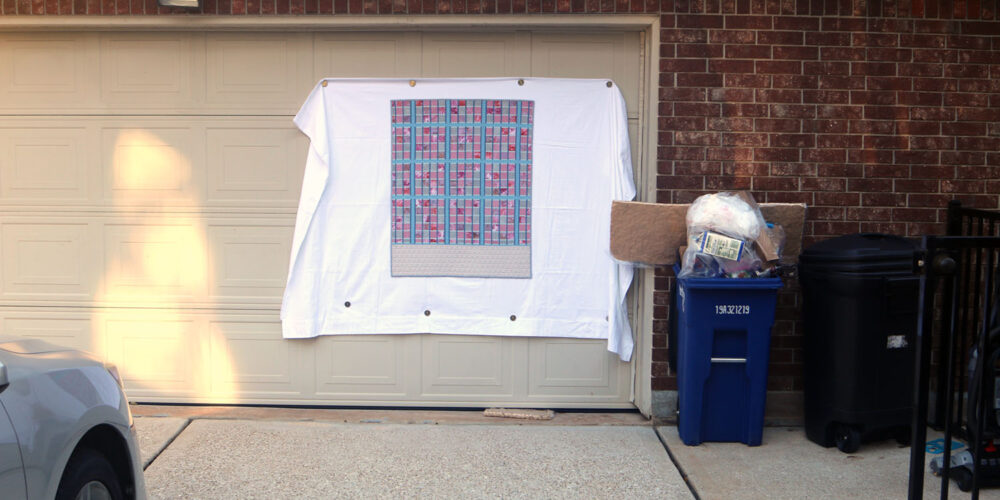
I took my flannel sheet outside and secured it to our metal garage door with fishing magnets. Then I smoothed my quilt on top of the sheet. The flannel was enough to hold it in place, although if/when I need photos of a larger quilt I’ll probably need to pin the quilt in place.
I also noted that there are definitely certain times of day this technique will work and others that won’t due to where the sun is! I was able to find a large enough spot in the shade, but sometimes the garage door gets a lot more direct sunlight — which wouldn’t be good for quilt photos.
(Also: proof that you never know what’s just outside the frame in any given photo — like a car or a recycling bin!!)
This was my straight-out-of-the-camera photo:
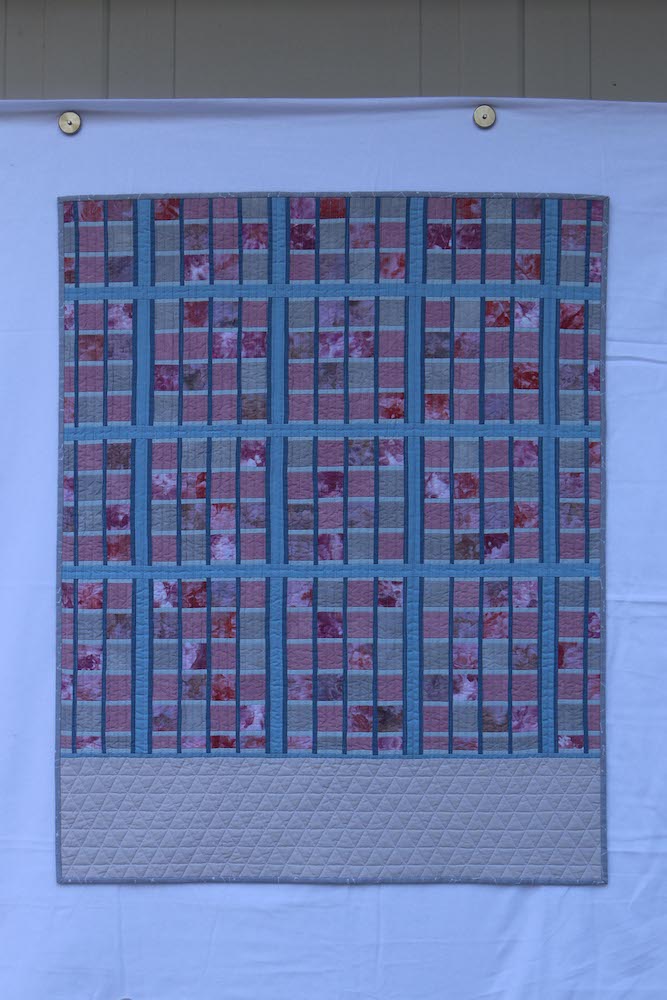
Again, you can see that the initial photo needs work! In particular, the white balance is way off, which gives the whole photo an artificial blue tint. I brought it into Photoshop and used the white flannel sheet as a reference point to adjust the levels of the photo, and voila — I had a much better photo with more even lighting that more accurately shows the true colors of the quilt.
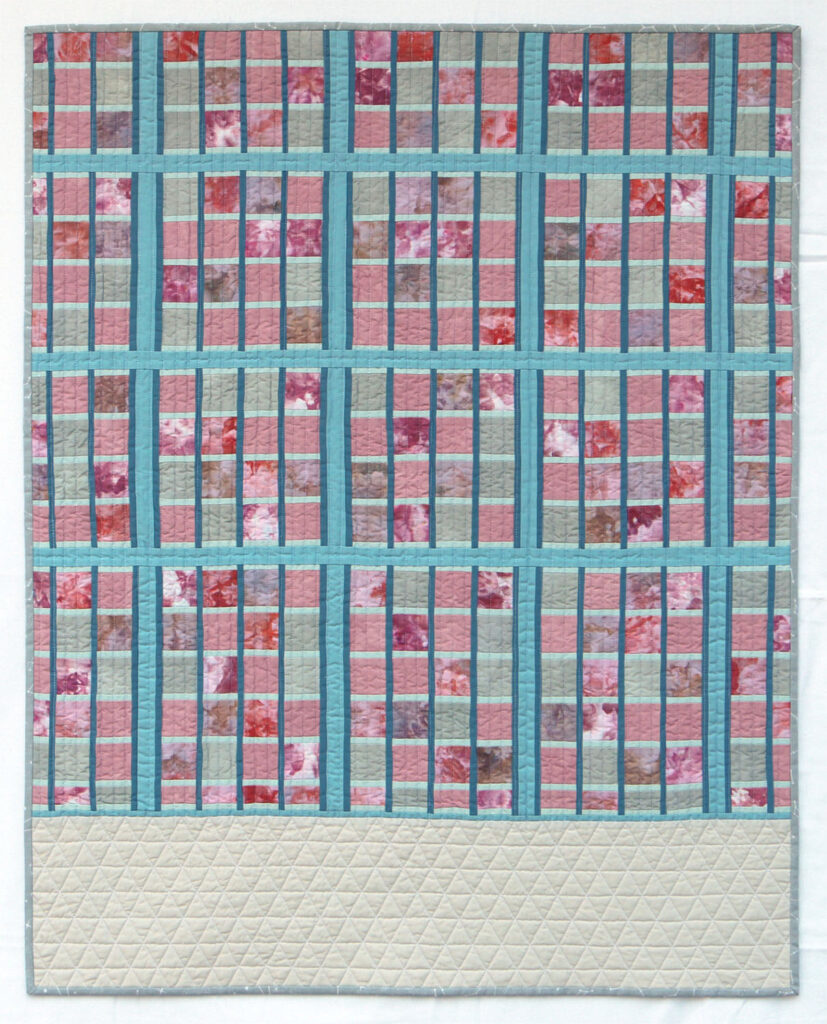
This is the photo I included in my QuiltCon entry. Is it the best quilt photo ever? Not even close. I still have a LOT to learn about taking photos and using my camera most effectively. But this worked well enough for me and I’m happy with the final photo.
I’m also happy to have landed on a solution — a white flannel sheet + magnets + a metal garage door — that I think will work well for this type of quilt “glamour shot” in the future.


Having a good reference point, like the white flannel sheet, is incredibly helpful to get the white balance correct. I feel like it’s a constantly evolving process to get better at something!
It really, really is!!
These little photography tricks are always interesting. And nice quilt! I was curious enough to go look up the source that inspired you.
I use my garage door as well. The white flannel sheet and magnets is a great idea. I will try it next time. I’ve tried folded painters tape to mount the quilt to the garage door. It works but needs constant adjusting. I’ve also tried a photography backdrop frame – this is great for getting IG style shots in different locations but not good for a flat lay pic.
Yes, I have a photo backdrop stand too and you’re right — it’s very useful, but still challenging for a truly flat pic!