Way back in February, my guild announced our annual challenge. This year’s theme was curves! We were originally going to finish in May, but ended up postponing due to covid. When it became apparent that we’ll be meeting virtually for a while, we set July as the new deadline and had 12 awesome entries to see at our meeting last Sunday.
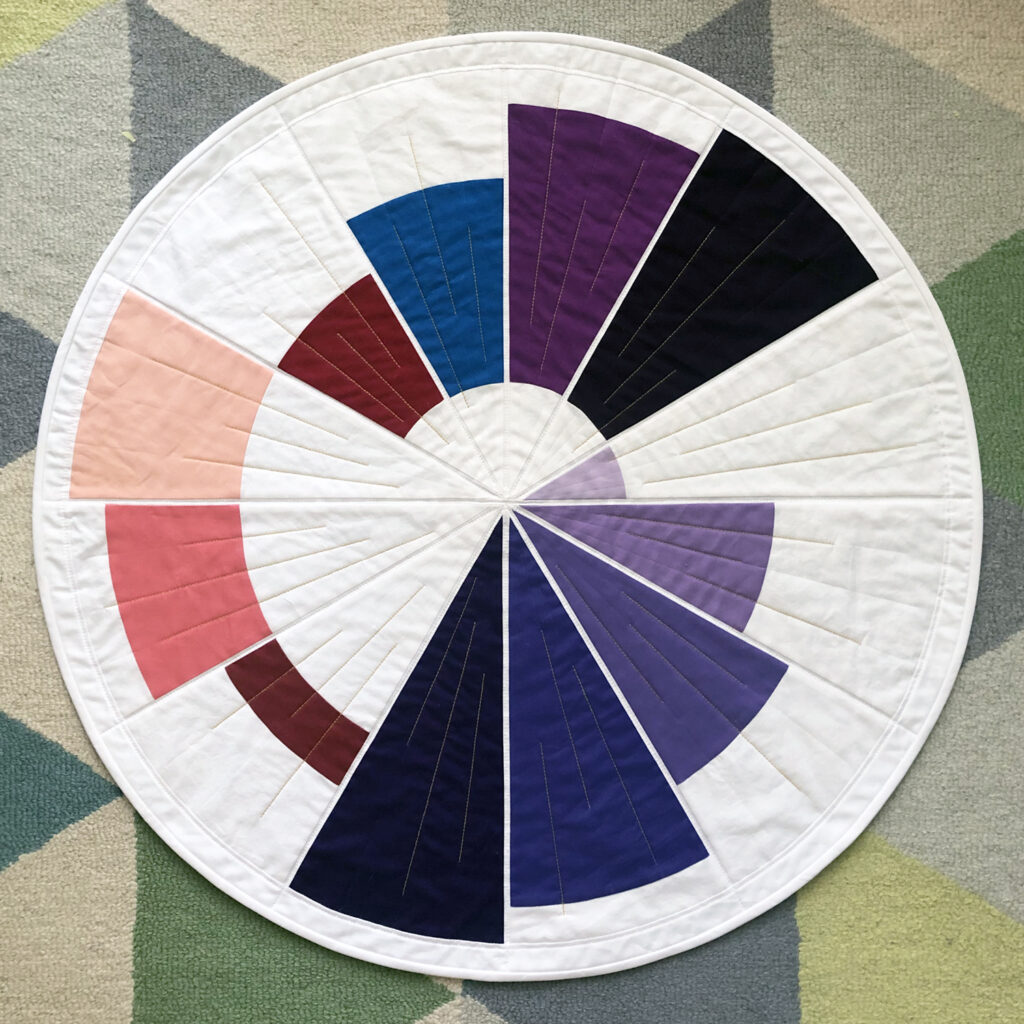
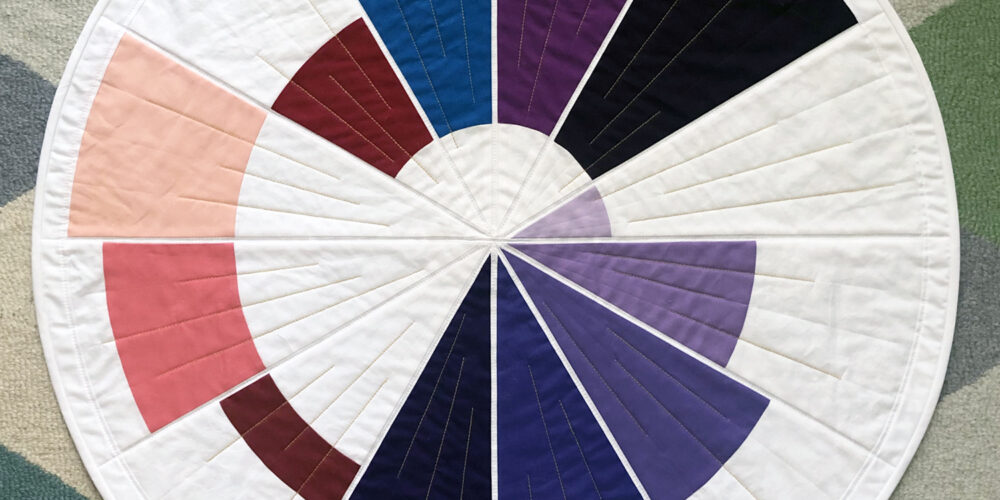
I used the curves theme as motivation to make a quilt I’ve had on my list for over a year! This quilt is a visual interpretation of a portion of the emission spectrum of the hydrogen atom. (A science quilt! Woohoo!) It’s based on this sketch that my husband made in February 2019:

I made a few modifications to his design but overall stuck pretty close to the original. I made an annotated image below to show the 3 spectral series represented on this quilt, and the wavelength of light (nm = nanometers) associated with each one. I am strongly considering adding some of these details to the quilt itself with embroidery, so this may not turn out to be the truly final version of this quilt — we shall see!

I finalized my design in Illustrator, created cutting templates, and got to work. I’ve done a good amount of curved piecing and skinny strips this year already on other quilts and postcards, and those turned out to be great skill builders for the curves and skinny strips in this piece. I was most worried about the center of this piece where all the lines and wedges come together, but it came together well enough. I was also relieved that the middle did not “volcano” — I think that’s due to careful piecing, grading the seams, and plenty of steam when pressing!

When I found this circle wedge print in my stash, I immediately knew it was destined to be the backing for this quilt. I had more than a yard of it and have no idea why — I think I bought it from Joann’s many years ago with the intent of making a shirt? No matter how it came into my stash, it was perfect.
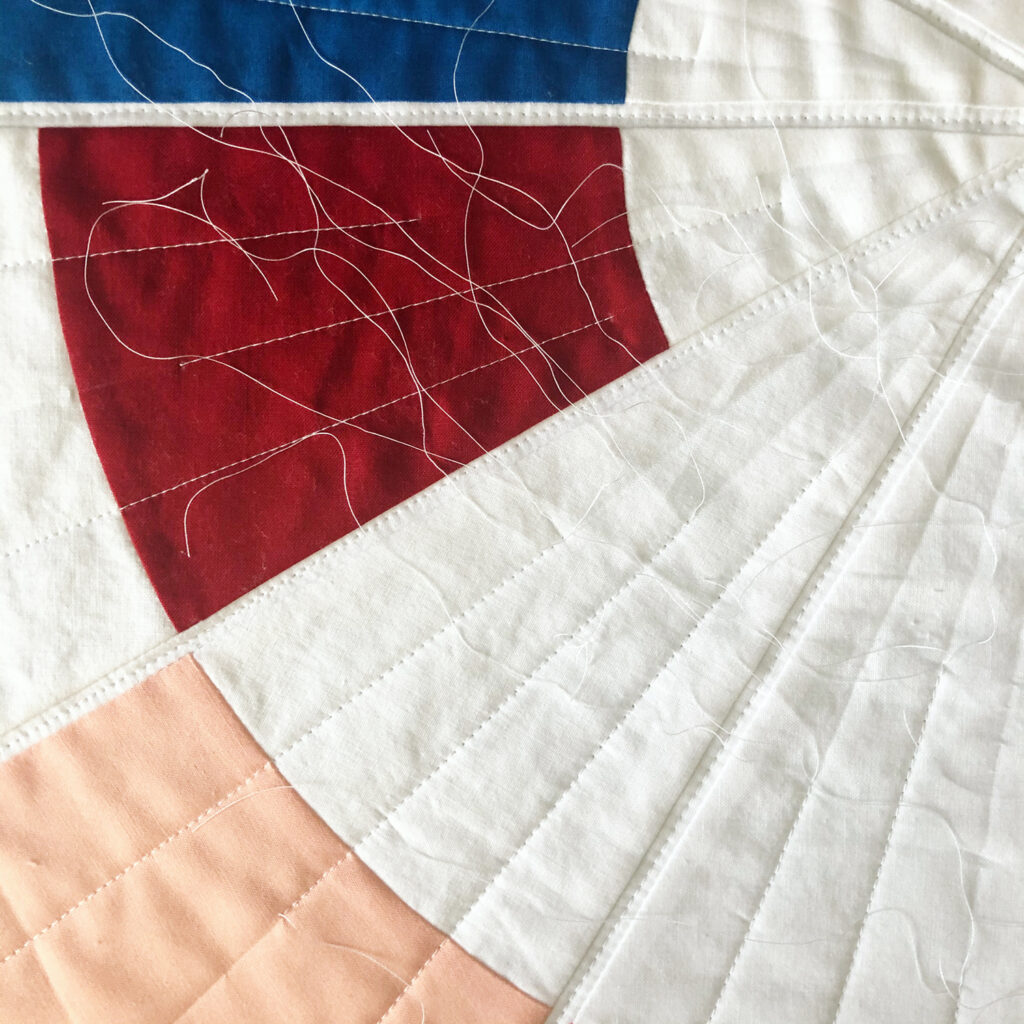
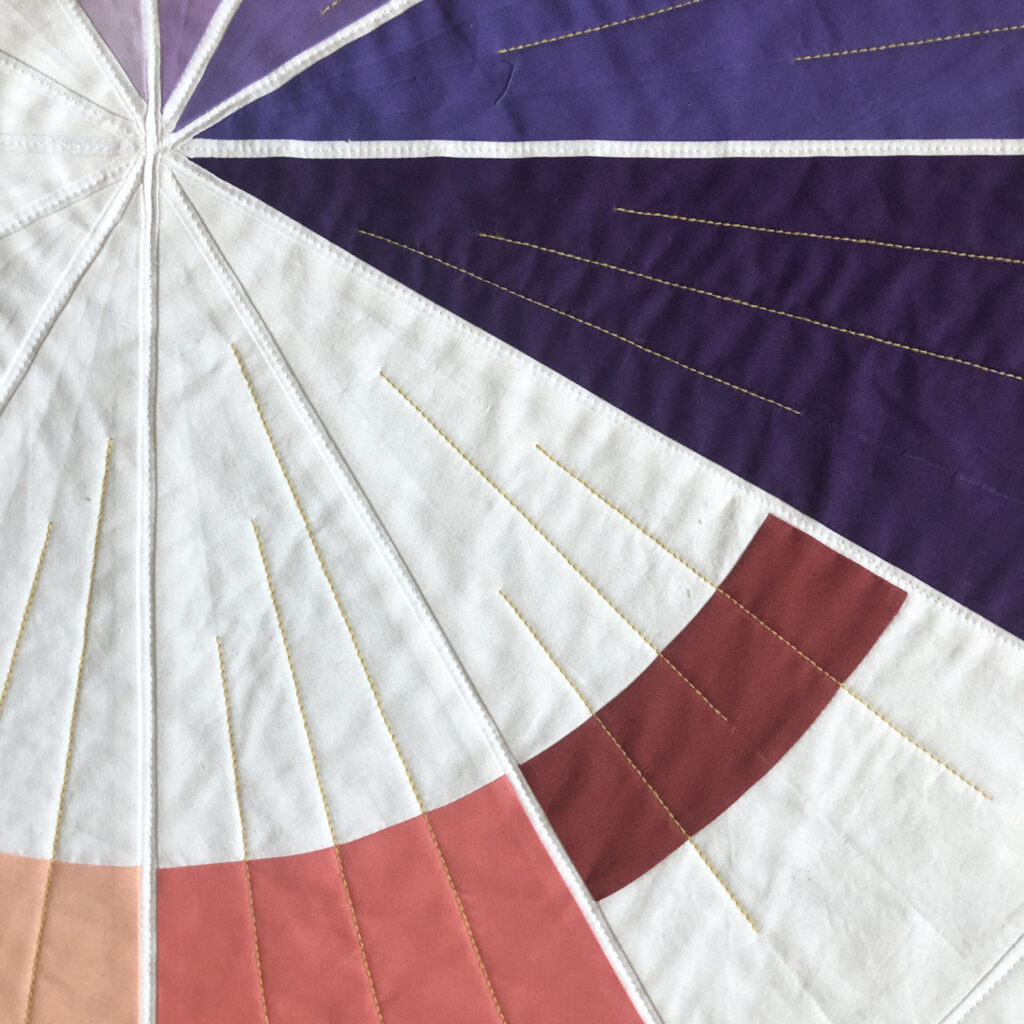
The quilting lines are meant to play up the idea of electrons transitioning between energy states. I had quilted them all with 50 wt white thread…and then decided I didn’t like it! The white just didn’t stand out enough. I ripped it out and redid each line in 12 wt gold thread, which I liked MUCH better. This was Aurifil wool/acrylic thread, which I had never used before but happened to have in my stash from a sample pack. In the future I think I’ll stick with cotton — the wool is a lot “fuzzier” than the cotton. But it was fun to experiment with and I definitely like the appearance of the thicker thread.
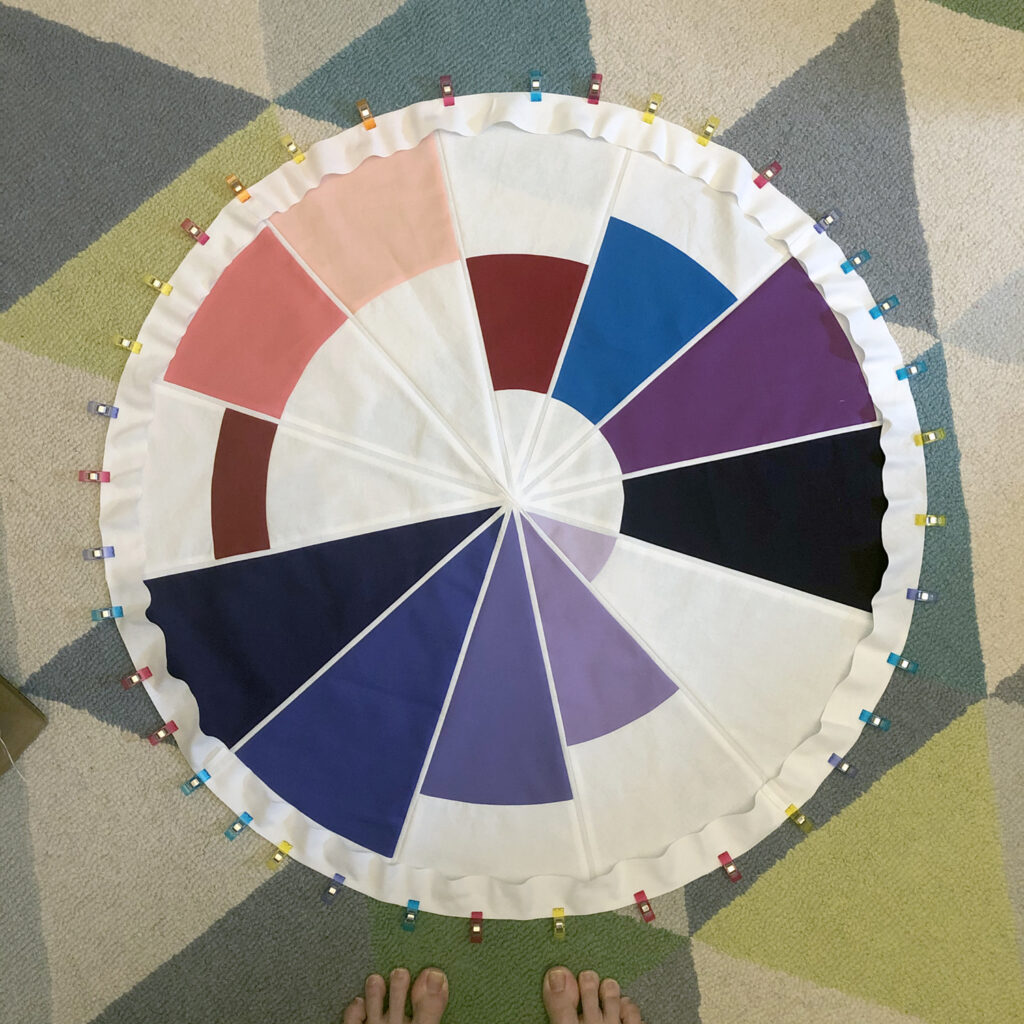
I had originally planned to make a square quilt, but after I got the central circle complete I changed tactics and decided to finish it as a circle as well! I added a small white border, which I cut as 4 quarter circle arcs and then pieced together. I finished with white binding, with strips cut on the bias. (I usually cut binding along the width of fabric but for a curved border like this, I wanted the stretch of bias binding.)
This was a fun quilt to make and it was fun to make a design that represented a sort of collaboration with my husband!
The stats:
- Quilt is 32″ in diameter.
- Fabrics are Kona White, plus other Kona, Moda Bella, and Michael Miller solids from my stash.
- Backing is an old print by Donna Wilder for Fabric Traditions.
- Binding is Kona white, hand stitched to the back.
- Machine quilted with a walking foot using Aurifil 50 wt (white) cotton thread and Aurifil 12 wt (gold) wool/acrylic thread.


This is the round or square quilt; I think the choice to leave the mini round was the right one. And the detail that this is a collaboration between you and your husband is great.
The circular shape is gonna make it harder to figure out how to hang! Ha! But I’m glad I left it circular too.
I love everything about this quilt – the visual is stunning even without the understanding of the science part. And I love the tiny strip of white between the colors.
Thanks Patty! The skinny strips were tricky but I was pleased with how they turned out!