February 2023 Update – This tutorial is exclusively available as a free PDF download in my shop. Just add the file to your shopping cart and check out. The total is $0.00 and you’ll get an email link to download the PDF. Happy postcard making!
Get the FREE Postcard Tutorial PDF download here.
I’ve been making quilted fabric postcards for more than two months now as part of my 100 Day Project in 2020! I wrote a post about my plans and process back in week 2, but now I have 60+ days of experience making these fun little pieces and have honed in on what works best for me.
The free PDF download has all the details on how to construct your postcard. Wondering what to make for the top/front of your first card? The options are really endless and only limited by your imagination! Mine have been pieced and paper pieced, appliqued and wholecloth, machine quilted and hand quilted, etc etc etc. You can also add embellishments like beads, sequins, etc.
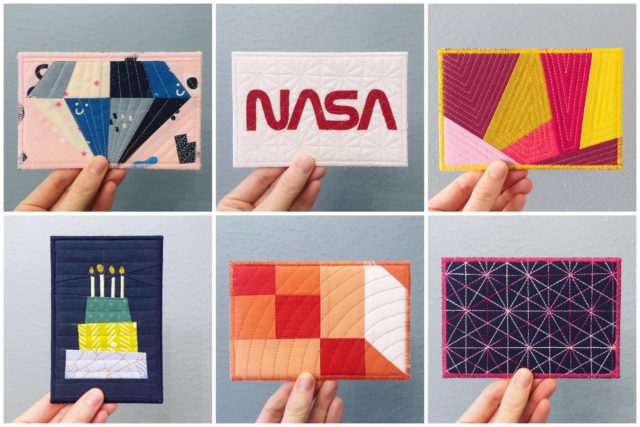
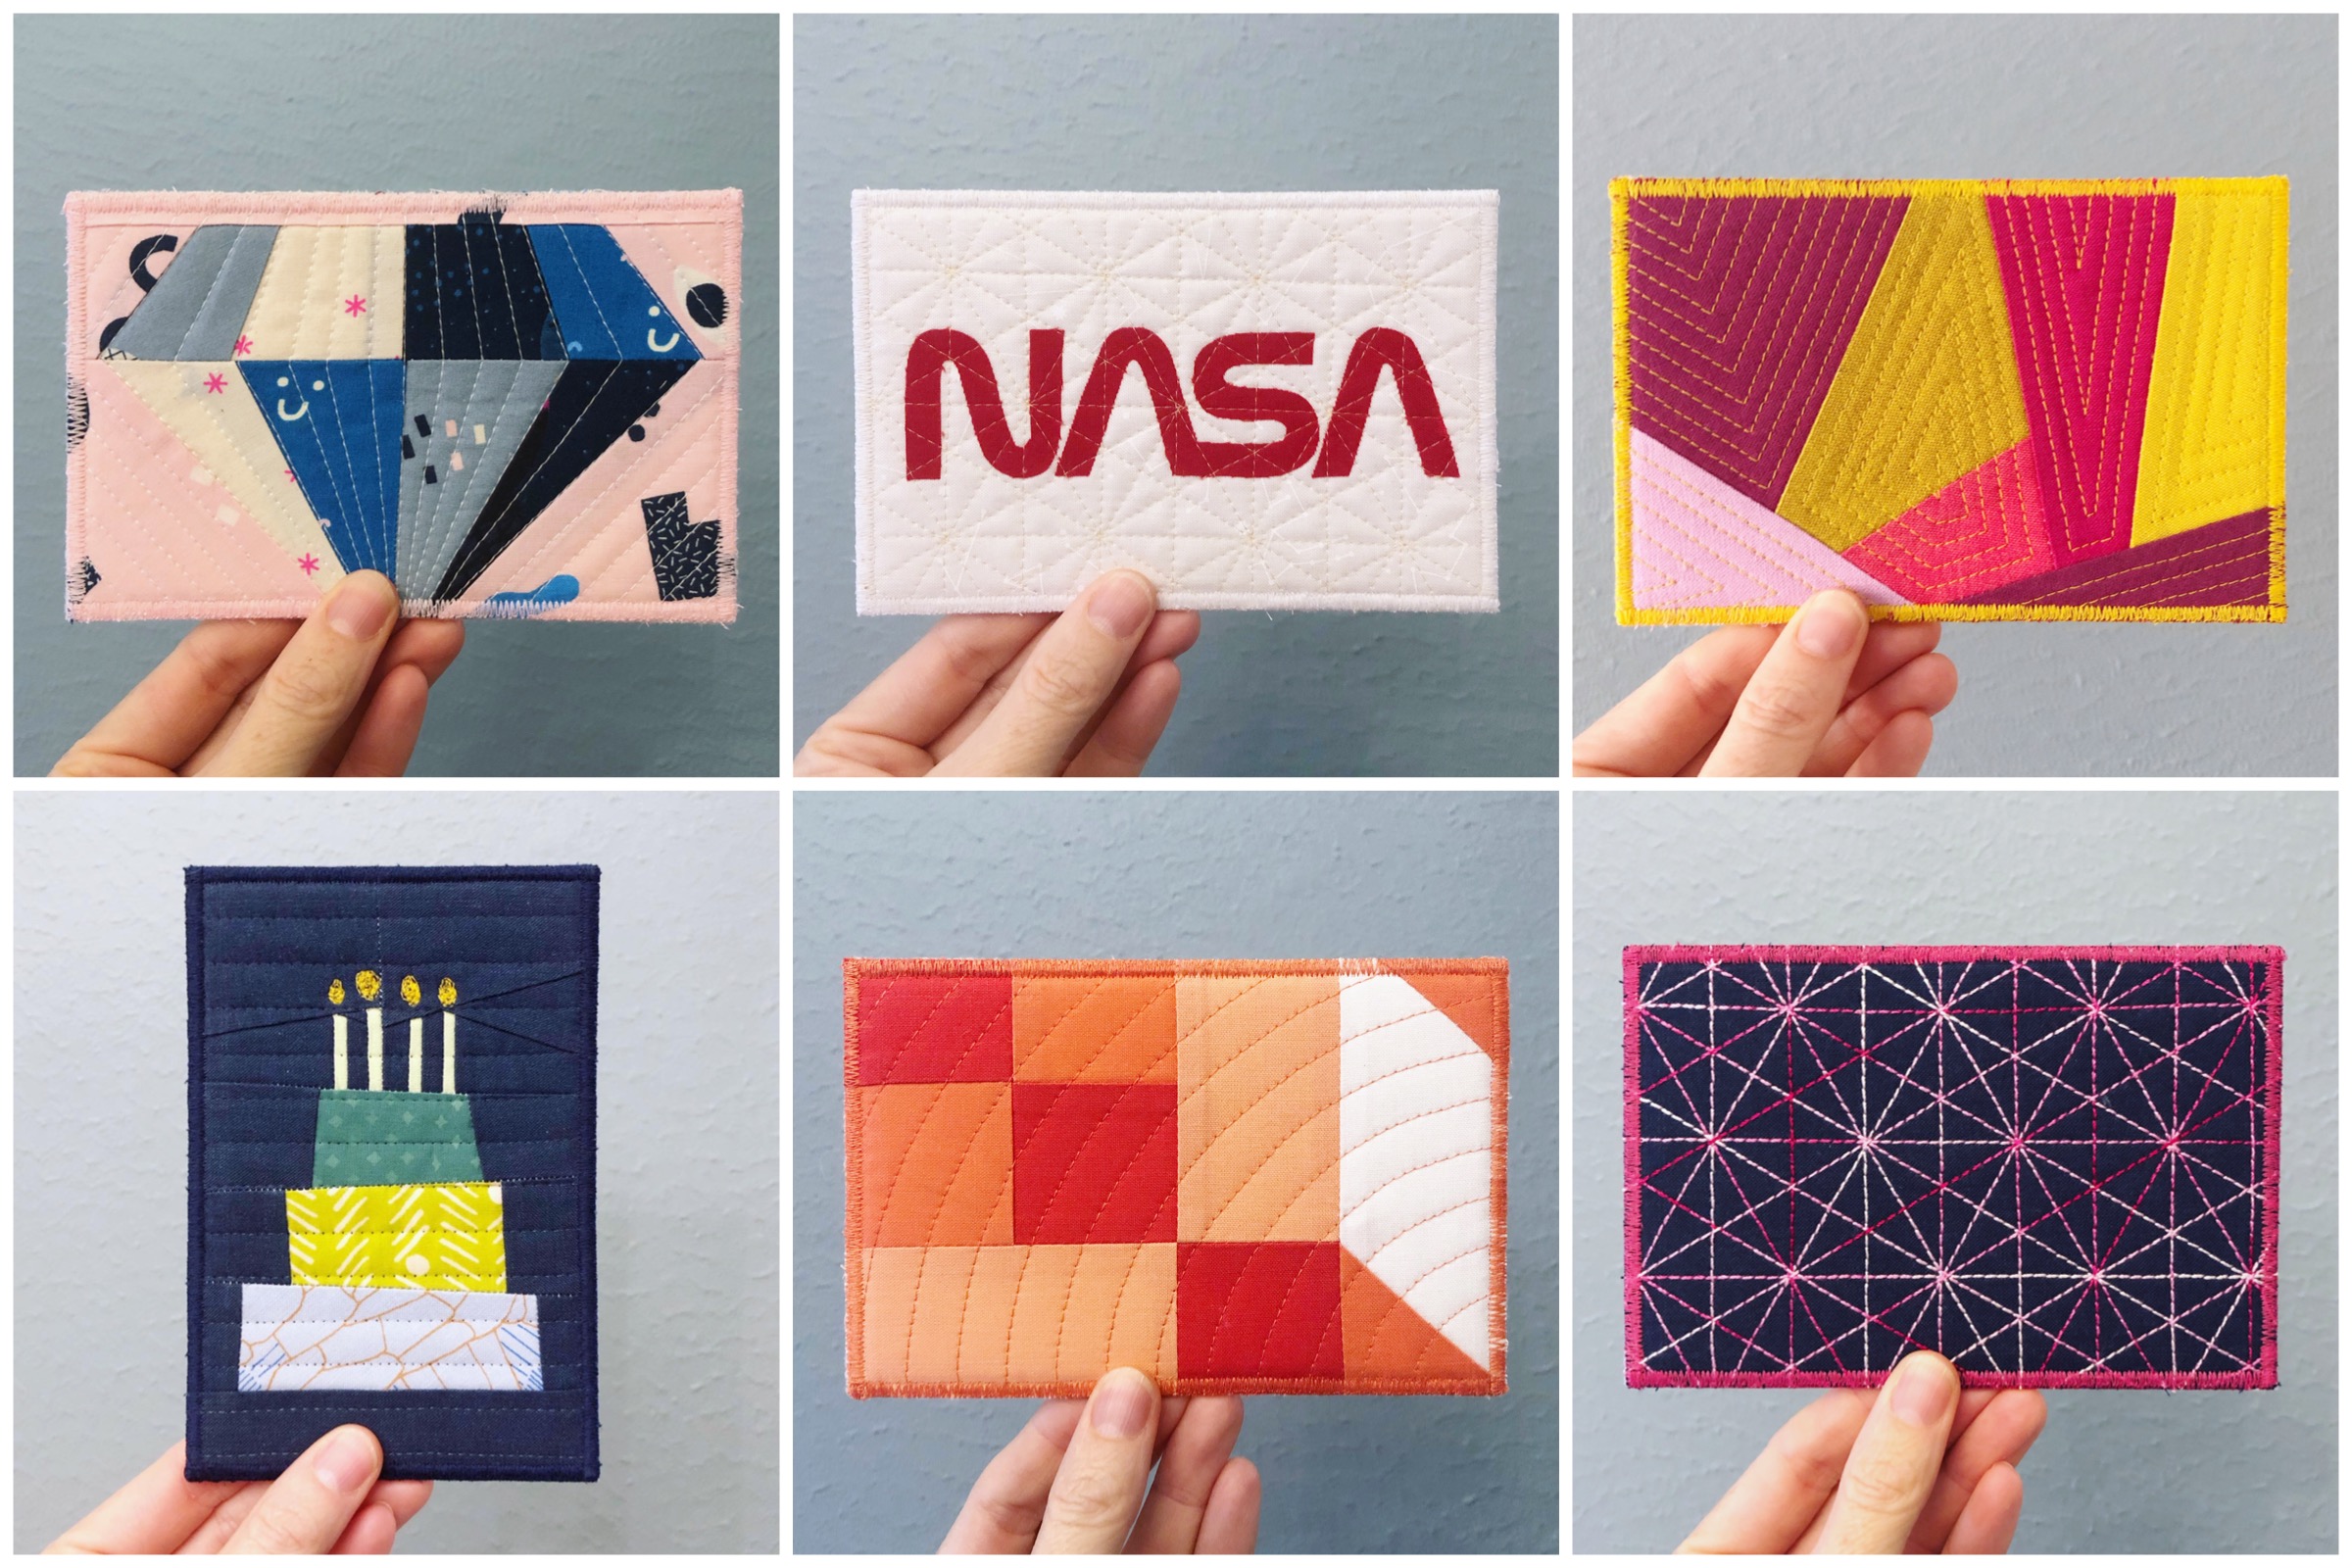
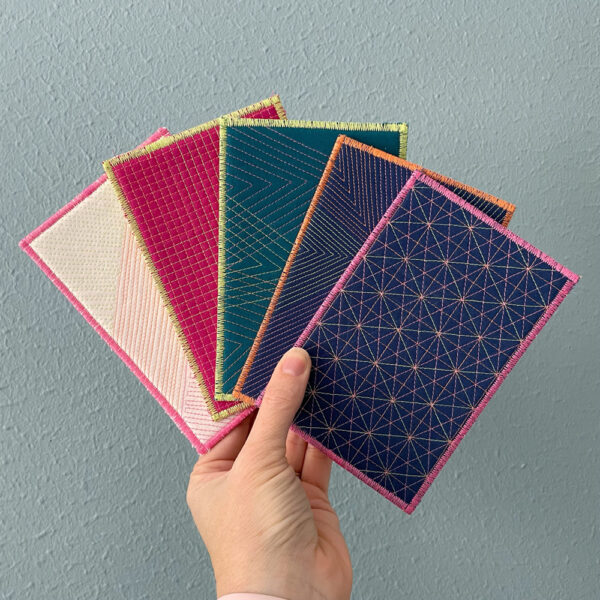
Some ideas (and a few examples pictured below):
- Try a new-to-you technique! I have really enjoyed using these small quilts as a way to practice techniques that have been on my “to try” list like pojagi, sashiko, and a fold/twist effect.
- Make a mini version of your favorite quilt block.
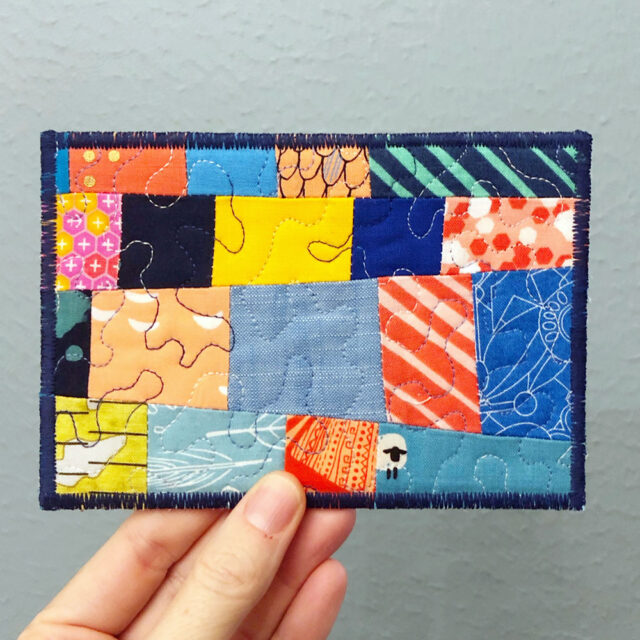
- Improv! Grab bits from your scrap bin and just go at it. See what happens.
- Shrink a paper piecing pattern to 4″ x 6″ and make it. Tiny paper piecing can produce some really awesome results.
- English paper piecing. There are plenty of fun things you can do here, from hexies to stars to pentagon flowers.
- Use orphan blocks or test blocks from previous quilts.
- Make words! Paper piece letters, or stitch or write a message.
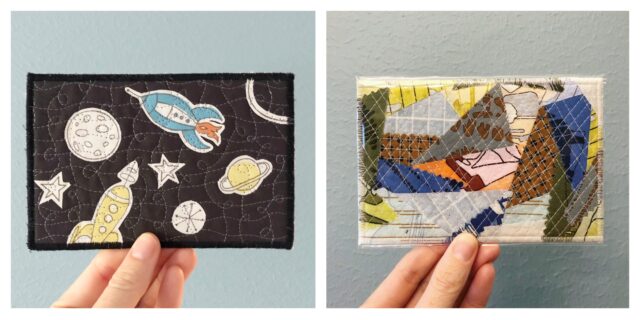
The postcard on the left was made using Wonder Under. I applied it to the back of a larger piece of fabric, fussy cut the rockets and space shapes, peeled off the paper backing, and fused them to the black background. The postcard on the right was made by laying Mistyfuse on top of a piece of batting, scattering scraps on top of that, and fusing everything together. The quilting lines then hold the raw edge pieces more securely.
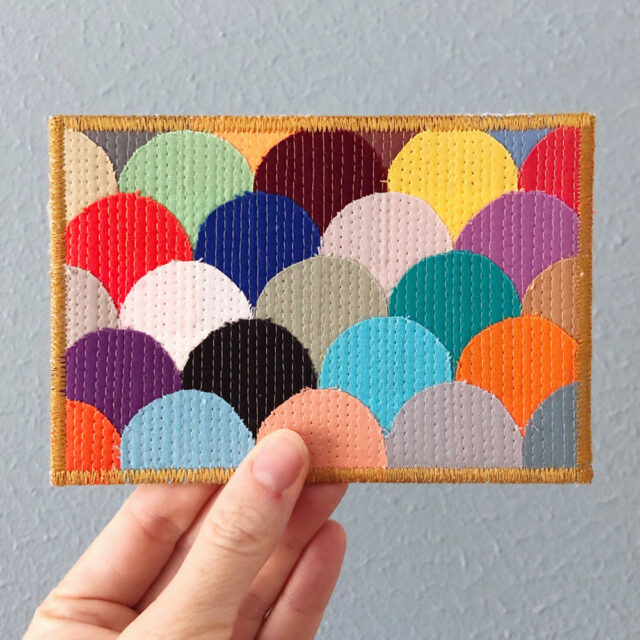
For the card above, I created a paper template to cut rounded pieces from fabric scraps. I used spray baste to temporarily stick each piece on the batting, overlapping them to create the clamshell effect. Matchstick quilting lines later secured the raw edges pieces to the batting.
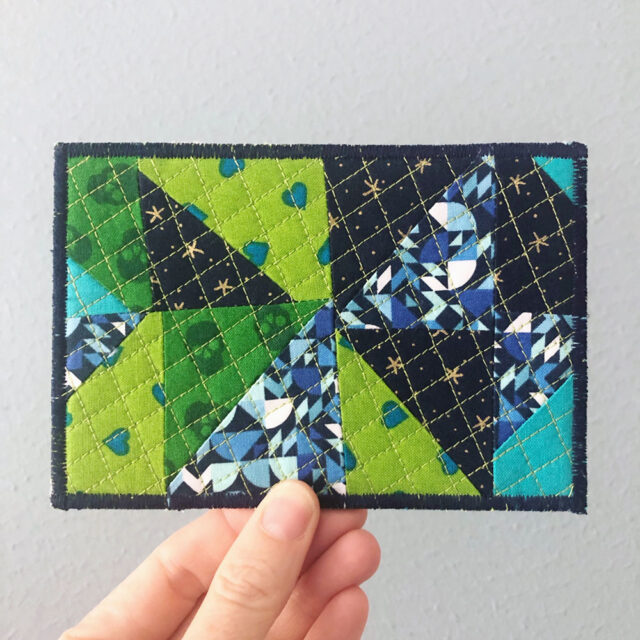
My Broken Zig Zag quilt uses a stitch-and-flip method that results in a lot of leftover triangles…which I put to use as small wonky half square triangles here!
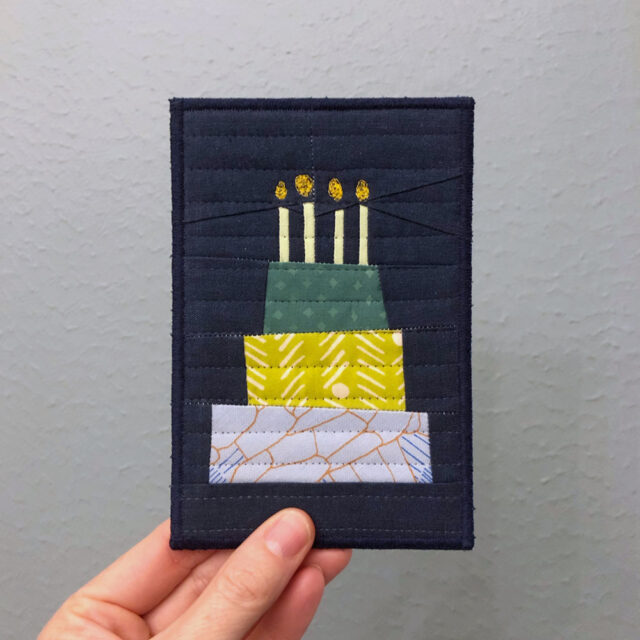
I whipped up a quick paper piecing pattern to make this birthday cake for my husband. You can download the (free) template here to make this yourself!
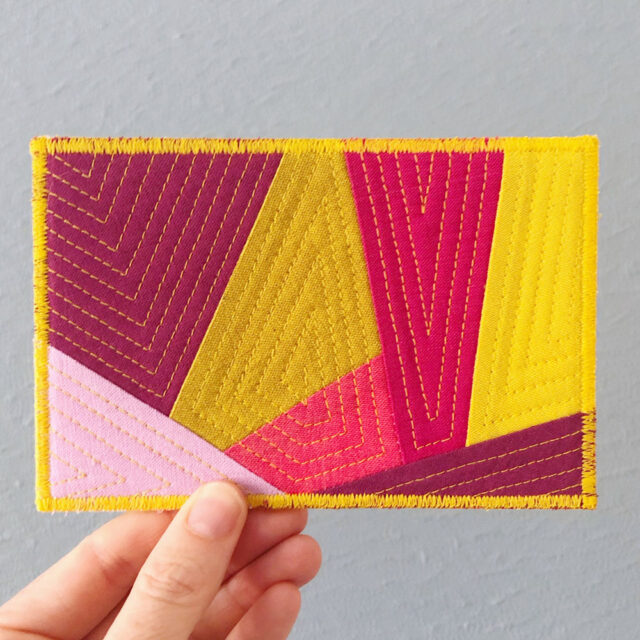
This postcard was quilted with straight lines that simply echo the seam lines in the piecing. Simple can be stunning!
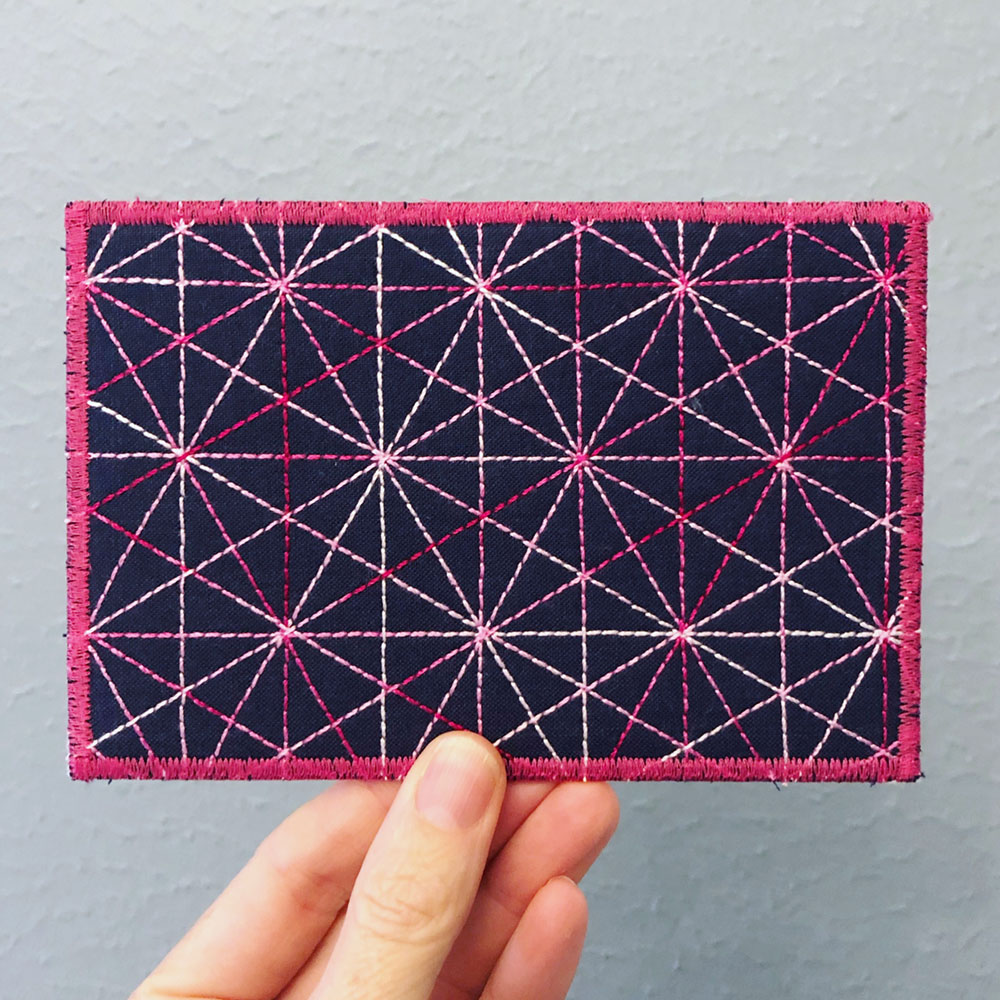
This wholecloth postcard is one of my very favorites. I used a single piece of navy solid fabric plus 12 wt variegated thread to stitch a walking foot quilting design from Jacquie Gehring’s book “Walk 2.0.”
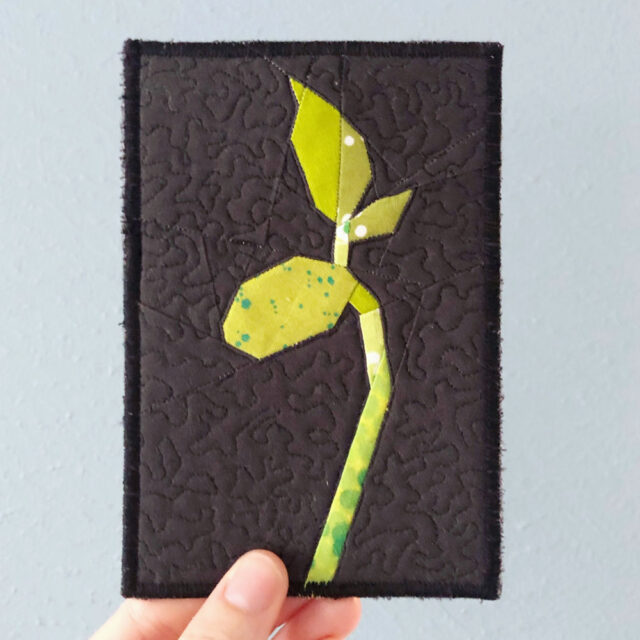
This is the paper pieced Bean Sprout pattern by Kitty Wilkin. I free motion quilted tiny squiggles all over the background and left the sprout free of any quilting.
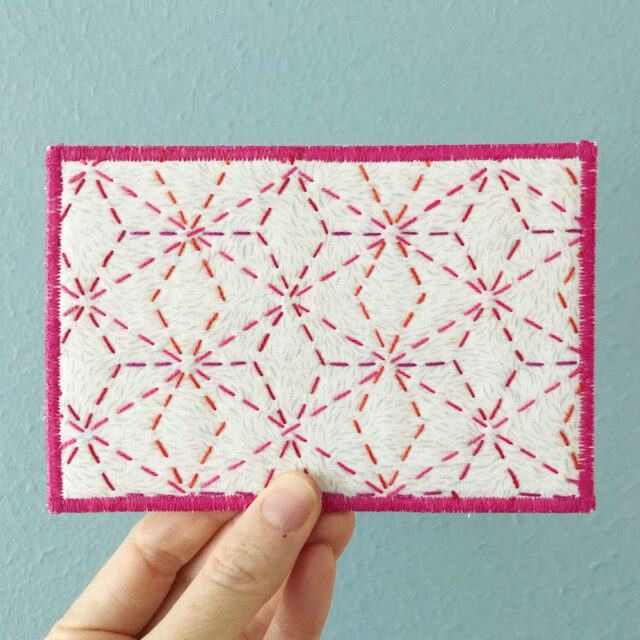
For this sashiko postcard, I used a water soluble fabric marking pen to trace the design on my background fabric. I stitched over the lines using perle cotton thread, then sprayed with water to remove the marked lines.
I hope you love the tutorial! I encourage you to start with my tips and techniques, then play around to find what works best for you. Happy mailing!


 #saroy1sec #1secondev


Thank you so much for these tips and tutorial to your awesome postcards! I’ve enjoyed watching your daily cards on IG and have thought many times that I’d love to make a few myself. Now I can…and will! Have a lovely day!
Yay! I’m glad it’s helpful. Enjoy making postcards!
Fantastic tutorial…have been following you in IG and really was hoping you would do something like this!!!!love your work and thanks for sharing!!!!
I’d meant to write it weeks ago but it took longer than I thought. Ha! Glad you like it!
I’m loving seeing all the cards you’re making. You’re inspiring me to do this myself. A friend once sent me a fabric postcard and I thought it was the coolest thing. It *did* get a little damaged in the mail so I think I’d use an envelope like you do. Thanks for taking the time to write this thorough tutorial.
Yep, that’s the main reason I chose to use envelopes, just to prevent any accidental damage!
I have loved seeing all your postcards on IG. Thanks for the tutorial! It’s inspiring me to make some of my own to send.
I love your postcards and am looking forward to trying this out. Thank you for sharing your technique and tips!
I hope to save this as I will probably need to refer to it often. I have received some and I would love to make some for friends. Thanks for the great tutorial.
Thank you for all the information. I’ve been making birthday postcards for my two granddaughters. The first I made was 12 years ago. The first few years the cards varied a lot because of not knowing what I was doing. I’ve done better for the last few years but always like to see what others do to make their cards look so nice and finished. I have been using fusible batting, to give it some stiffness between two layers of fabric (front and back). May have to try your method for the next two birthday postcards.
Fusible batting would be a great thing to use as well! Probably softer/more flexible than the interfacing I use, so it all depends on what your preference is.
I’ve never used cardstock on the back, only muslin. I have mailed most of them regular mail because I think part of the charm is the stamp and postmark. Having said that, I have made some that had some beading and other thicker embellishments. Supposedly, those were also okay to go regular mail, but those I went ahead and mailed in an envelope.
I have made and mailed a bunch of these over the years, but never received any, so I am really looking forward to this swap!
The stamp and postmark adds a fun element, that is true! Glad you are looking forward to making more. Just to be clear, I’m not in charge of the swap that’s currently happening on IG — that’s @sparklestash — but she asked if she could reference this tutorial and I of course said yes! Just don’t want anyone to mistakenly think I’m the swap mastermind.