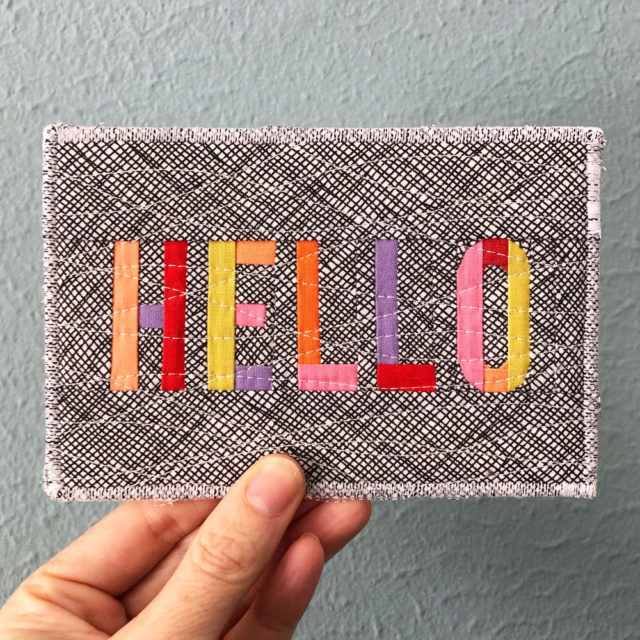
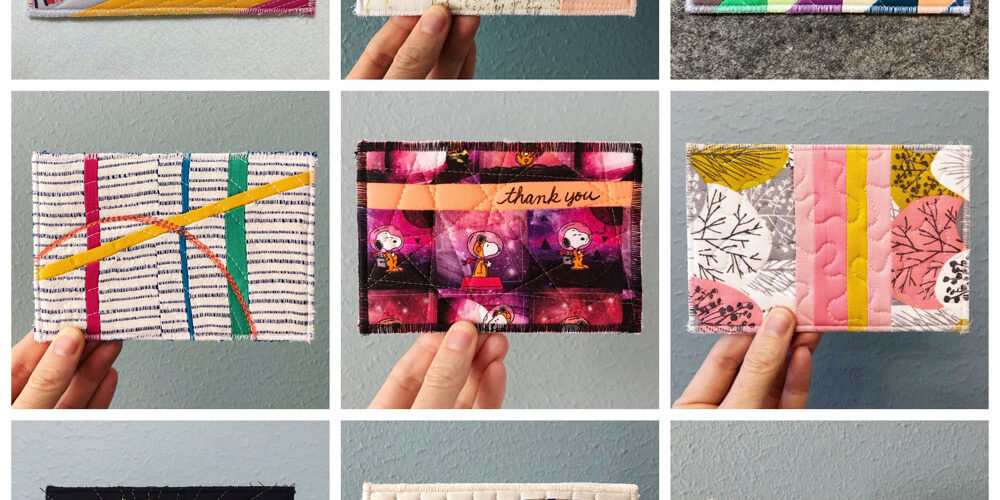
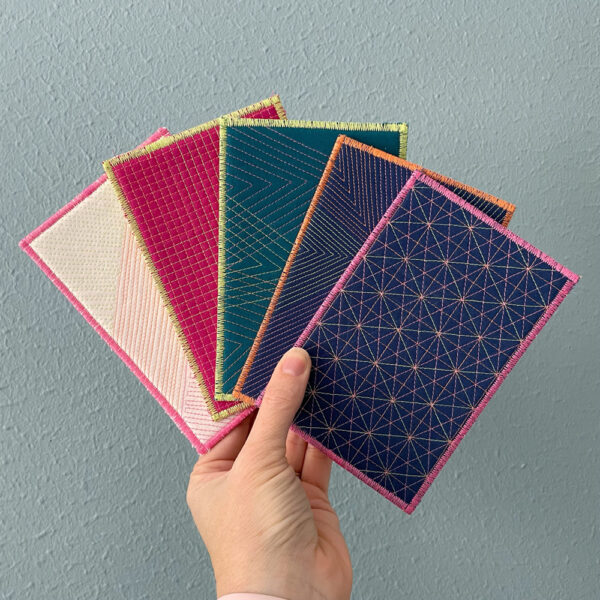
This year’s 100 Day Project kicked off on April 7! I am making #100daysofsaroypostcards and will be sending them to family and friends all over the US and even around the world.
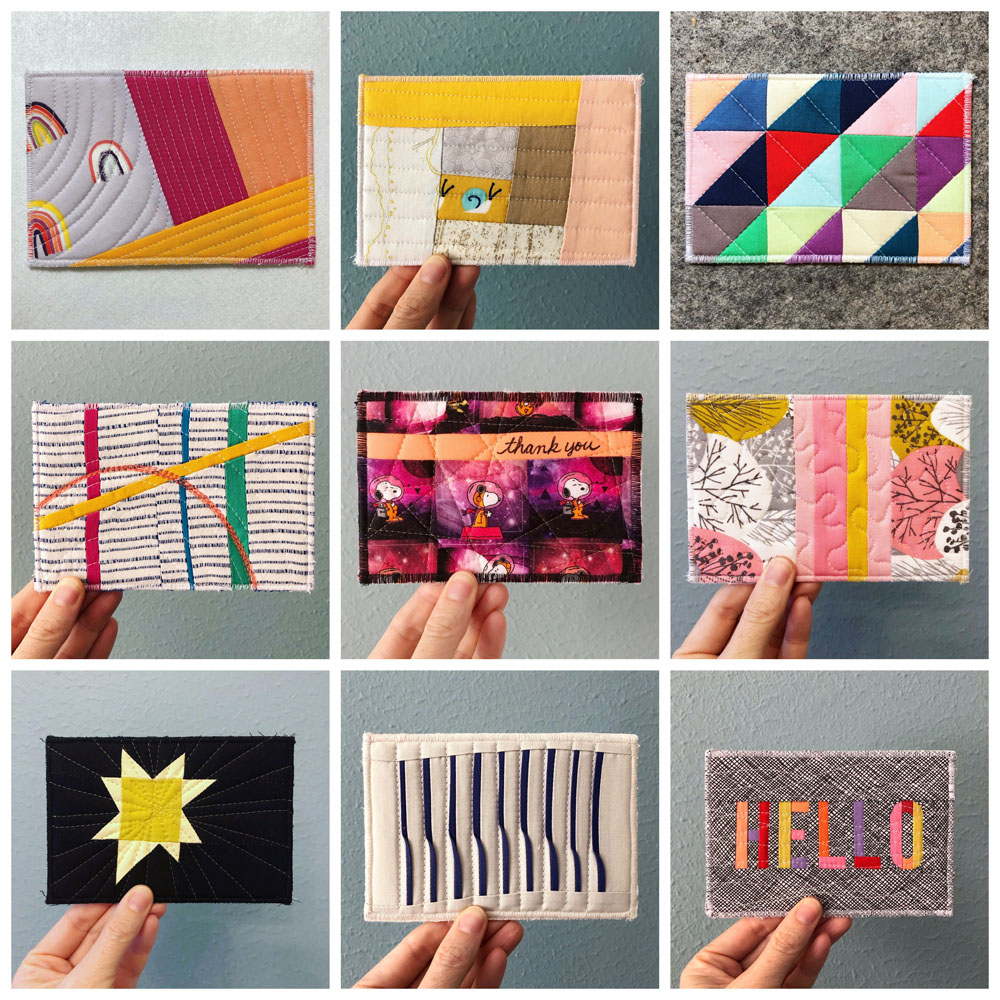
I’ve learned from past projects that I prefer working on something that has a “finished” product at the end of each day — like the patterns I drew in 2017 or the improv rainbow quilt I made in 2018. Last year my project was simply to sew each day and while I was successful, it didn’t give me the same level of motivation and satisfaction.
As last as last Monday, I still hadn’t nailed down my project for this year. I was leaning towards some sort of one-block-per-day project but wanted to make sure it didn’t feel like a 2018 repeat. That evening I was on a “virtual quilt guild” Zoom meeting with several friends when Kitty mentioned that one of her ideas was to write a letter every day to a friend or family member.
The idea of sending happy mail to people, especially during this crazy coronavirus time period, stuck in my head. After more thought and a bit of googling, I had my project: fabric postcards!
(p.s. Check out Kitty and Isabelle and their daily Instagram Stories with #100daysof100dayprojects — a funny project, but also full of truly good project ideas to keep in mind for the future!)
Being successful with the 100 day project requires several things, and one of those is excitement — if I’m not feeling REALLY excited about the project in the first week or two, it’s not going to last.
So good news: here I am on day 11 really, REALLY loving this project!
I’ve had quite a few questions about the logistics of this project so today I am answering them here!
Frequently Asked Questions (so far):
What materials do you need to make a fabric postcard?
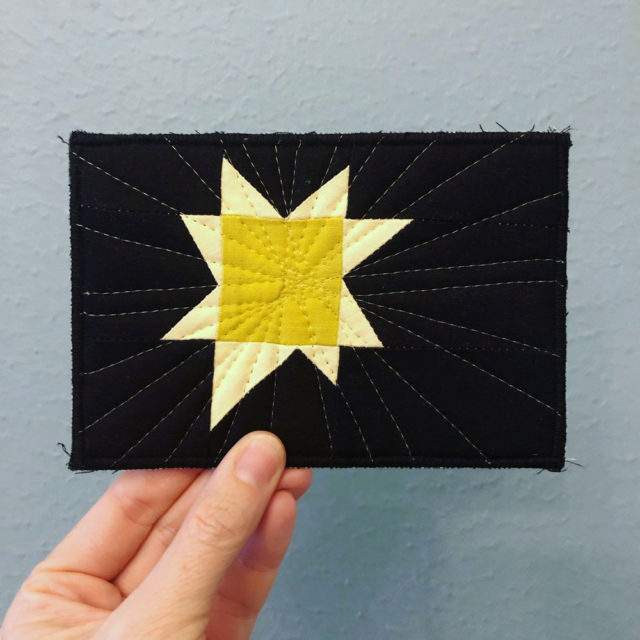
My postcards measure 4″ x 6″ which is a pretty standard postcard size, and they have 4 layers: top, batting, interfacing, and backing.
- Top: Obviously I am using fabric for the tops! These are basically small quilts or blocks. I piece various designs together — some are more planned, some are pure improv — aiming for at least 5″ x 7″ but keeping in mind that I will trim to 4″ x 6″.
- Batting: I have plenty of batting scraps left over from previous quilts, and this is a PERFECT project to use those up! My scraps are mostly Warm and Natural cotton batting, but I will be using whatever else I have too, including some fusible fleece as a batting alternative.
- Interfacing: So far I have been using two different heavyweight fusible interfacing that I had left over from previous bag projects. If I had to guess, it’s Pellon 71F and 72F, but I don’t know for sure. One is fusible on one side and the other is fusible on both sides; one is also slightly stiffer than the other. Either way, I don’t have nearly enough to make it through 100 days, so I have a pack of Timtex and a pack of Fast2fuse ordered as well to try out. I think my preference is going to be something that is 1) very firm and 2) fusible on both sides, but time will tell.
- Backing: All of my postcards so far have been backed with white solid fabric. At some point I will likely use other colors as well. I also plan to try paper backings once my order of cardstock arrives. (I only have standard copy/printer paper right now, which I think is too thin for this purpose.)
How do you construct the card?
There’s not a single right or wrong way, and there are lots of options you can try to figure out what works best for you. By the end of this project I’m sure I will have honed in on my preferred method, but at the moment I’m still trying things out.
Here are a few notes on my process so far:
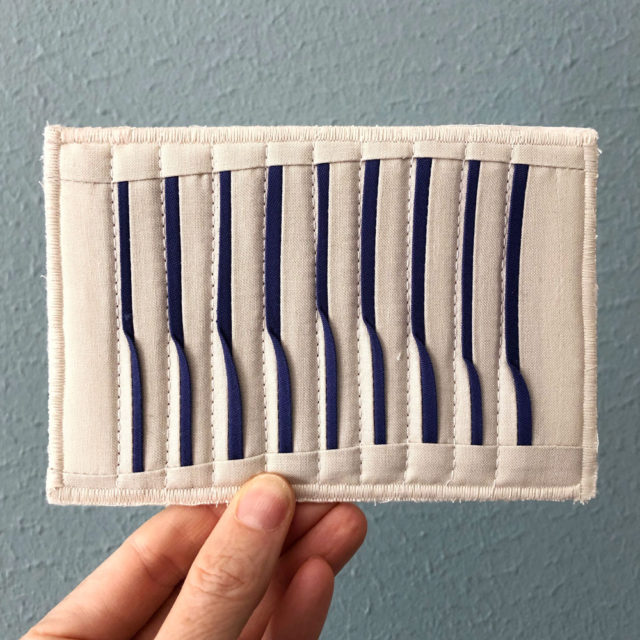
- The top/front is just small patchwork. Nothing especially unique about this, but it’s a fun way to try different techniques and looks on a small scale.
- Next is quilting:
- Just like with a regular quilt, I cut my batting and interfacing a bit larger, around 5″ x 7″.
- Because I want a plain back, I don’t add backing yet. At first I quilted a sandwich of top+batting+interfacing but found that having the interfacing on the bottom was a bit slippery. A few days ago I switched to quilting top+batting only and this seems to be working better. I have not had any issues with the batting getting caught by the feed dogs, and plan to clean my machine more often to mitigate any concern of batting fiber junking up my machine.
- The small size makes it easy to move the card around, and at first I left my regular piecing foot on the machine out of laziness. But I did have very slight bunching, and have found in recent days that it is worth taking the time to switch to my walking foot.
- I have done free motion quilting on a couple cards, and use my machine’s free motion foot for that (and also wear my quilting gloves).
- Once the quilting is done, I layer the quilted top+batting on top of the interfacing with my fabric backing (also cut oversized) on the bottom and fuse it together with my iron.
- Now I finally trim the whole thing to 4″ x 6″!
- There are many ways to finish, but since my method produces raw edges I like the function and look of a satin-ish stitch border. Since my primary sewing machine is a straight stitch only, I have set up my “backup” machine nearby.
- At first I used a short overcast stitch and overcasting foot and that worked fine.
- A few days ago I tried a very short (0.5) zig zag stitch while still using the overcasting foot and I like that even better.
- I have a (very rarely used) serger so I plan to try using that for the edges at some point as well.
And here are a few links to other postcard projects (there are MANY online tutorials that you can find with a quick google search) that I have found fun and useful:
- Quilted Postcard tutorial by Michelle Wilkie – Michelle’s construction method products a tidier finished edge but I suspect the card is not as stiff since she uses much lighter weight interfacing. I plan to try her method at some point.
- Fabric Postcards by Rob Appell/Man Sewing – This is a nice overview of the whole card-making process.
- Quilted Fabric Postcards by Crafty Gemini – Another good process overview.
- Debbie Grifka’s 2018 100 Day Project – As I started thinking about postcards, I recalled Debbie’s project which resulted in similar postcard-sized pieces. She offers a class about every day creativity and her 100 day projects.
Do you write on the back?
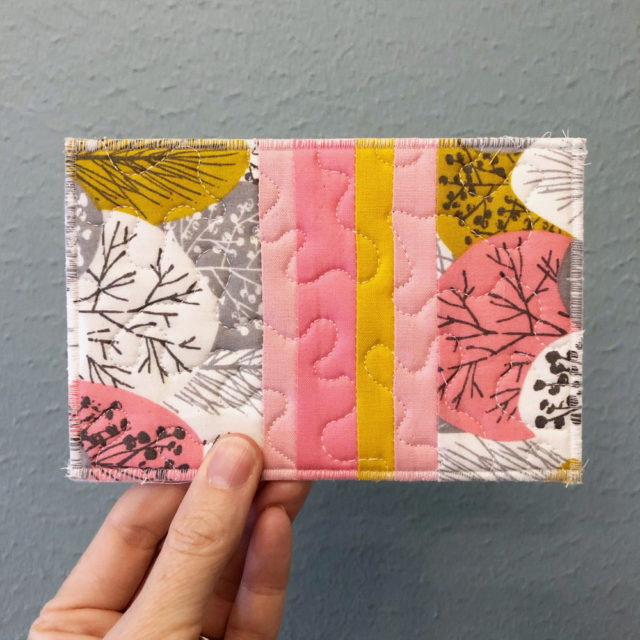
Yes! I am numbering each card (x/100) and will write a short note to the recipient before mailing. Since all the cards so far have a fabric backing, I’m using a Pentel gel pen made specifically for fabric. If/when I try a paper backing, obviously I’ll have more options for what to write with!
How do you mail a fabric postcard?
I will be using 1) a 4″ x 6″ clear plastic sleeve and 2) a 5″ x 7″ envelope for each card. The plastic sleeve is to keep the card safe and dry, and the envelope is self-explanatory.
I have read in many places that it IS possible to add a stamp and send these through the mail like this. However, they would be subject to a lot of wear and tear during processing and delivery AND each card would require additional handling by the postal service (by hand instead of by machine). So for both of those reasons, I decided that envelopes would be better.
Will you send me one?
Honestly the response to this project has been WAY more than I anticipated, which is exciting but also a bit overwhelming! I had a sign-up sheet but closed it on day 3 when it hit 108. I’ve added a few more people and it currently stands at 114 — which, at the rate of 1 card per day, will take me through July 29.
I would love to send cards to everyone who wants one, but at this point I am not planning to add any more recipients. However, if you REALLY want one, send me an email or Instagram DM and I will add you to a waiting list. I cannot guarantee if or when I will get to the waiting list — after 114 postcards I imagine I will want a break — but we’ll see.
Hope this information is helpful for those who have had questions! If you have more, feel free to comment below and I’ll do another post in the future.


 #saroy1sec #1secondev


I’m so sad I missed signing up for this! I won’t burden you with adding me to a growing waiting list, but I’m loving seeing all your designs. This is inspiring!
This is impressive, ai am so glad I am going to get one. Thanks for compiling your info as I want to make a few too but I am not as ambitious as you to do it for 100 days!
I love this and have so many scraps plus I love sending postcards. So I’m going to start my own 100.
I want one postcard. I lived in valparaiso, chile.♥️
This is such an amazing idea!!! I am moving this summer and have made friends with a large group of quilters where I am and this will be the perfect gift to leave with them!
What a great little gift, I’m sure they will love them!
When you have interfacing that is only fusible on one side, do you put the fusible side to the batting side of your sandwich, or towards the backing of the postcard? I’m thinking it would create a weird texture to write on, unless you write on it before fusing… I’d like to try but I only have one-sided fusible interfacing!
I only used one-sided fusible at the beginning so I’m trying to remember! I think I actually put the fusible side toward the backing fabric, to make sure that stuck in place and didn’t shift as I stitched around the edges. Since the batting is a little “grippy” it didn’t shift on the non-fusible side.
I was using Kona cotton for the backing and didn’t have an issue with the texture, and I did write after fusing. Writing is the last thing I do.
For the last week or so I’ve been using cardstock as the backing, with double sided fusible. It actually sticks to the paper just enough to keep it in place, which is nice.