Noodlehead is one of the (many) sewing blogs I read these days, and when she posted her new Road Trip Case pattern back in January, I got really excited about it. I’ve been needing something to store my cross stitch and embroidery supplies while I have projects in the works, and this seemed perfect. I picked out fabrics and cut all the pieces that month, and then it lingered for a while. I quilted the exterior fabric and attached the vinyl pocket to the zipper in February, and then it sat some more as other projects took priority.
Earlier this month though, I finally got my act together and finished the case over the span of a few days. One of the great things about this project was that everything could be cut from fat quarters, which meant I was able to dig into a Moda Spring House bundle I bought a while ago and have been saving for something cool. Once I picked up the vinyl and a matching zipper, I was good to go.
Overall, the pattern is well-written, but still did require some careful scrutiny on my part to make sure I understood what each step was aiming to accomplish. The pattern only had one photo, so I referred back to the blog posts for this pattern several times — for me, it’s always REALLY helpful to see a picture of what I’m trying to make. I also found that success required very careful adherence to the specified 1/2″ seam allowance. I’m not always the best at that, but taking it slow helped a lot. I had some issues with the binding, which is a frustrating yet regular occurrence whenever I attach binding to anything. I cannot figure out how some people sew machine binding so precisely! It gives me fits every time!
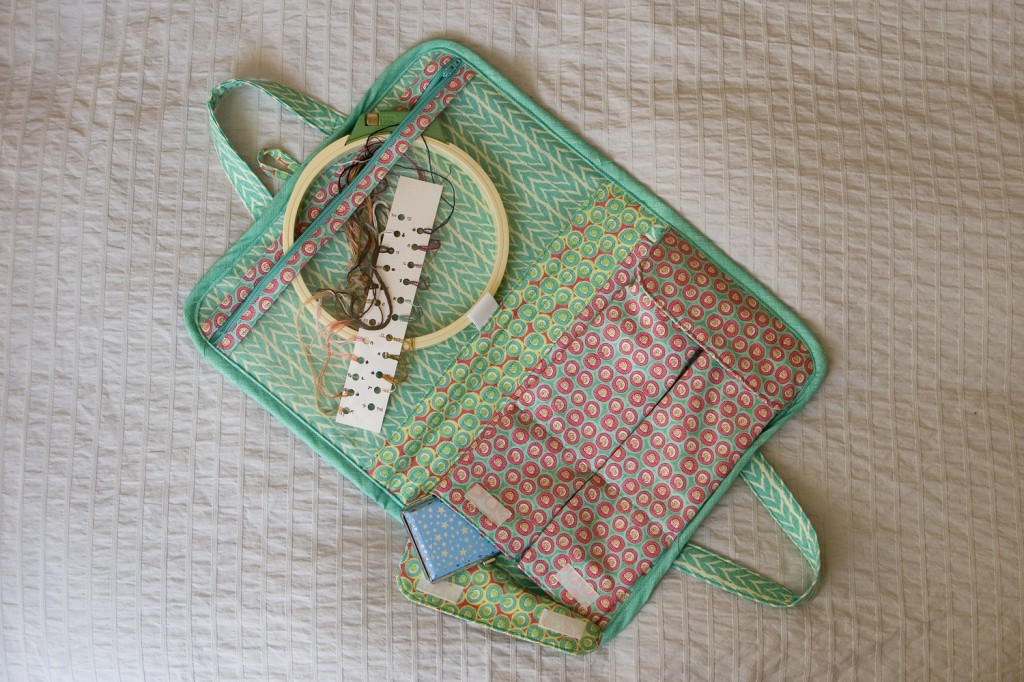
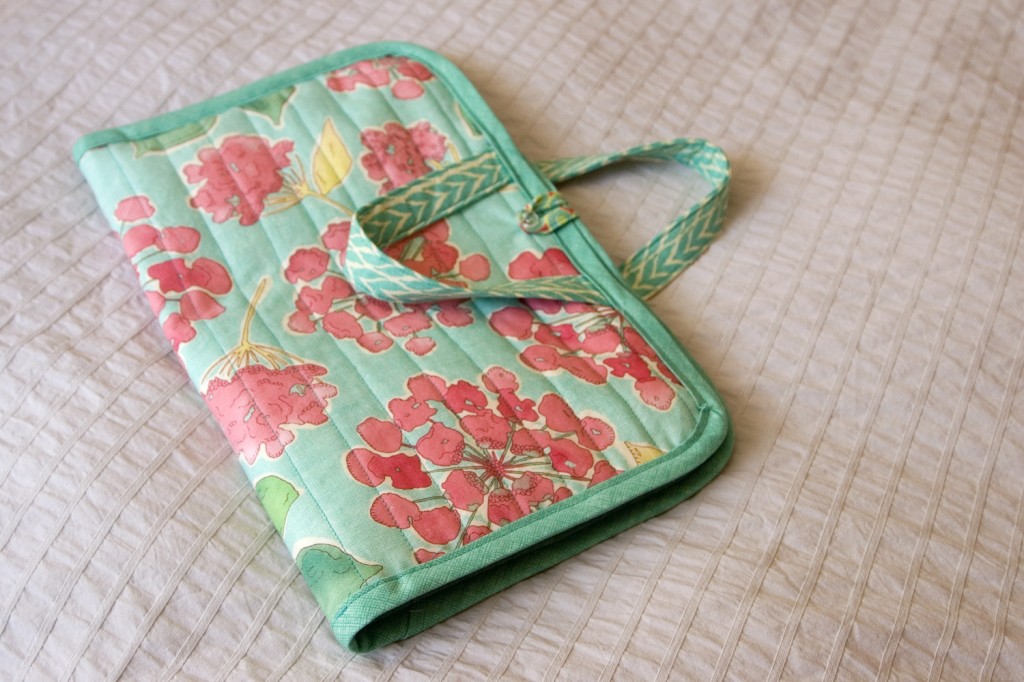
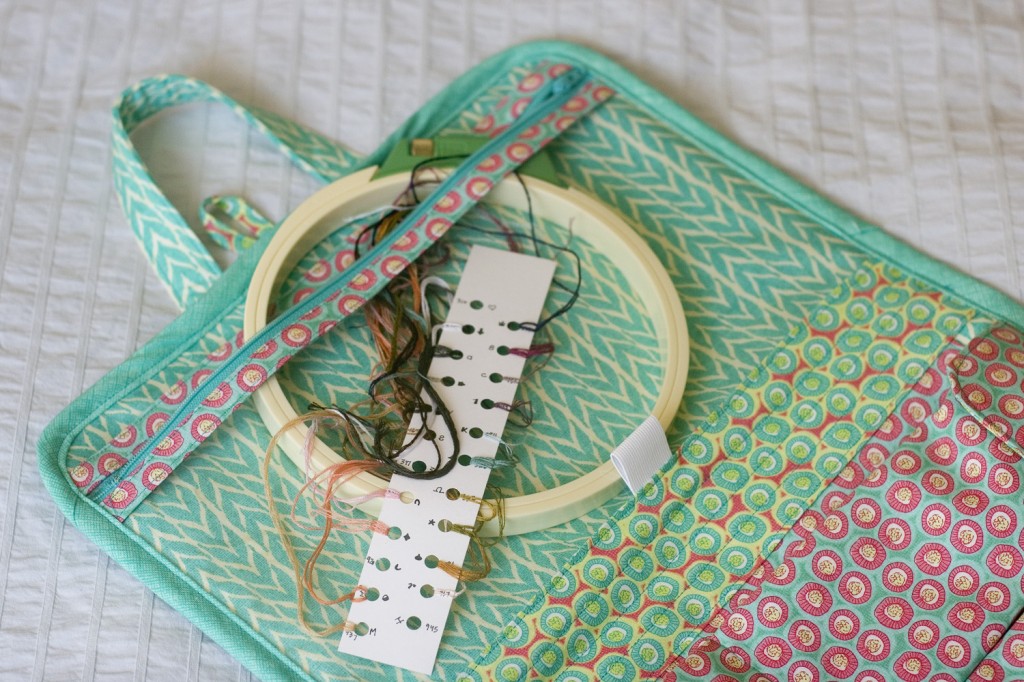
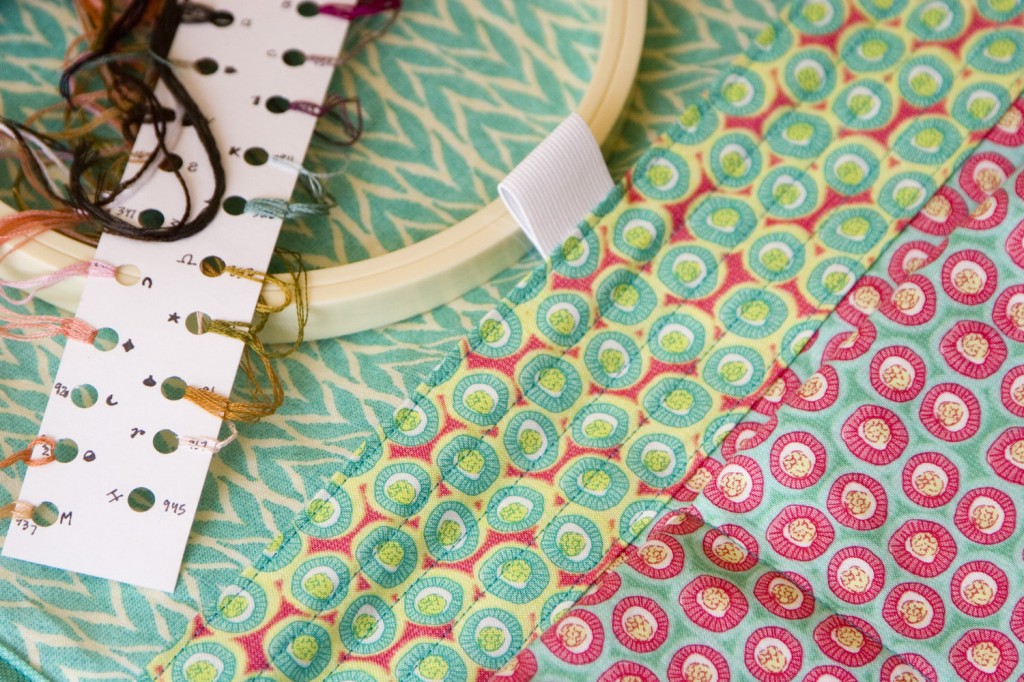
As usual, there were a few tweaks I’d make if I do this again. The biggest is that I would actually make the case slightly larger — the width is great, but I wish it was slightly taller. This one measures 9″ tall, but I think for my purposes, an extra inch would help. As you can see in the photo below, my embroidery hoop does fit in the pocket, but just barely. I’d also use elastic for the button loop on the outside, instead of fabric. This was an option in the pattern, and I think it’s probably the better choice for a snug, secure closure.
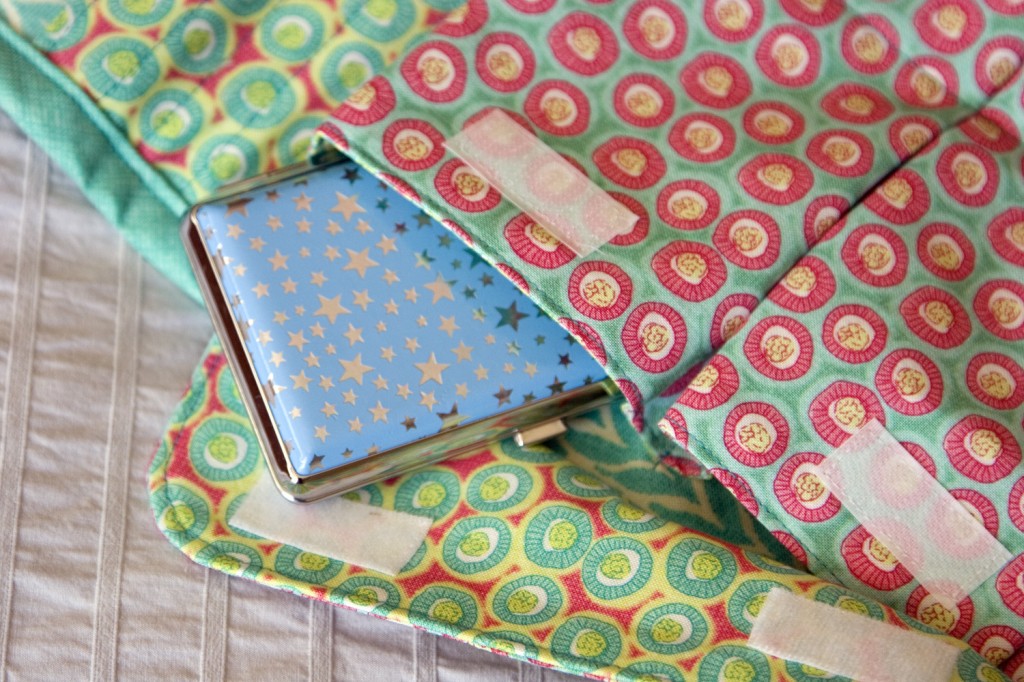
I’d also make careful note of the placement of the pocket flaps. I lined mine up with the bottom of the lining, which resulted in the flap being sewn into the binding a bit too much — the bottom of the flap doesn’t open fully as a result. If I’d moved the flap up even 1/4″, I could have avoided that. These are the kinds of lessons I learn every single time I make a new pattern, so it really is just part of the process! Another fun tweak would be to make separate flaps for each pocket, instead of the single flap on each side.
I love my case and am excited to finally have something pretty to use as a stash for all my stitching supplies!





Very pretty! I still have the one that I bought when I was crosstitching. It is bigger than yours but actually a little too big for me. A size between yours and mine would be perfect. And you are right, they are quite handy for at home and travel.