So Emma’s bee costume, ok? It was adorable and awesome. And it took a RIDICULOUS amount of effort for what should have been a very simple costume. So lest you think that all of my crafty projects turn out perfectly (ha!), let me regale you with the story of how the bee costume came to…be. (Bee. Be. Ha again!)
My starting point was a combination of this bee costume tutorial from Living Well Spending Less and this pillowcase dress tutorial from Prudent Baby. (The first one made the costume from a pillowcase dress, but the second has better instructions on how to make a the dress look polished.)
I set off to Joann’s and gathered my supplies:
- 1 yard of yellow cotton
- 4-5 yards of 1.5-inch black grosgrain ribbon
- 1 yard of 3/4-inch black grosgrain ribbon
While I was there, I also found a bee antenna headband and a set of wings. I had been planning to make the antenna from a headband and pipe cleaners, and was going to make wings by stretching some black tights over a shaped coat hanger — but finding them for purchase at Joann’s worked out much better!! I also ordered a pair of black tights from Amazon. (They turned out to be pretty nice, thick tights, so Emma will be able to wear them all winter. Score.)
All I needed was…the dress itself. Which should have been easy. Which should have taken an hour or two and a single attempt. Which ENDED UP taking many hours and three (yes, three) attempts.
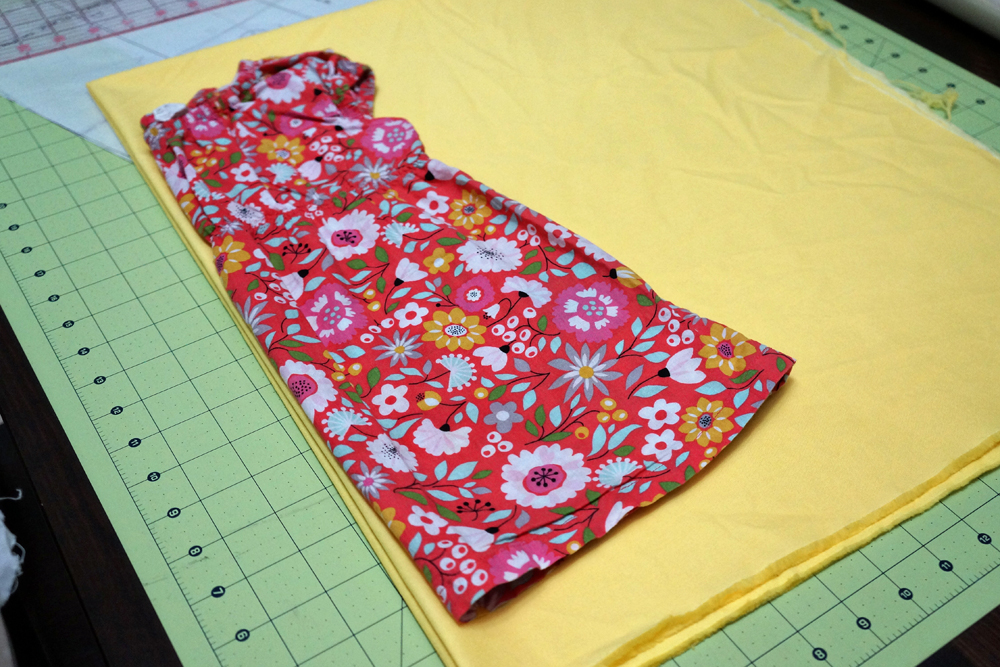
First, I folded my yard of fabric into quarters and used one of Emma’s dresses as a template. This is where I made my first big mistake. Instead of just tracing around this dress and moving on, I compared the measurements to the two graphics on the Prudent Baby tutorial. One set of measurements was for a 0-3 month size, and one was for 18 month-2T. Somehow, I ended up thinking that I needed to use numbers in between those two, so I changed my measurements.
Despite the fact that Emma is wearing 18 month clothes at the moment.
And instead of just tracing the silhouette of a dress that I KNOW FITS HER.
I really have no idea what I was thinking, and you see where I’m going with this right?
After the dress was all said and done, I went to try it on Emma…and it TOTALLY didn’t fit. It was WAY too small. In denial, I tried to squeeze it over her shoulders, and I made her cry in the process. Major Mom Fail.
Round 2 involved me ripping out a lot of seams and adding two strips of fabric up each side to widen the dress a bit.
IT STILL DIDN’T FIT.
Fed up, I started all over. This time, I used the 18 month-2T measurements from the Prudent Baby tutorial, and measured Emma to make doubly sure it would fit. And it did.
So now we rejoin your regularly scheduled tutorial…and you can pretend like this is the first time I went through this process.
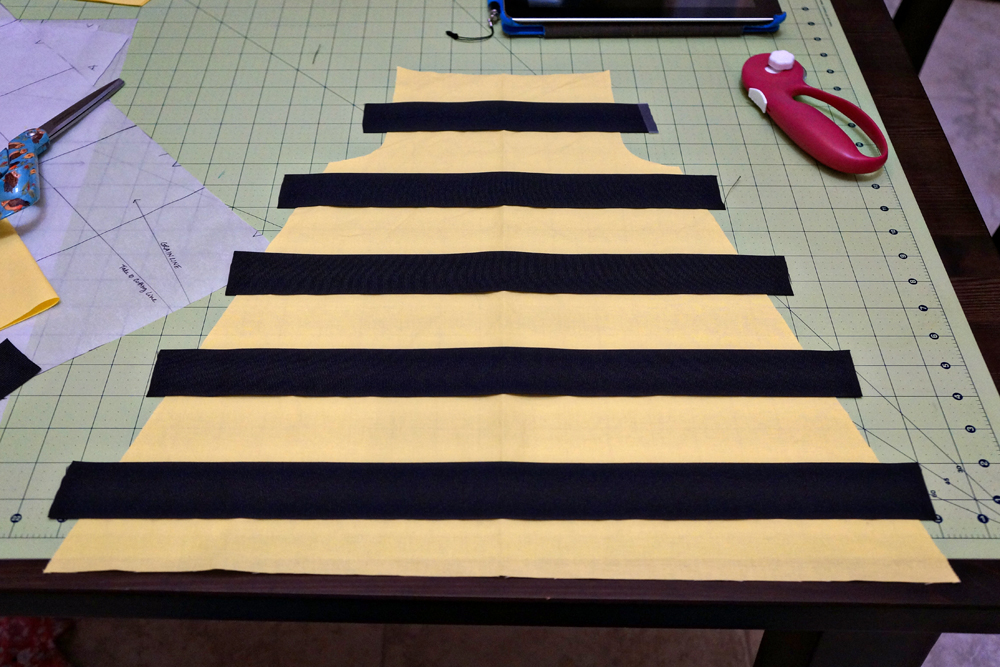
After cutting, I ended up with two dress pieces, a front and back. I laid out strip of ribbon until I had a pattern I liked — in my case, it ended up being 1.5″ ribbon with 2″ between each piece. After pinning very carefully — if the ribbons shift, the “stripes” won’t line up on the sides where the front and back come together — I sewed each piece along the top and bottom. Voila! Bumblebee fabric!
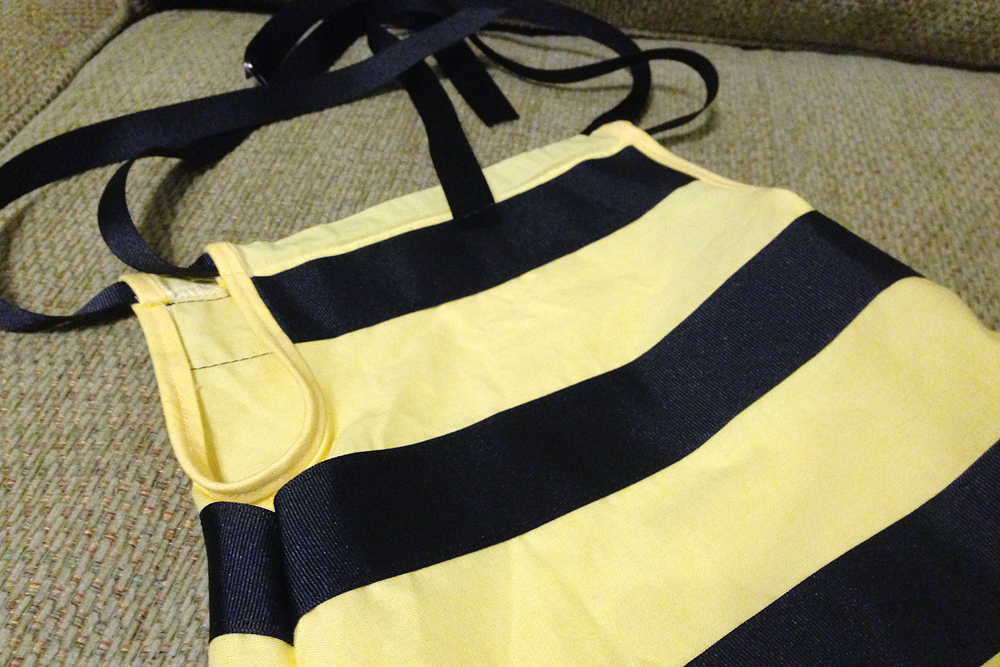
Putting the dress together is pretty simple from that point on. (You know, unless you make it too small like I did…twice.) I sewed each side seam and then hemmed the bottom. I made a couple feet of bias tape from leftover yellow fabric and used that to line each arm hole for a nice, polished look. Then I hemmed the neckline, leaving a casing behind for two pieces of the 3/4″ ribbon to use as shoulder ties.

I realized the day before Halloween that unless I made some sort of shoe cover, Emma would be a bumblebee with pink sneakers, so I quickly found this shoe cover tutorial and used some black cotton I had in a scrap bin to make a pair. (I didn’t even have to sew elastic across the bottom because they fit snugly enough over her shoes without that.)
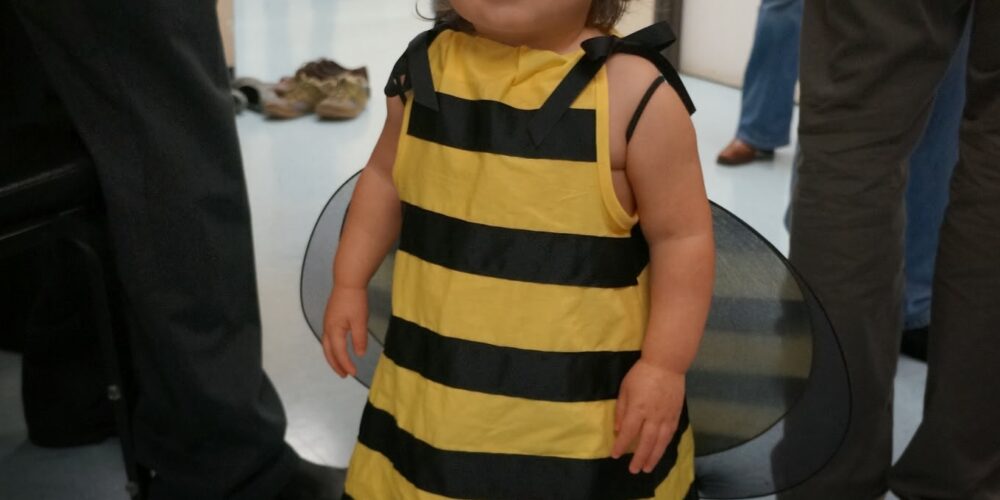
And voila! Despite all the effort, or perhaps because of it, I really was proud of how well this turned out. Cutest bumblebee I’ve ever seen!




 #saroy1sec #1secondev
