One of my July goals was to sew myself a top. I went back and forth between taking a class or just attempting it on my own, since there were pros and cons to each, but I finally decided to sign up for a class at Sew Contempo. I’ve seen their shop for years — way before I started sewing myself — but had never stopped in to check them out. They’re small, but have a nice selection of quilting fabric. Joann’s has a much larger selection, obviously, but Sew Contempo has a lot of classes that piqued my interest. Unfortunately most of them on during business hours on weekdays, but they had a tunic top class scheduled for last Friday — which happened to be Superflex Friday at work! Perfect timing.
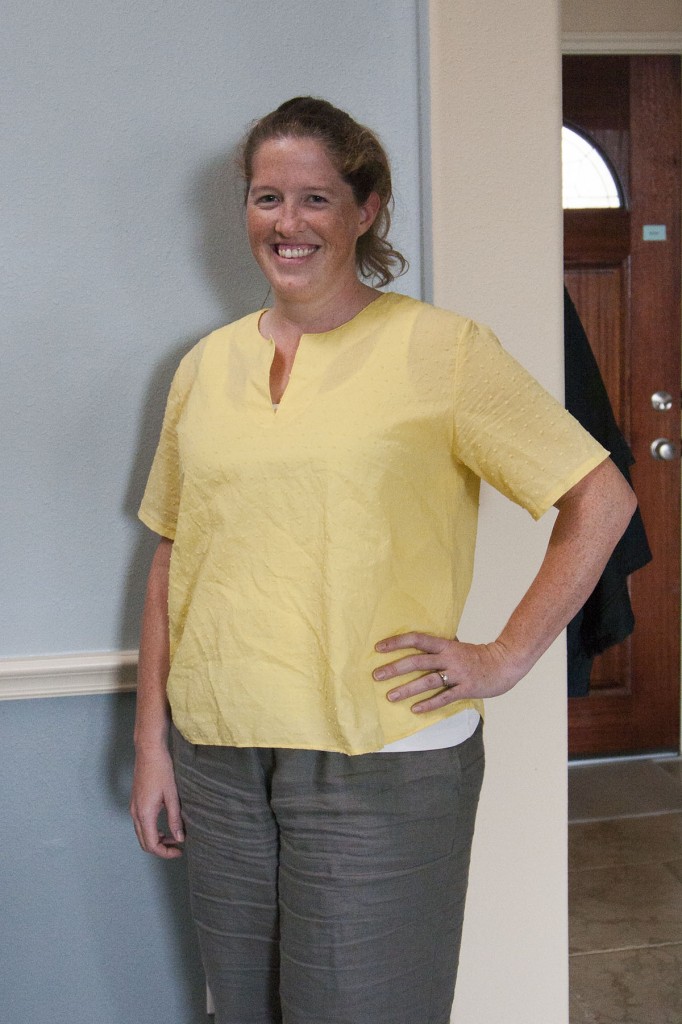
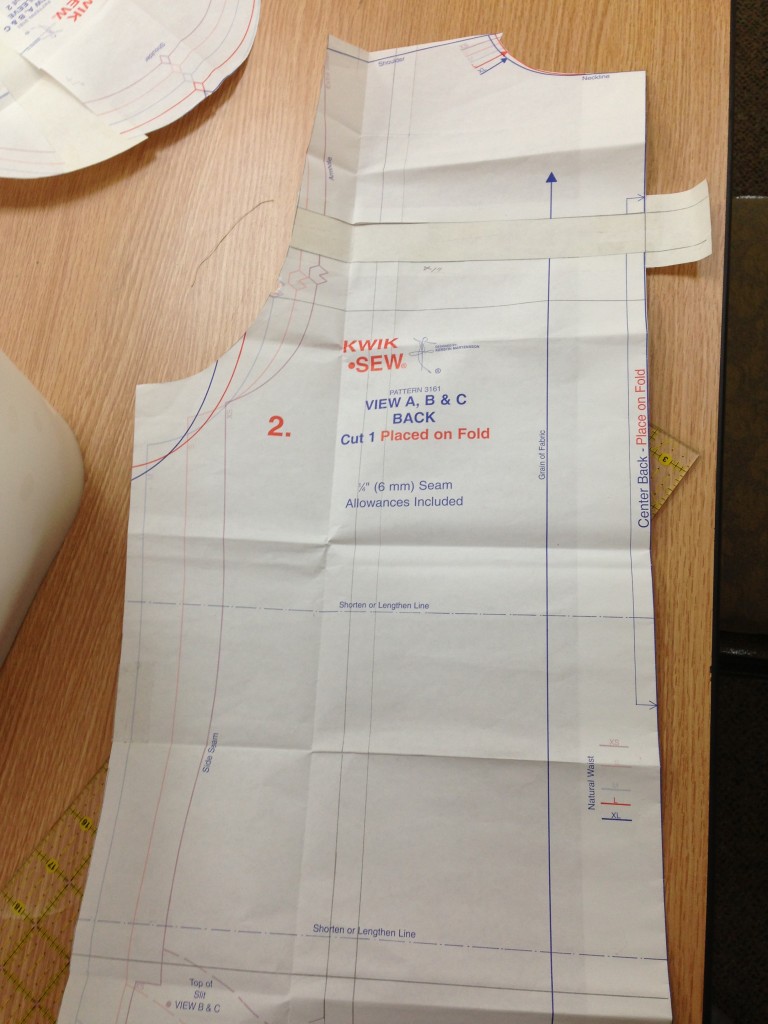
The pattern, as I suspected, was a little dated. It was a simple tunic top with a few different options (short or long sleeves, tunic hem vs. shirttail hem)…but the styling wasn’t my cup of tea. Still, I thought taking a class in person would provide a good opportunity to learn some techniques and that DEFINITELY turned out to be the case….because voila! Look what I made:
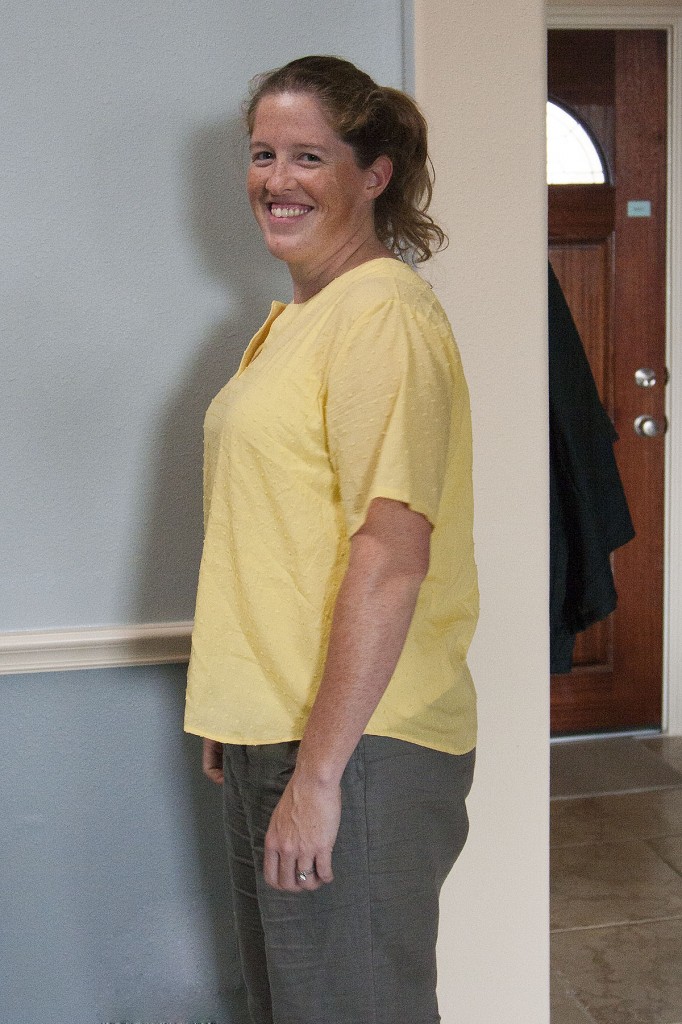
Not too bad right? As my first top EVER? I am pretty darn impressed with myself. Like I said, it’s not exactly my style so I probably won’t ever wear it in public, but it turned out polished enough that I could if I wanted to.
I ordered two types of cotton lawn fabric online since this seemed like the type of top that lent itself well to lightweight fabrics — and it gave me the opportunity to sew with a new type of fabric also. One was this yellow swiss dot that I used; the other is a light green that I will hopefully turn into something more my style.
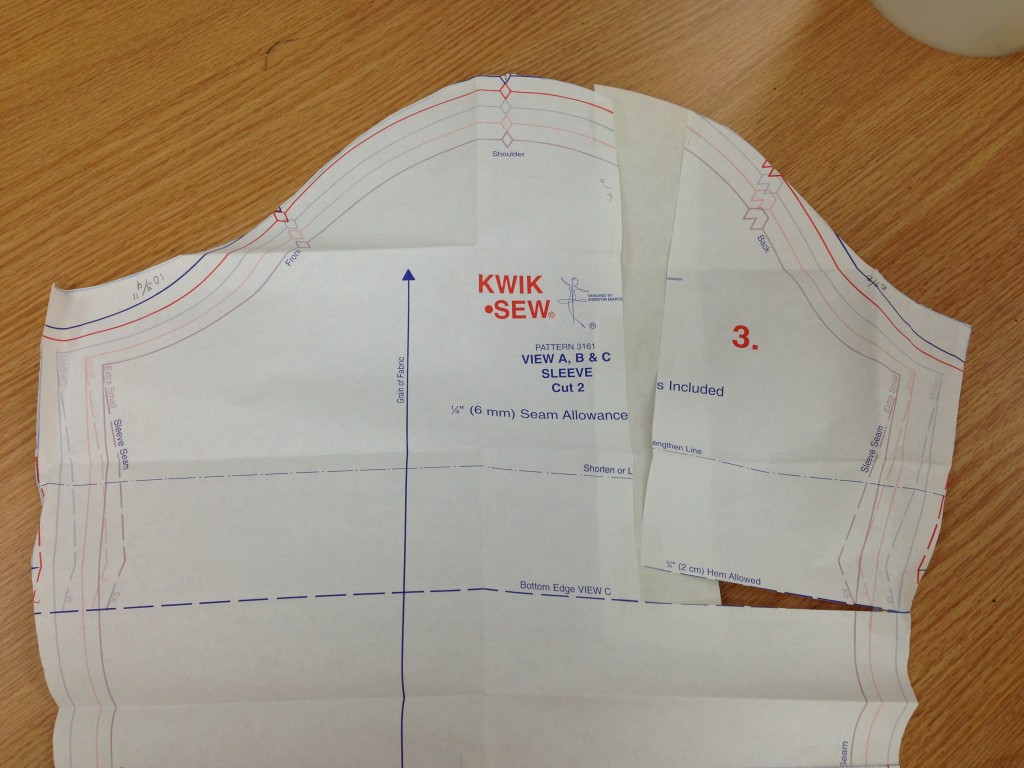
By far the biggest benefit of taking the class was learning how to make alterations to a pattern to suit our own measurements. There were three of us in the class, and the instructor showed us how to take about a dozen measurements to help tailor the pattern just right — everything from the typical ones like waist and hip size to stuff I wouldn’t have thought of like shoulder width and the distance from shoulder to waist. Armed with all those numbers, we were no longer limited to just picking one size from the pattern and hoping it fit.
I was able to look at my pattern and say “ok, based on the measurements shown on the package, I’ll start with the large. But then I need to make the armholes smaller by 1.5 inches, and make the hips wider by 2″, and add 1″ of length in the back so it doesn’t pull when I move my arms.”
AND IT ACTUALLY WORKED!
Learning how to make basic alterations to an off-the-shelf pattern is HUGE for me. I’m pretty pear-shaped — my hips are a size larger than my waist, and my waist is another half-size larger than my top. If something fits my shoulders, arms and chest, it’s often too tight on my hips; if it fits my hips, I’m stuck with gaping arm holes or a huge neckline. Obviously when I buy all my clothes, I just shop until I find things that work for me, but now I feel confident that I can use a pattern for something other than baggy pajama pants and end up with something that might actually be wearable. I’m not going to be making my whole wardrobe any time soon, but it’s encouraging to think I might be able to tailor a pattern — or even take a piece I already own and copy it in a different fabric.
On the negative side, it took me FOREVER to make this top. The class was scheduled from 10-3:30 but I didn’t leave until 4:45, and then I spent another 1.5 hours at home on Friday night after Emma went to bed finishing. That’s…something close to 9 hours for a single top! But of course that includes a lot of instructional time spent taking measurements and asking a lot of questions.
Hooray! I made a top!




Proud of you! BTW it IS just my style so if you don’t want to wear it, I will!!!