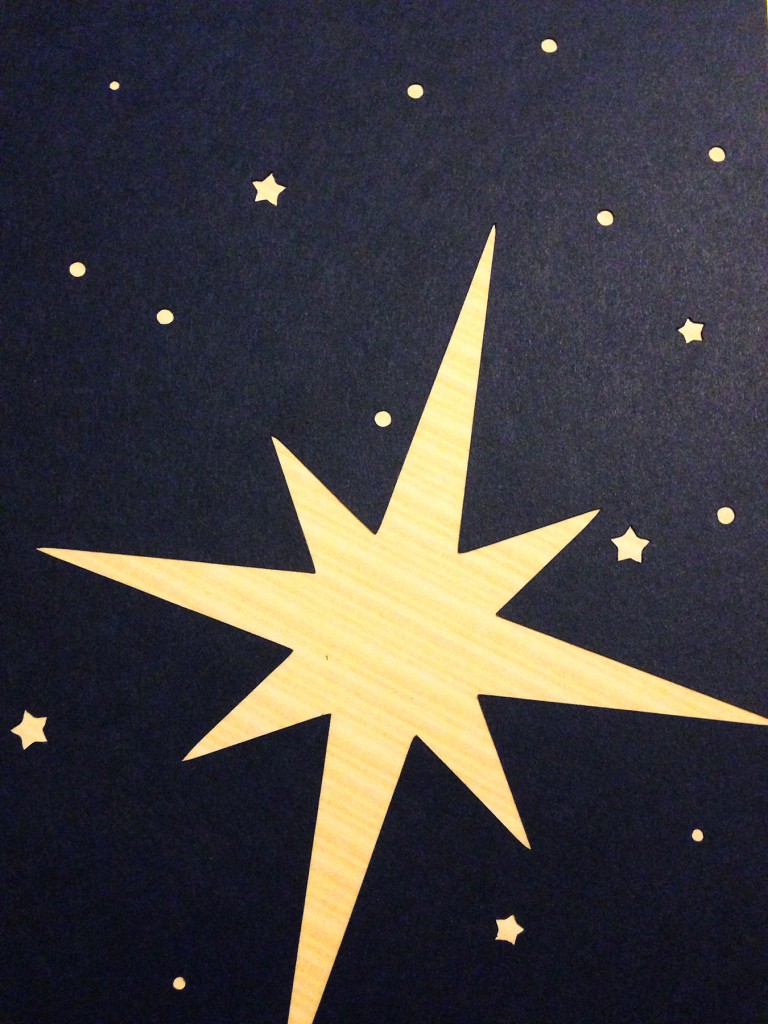
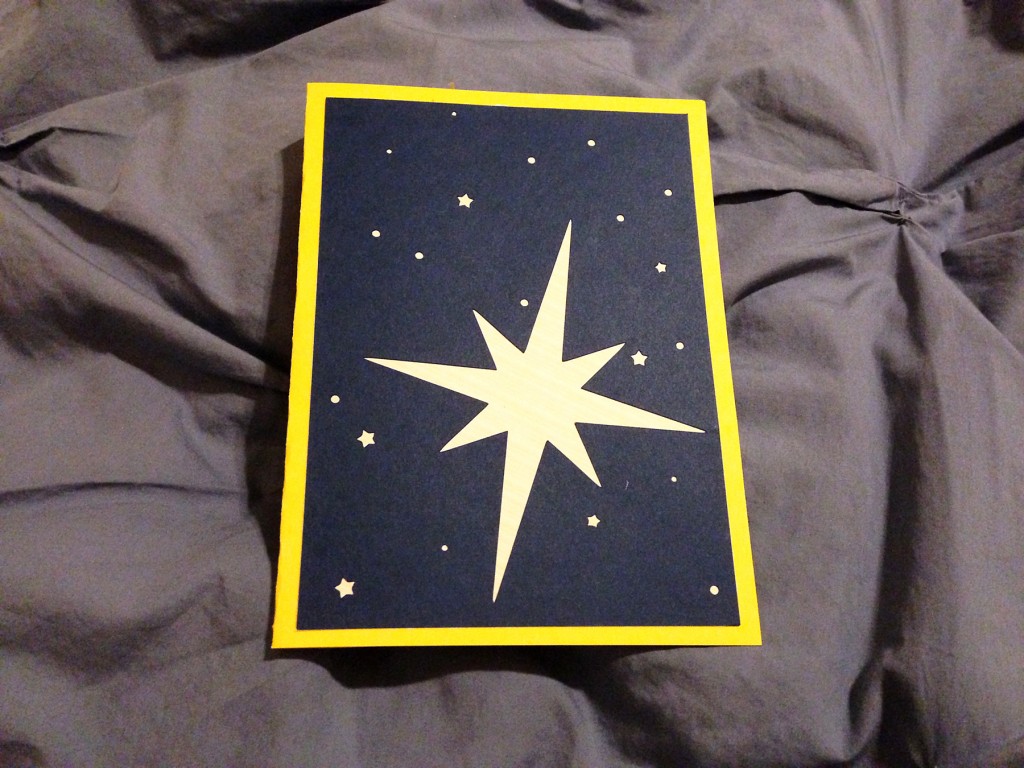
Last week as part of my 30 Days of Creativity, I decided to make Jose a card for Father’s Day instead of buying one at the store. I scanned through several pages of designs in the Silhouette store but couldn’t find anything quite right, so I went in a completely different direction and went with one of Jose’s favorite things — stars. I created a simple 5×7 design in Illustrator of one big starburst surrounded by tiny stars and pinpoints.
I saved the file as a JPG, imported it into the Silhouette software, tweaked it to make sure the cuts would be done right and voila! A pretty little star field cut out of navy blue cardstock! I backed the design with some yellow striped scrapbook paper and pasted the whole thing onto a piece of yellow cardstock folded in half.
Overall, I am having a lot of fun using my Silhouette Cameo so far. You may remember that I bought it almost a year ago, but it sat in its box as taking care of Emma occupied the majority of my time. Now that I finally set it up and have made several things, I’m kicking myself for letting it sit untouched for so long — and I’ve barely even scraped the surface of what it can do. I’ve also started to keep a list of my own tips and tricks as I get more experience using the machine. The star patter above is the most intricate thing I’ve cut so far, thanks to the tiny circles, and I was impressed with how well it turned out. My biggest lessons learned so far:
- The blade setting recommended by the software is not always the best. When in doubt, go one setting up (i.e. if it recommends a blade setting of 2, use 3) and select the “double cut” option. I’m not sure what the downside of using a double cut could be — I guess it probably puts more wear and tear on both the blade and the cutting mat meaning I’ll have to replace those sooner, but the benefit of knowing I’ll get a super clean cut is worth it.
- The cutting mat was TOO sticky at first. Now that I’ve used it several times, the stickiness has been reduced to a more usable level where it keeps the paper in place but doesn’t make removal after cutting so difficult. Using the spatula tool (which came included with my machine) is also very helpful when removing the paper from the mat.
- The Silhouette software isn’t super user friendly; in fact, it’s downright clunky to use in some situations. One of the biggest reasons I bought a Silhouette vs. a Cricut is the ability to make and cut my own designs, but I didn’t realize until I started playing around that it costs another $50 to upgrade to the “Designer” version of the software (which can take SVG, aka vector-based, files). The good news is that even the basic software can import a JPG image. As long as my design is pretty simple, I can import a JPG and quickly use the “trace” option to turn the lines in the image into cutting lines. For intricate designs, however, I suspect this would be difficult. I may upgrade my software at some point, but for now my workaround is acceptable. As for the software itself, it gets easier to use as I play around with it more and more. Adobe Illustrator it is not, but it’s sufficient.
- The machine does need a decent amount of space to work properly, since it runs the 12×12 cutting mat anywhere along the full range of front to back as it cuts. When I set it up on my desk, I treated it more like a printer with the back against the wall — and the first time I used it, the sheet promptly got crunched against the wall which screwed up the cutting. I need to keep the machine against the wall most of the time just so it takes up less space, and I therefore I made this mistake several times! Finally I stuck a post-it on the front of the machine reminding me to pull it away from the wall before cutting.
In the last month, I’ve made an anniversary card for Jose, a thank you/get well card for one of Emma’s teachers, magnetic photo frames for my cube at work, and the card above. In the future, I’m interested in trying out fabric cutting — there is a special fabric cutting blade you can buy, which opens up all sorts of possibilities for applique — and drawing — there is also an attachment that has a pen where the blade would usually be, so you can draw all sorts of intricate things.



 #saroy1sec #1secondev


Hi Sarah! You are one crafty rocket scientist!, your blog is awesome! I’m wondering if there is any way you could send me your Ai file for the big star you created. Reason being, I’m the decor chair for a charity event coming up in Mill Valley, CA and we are having a Storybook Ball benefitting our local library where we have to give sponsors recognition at the event. We are going to make a hanging star section with their names on the stars. I love your star and think it’s the perfect shape to go along with our Peter Pan theme “Second star to the right”… but I’m not super savvy at Ai. Would you mind sending me the Ai file? Let me know, it would be so awesome if we could use it! Warm Regards, Amy Kahn