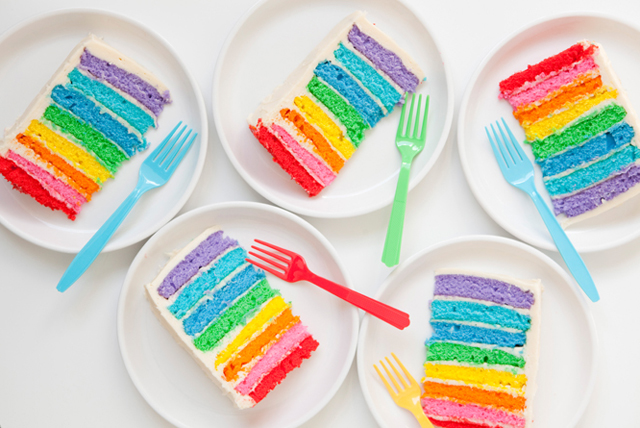
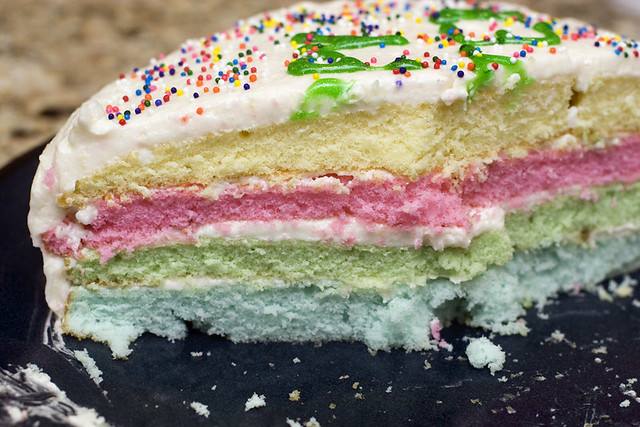
(Photo from One Charming Party. Mine looked awesome, but not THIS awesome.)
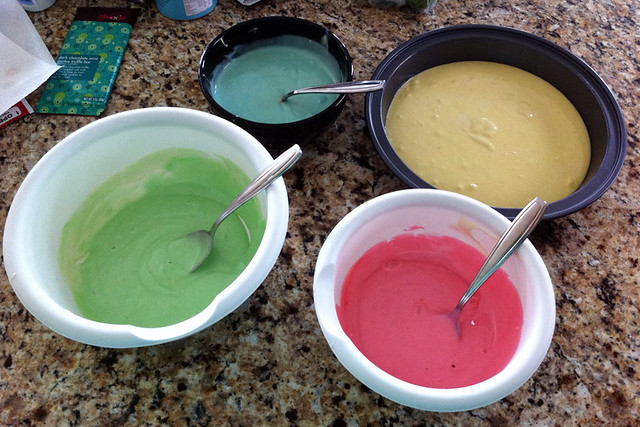
A few months ago during a bout of random internet surfing, I came across the awesome cake pictured above. Since then, I’ve been waiting for an opportunity and Easter finally provided one. I started with a box of white cake mix and separated it into four bowls. Each got dyed a different color. (I didn’t dye eggs this year, so I dyed cake instead. Ha!) I went with only 4 colors because 1) eight seemed overly optimistic for my first try, 2) eight would have taken a long time to bake and 3) eight would have required two boxes of cake instead of one.
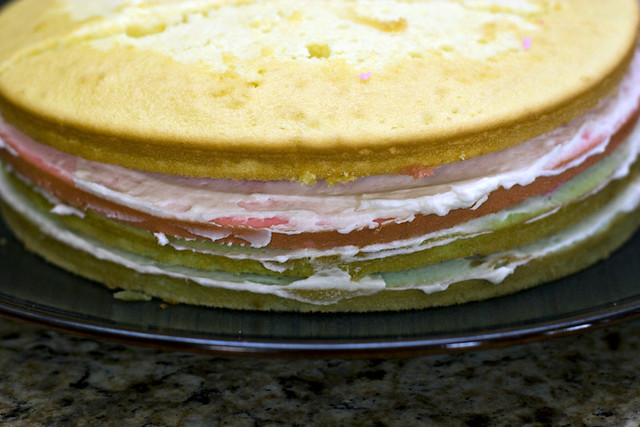
I was a little pressed for time after unexpectedly having to spend an hour running our oven through an abbreviated self-clean cycle. I forgot to clean up the mess from something I cooked last week and it started smoking as soon as I turned on the oven. Oops. Anyway, because my time was crunched, I had to take each cake layer out of the pan as soon as it was done — no time to cool down. The layers were thin and since they were still warm, it was tough to get them out of the pan in one piece. Also, you should make sure the batter is spread as evenly as possible to get nice flat layers, unlike my green layer which turned out kinda lopsided. Oh, and hopefully this goes without saying but since you’re baking small amounts of batter at a time, it comes out of the oven much earlier than the directions on the box say.
All that said, here’s what I’d adjust if I do this again sometime:
- Use an 8-inch cake pan instead of 9-inch. Just to make the layers a little thicker.
- Leave plenty of time so that each layer can cool in the pan. I think this would have avoided a lot of cake crumbling.
- Remember to re-grease the pan between layers. I forgot this once and the pink layer suffered greatly because of it.
- Use less red food coloring. I was going for pastel pink, not neon!
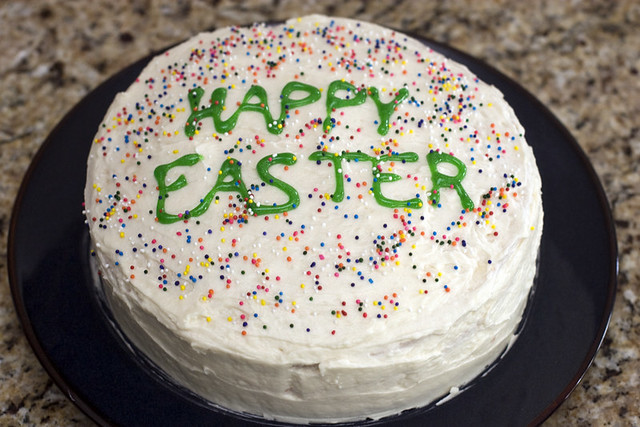
Fortunately, frosting covers all sorts of unsightly cracks and gouges in the cake! (Although I seriously need to take a cake decorating class. It looks like a 4-year-old decorated the cake. Oh well.) Kelly asked how I make the frosting and here’s the secret: it’s just the online Wilton recipe for buttercream frosting that I’ve mentioned before, with one important change! I cut the confectioners sugar from 4 cups to somewhere between 2.5 and 3 cups, which results in frosting that’s still plenty sweet but doesn’t immediately put you in a sugar coma. I thought I was going to run out of frosting but I ended up with juuuust enough to cover this cake, without a drop to spare.
I was very anxious to see what the cake looked like when we finally cut into it and hooray! It worked! From the inside, you can start to see how the cake layers crumbled a bit in the baking process, and it’s not nearly as pretty as the inspiration but hey — I’m calling it a success.




Looks yummy!
Looks great! Now I want to make one…