I’ve made great progress on the triangle quilt I’m making for Emma’s birthday. I sewed the first three rows together last weekend, and finished the other three rows over the course of the week. Today is Superflex Friday at work (hurrah!) and I plan on finishing up the quilt top and getting started on the quilting!
I’d never sewed triangles before this project, and I found this tutorial from Mommy by Day, Crafter by Night very helpful — especially her advice on how to best work with the seams between each piece, since they overlap at the triangle points. I learned to “nest” the seams, which makes everything look a lot smoother and prevents too much bulk where several triangles come together.
Other things I learned — or was just reminded of:
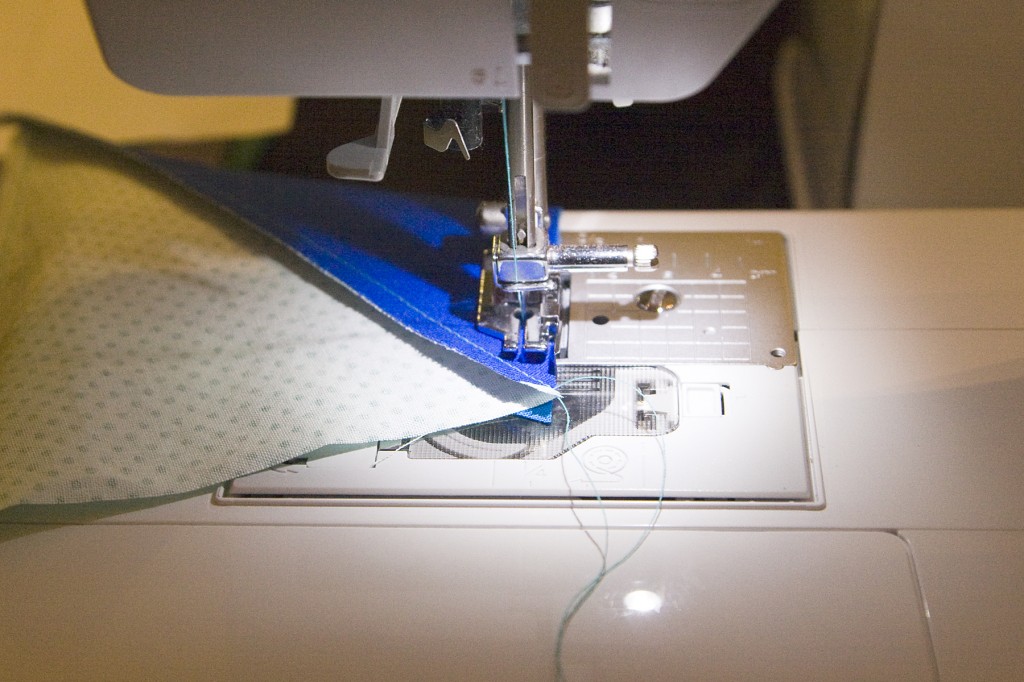
Check my needle position every time I turn the machine on! My machine defaults to having the needle in the left position. But when quilting, I used a 1/4-inch presser foot, which requires the needle to be in the center position. If you turn on the machine and then immediately start sewing…the machine makes a horrible noise because it just tried to jam the needle through metal. Not good for my machine. Not good for the needle. Not good for anyone!
Check the stitch length setting before I start sewing. This is something I want to get in the habit of doing every time I turn the machine on.
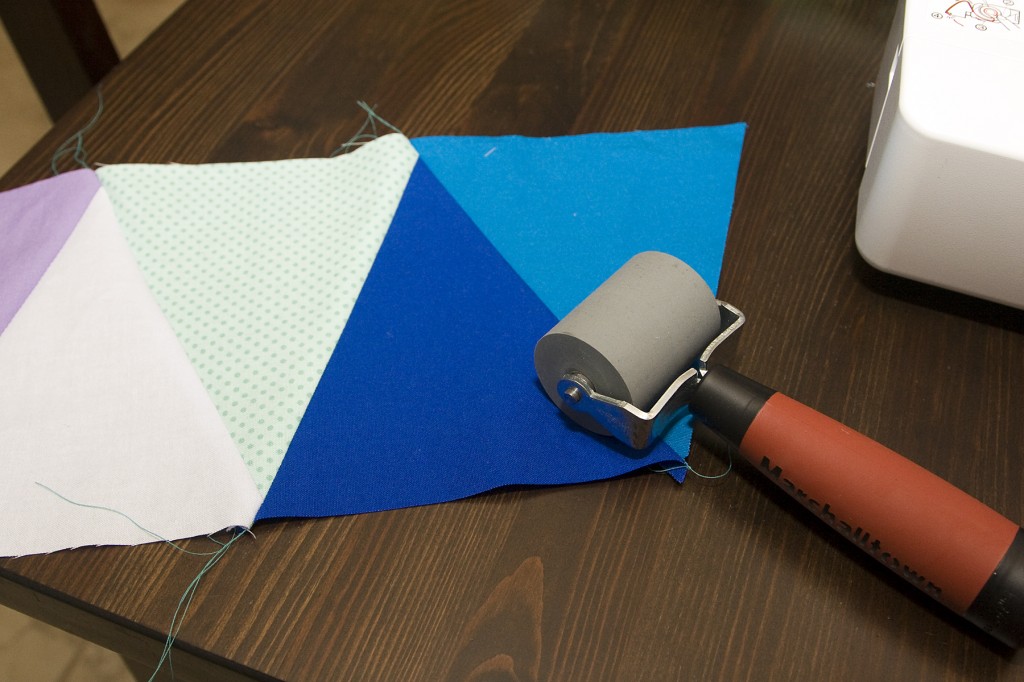
A wallpaper roller is great for roughly pressing seams. I can’t remember where I saw this tip, but it proved very useful! After attaching each new triangle to the previous one, I used a small wallpaper roller to press the seam in the right direction so that my seam nesting continued to go smoothly. The pressure from the roller was enough to get the seam allowance lying in the right direction, and I didn’t have to break out the iron (to really set a crisp seam) until the whole row was done.
Chain piecing is quicker, but not always the best option. I tried doing chain piecing — sewing pairs of triangles, then pairing the pairs, etc until the full row is complete — but if I wanted well-nested seams, I really had to just go piece by piece. It was a little slower that way, but not the end of the world. (Although I’ll also admit that chain piecing didn’t make things unusably messy. I could have chain pieced and just taken a little more care with the seams and it would’ve turned out fine.)
What else? Last weekend I made a trip to Joann’s, where I found a great print to use as the backing (which you can see on the right of this Instagram photo). It’s a geometric pattern similar to a chevron in two shades of teal that are an EXACT match to two shades of triangles on the front. I loved it as soon as I saw it, so I scooped up 2 yards and was on my way. I bought enough that I could actually use this for the binding if I want…although I’m totally torn on that right now. That’s the one major decision left — do I use this as the binding too, which would blend together with the backing? Or do I want contrast on the back, which would mean I need to use something different? If I go the latter route, I’ll use a solid color, since I think a printed binding against the printed backing would be too busy.
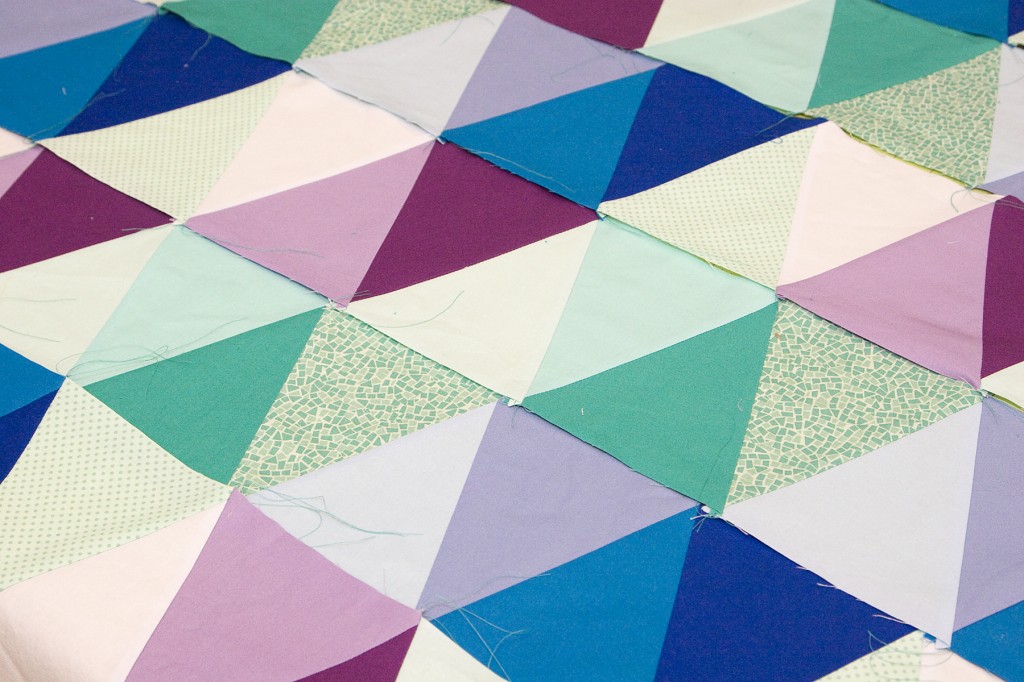
Finished rows waiting to be sewn together!
With any luck, I’ll be able to finish the quilting and bind this baby by the time Sunday night rolls around! After all, the whole idea is to have it done for Emma’s birthday on Tuesday!
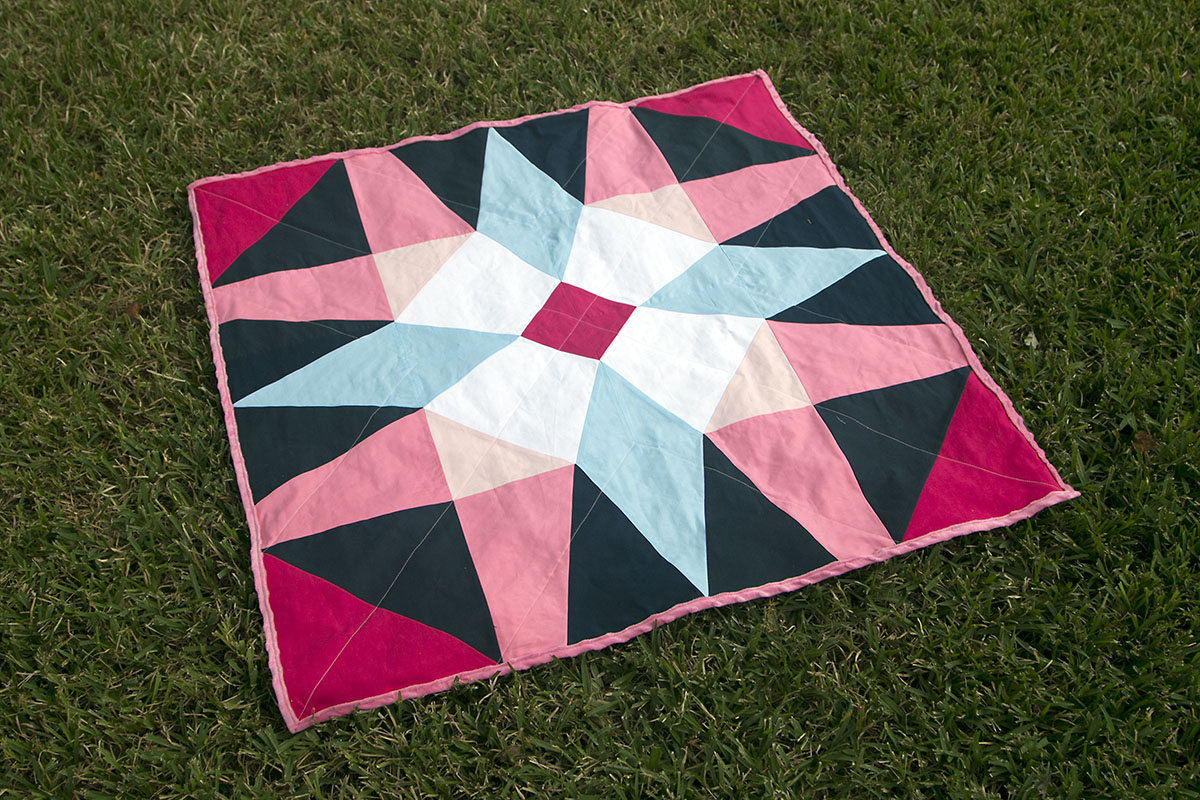


[…] // Emma’s triangle quilt! It’s going well. Over the weekend I made about 14 feet of bias binding, basted the quilt […]