 Gryffindor Crest Paper-Pieced Taggie Toy
My friends Katie and Andrew welcomed a baby boy a few weeks ago, and I wanted to make him a little something to celebrate his arrival. Katie is a language arts teacher and LOVES the Harry Potter books, so my original idea was to find some Harry Potter-themed fabric and make a baby blanket. However, apparently Harry Potter fabric was only produced for a short time and more than a decade ago. (This was pretty surprising to me, but I guess Rowling is fairly protective of the brand!) While there are still some pieces from 2001-2002 available on Etsy and eBay, the average price is around $100/yard. Not exactly what I was hoping to find!
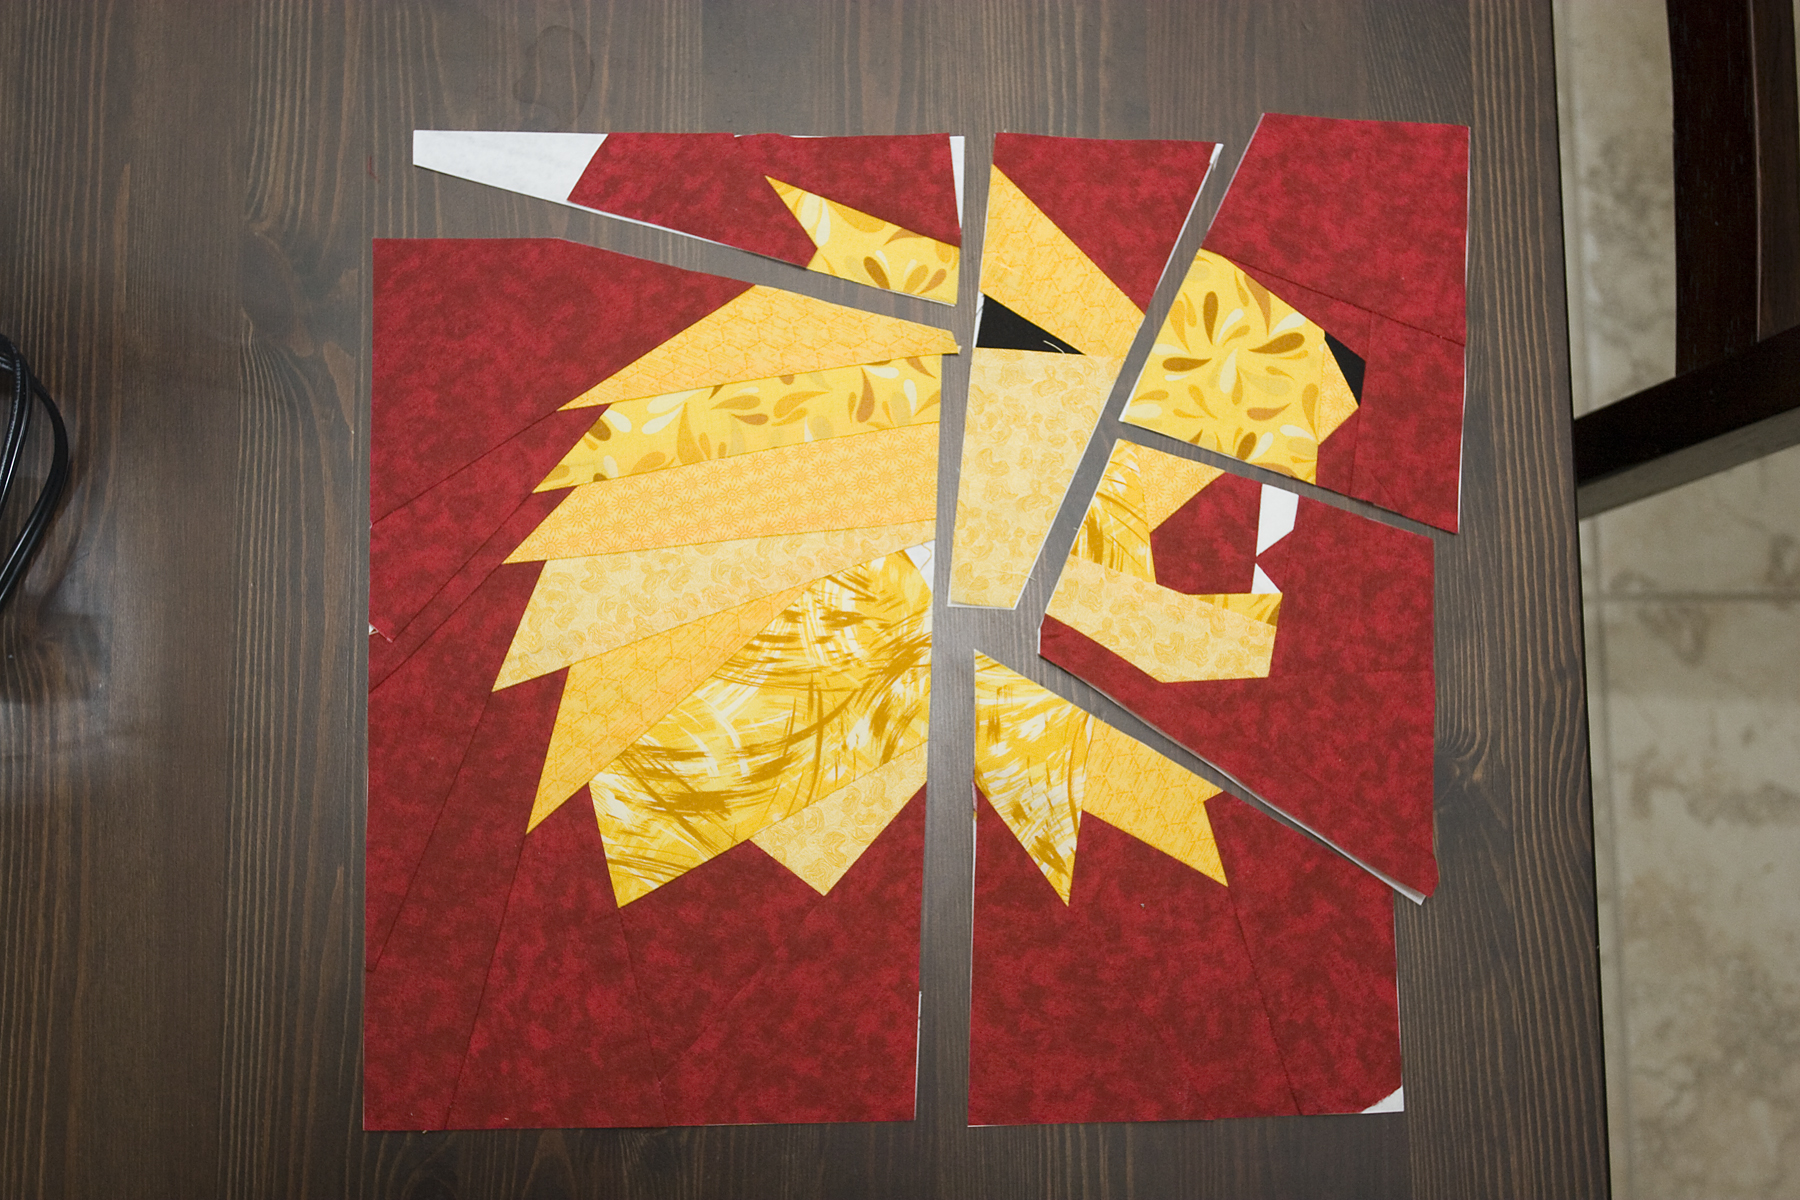
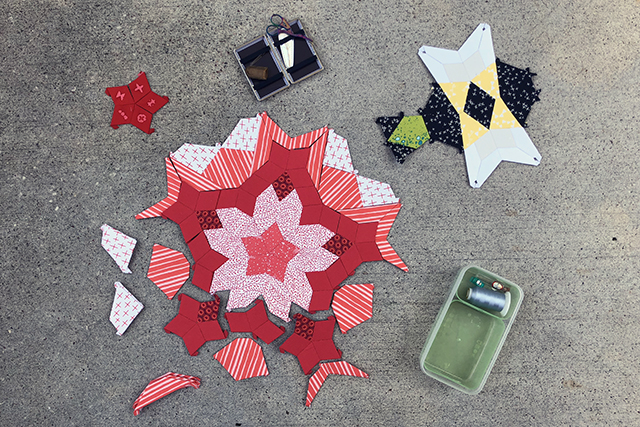
Six separate units make up the final block
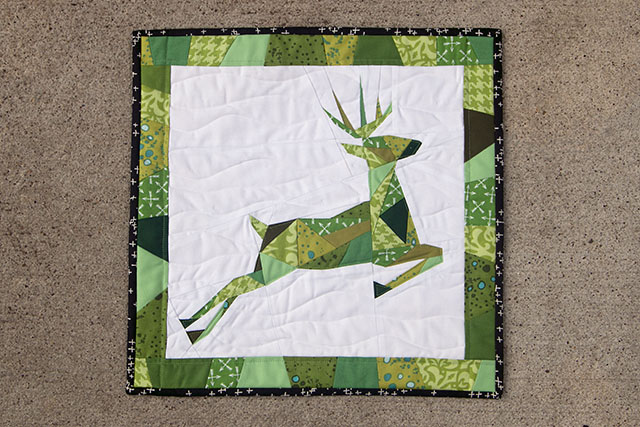
So I took a different approach and started searching for Harry Potter-themed quilts. This led me to a WHOLE WEBSITE dedicated to quilt patterns for fans of various things — Harry Potter, Doctor Who, Lord of the Rings, etc. It kinda blew my mind and made me fall in love with the internet all over again. It also had exactly the right thing for me with a huge selection of Potter-themed paper-pieced quilt blocks. I’d been wanting to learn how to paper piece already, since it lets you make some very intricate and impressive blocks. This seemed like the perfect excuse.
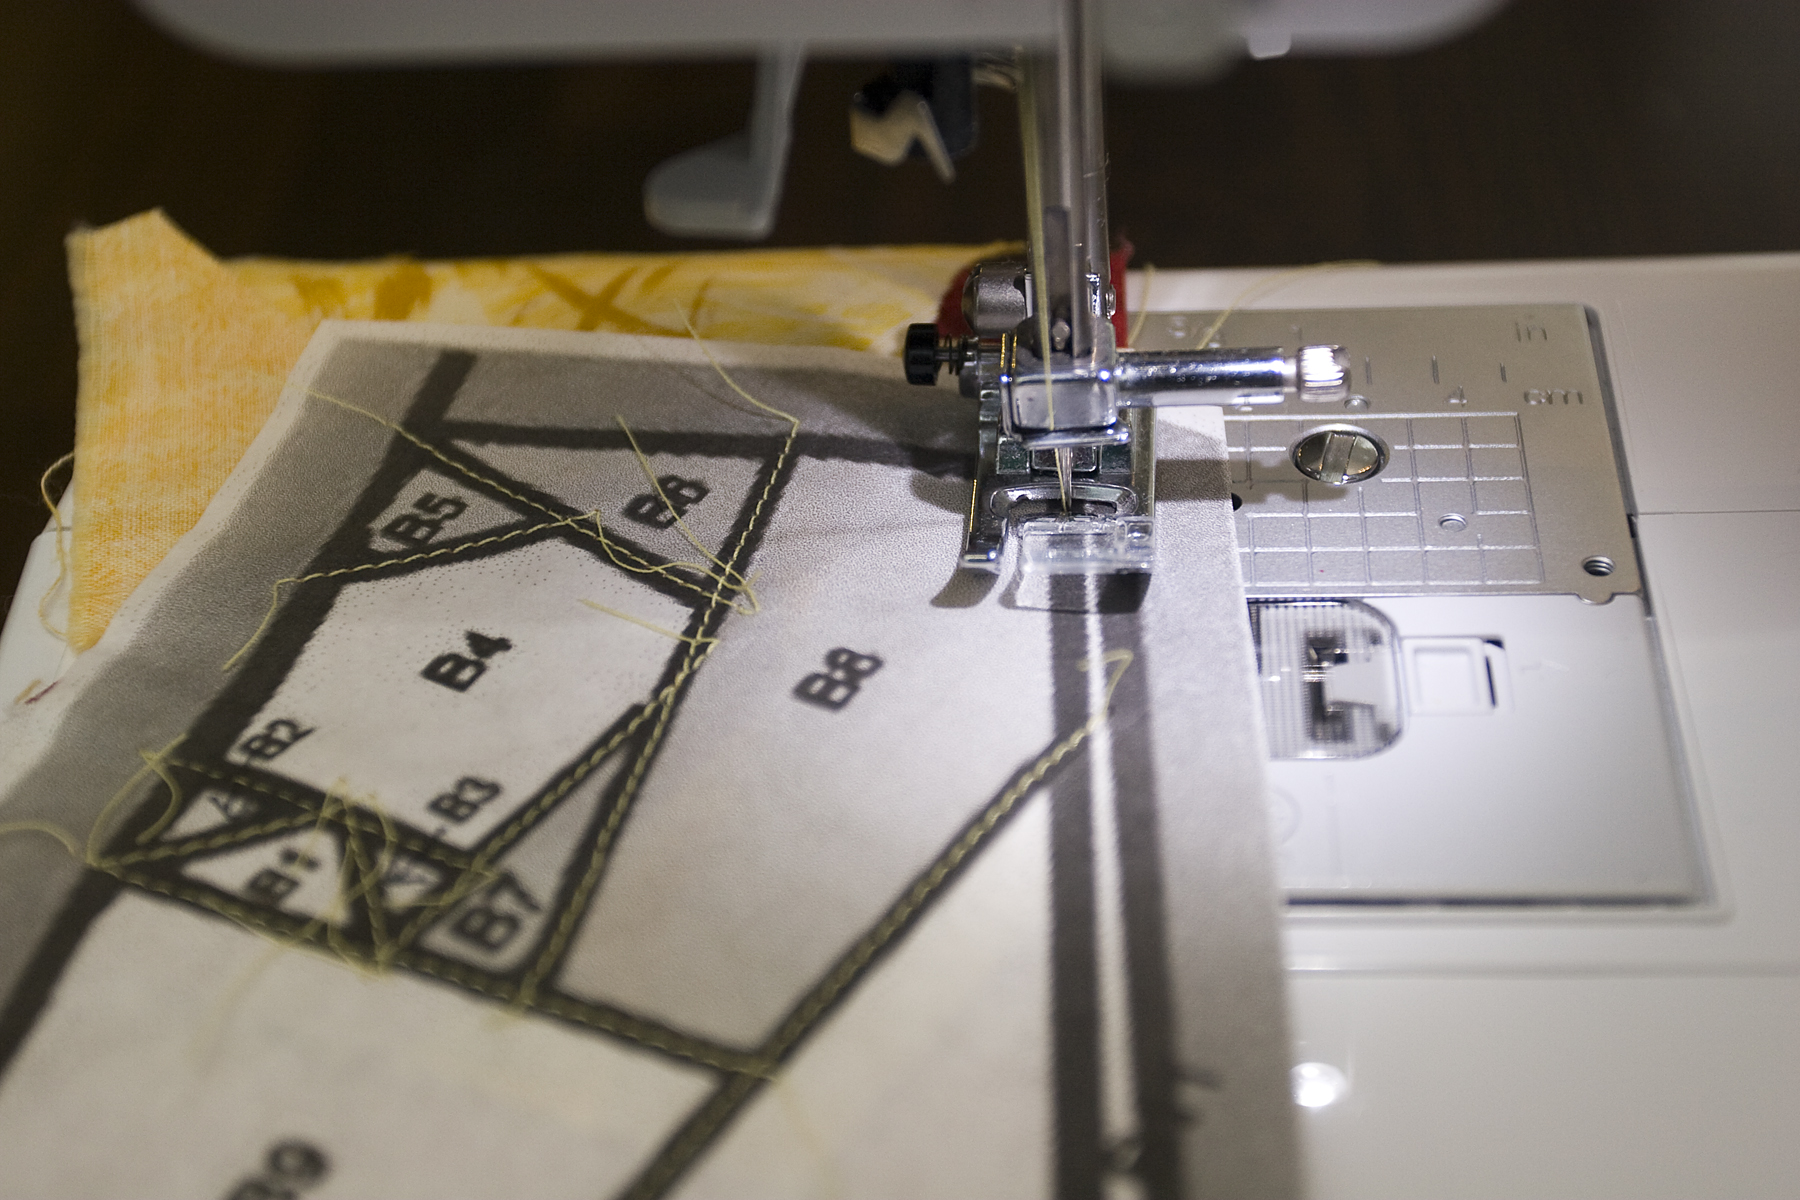
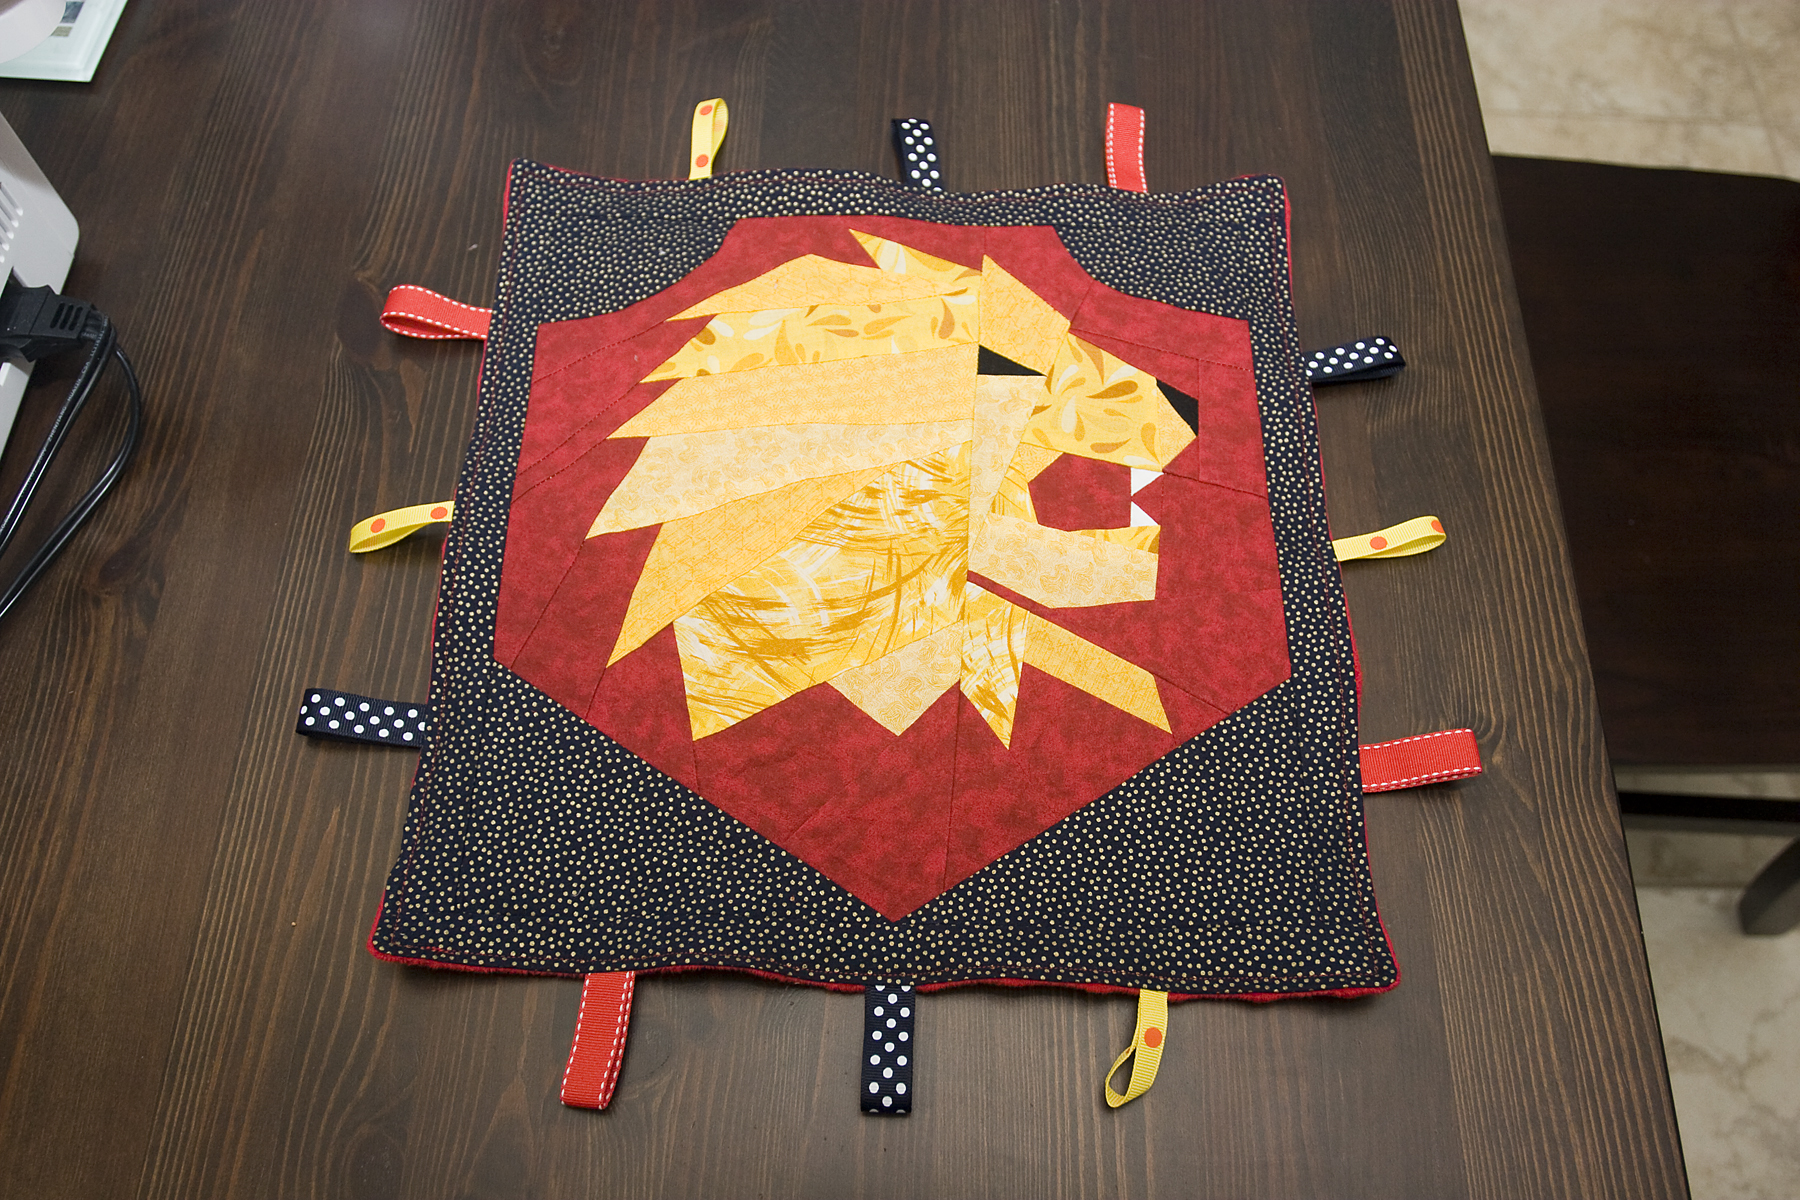
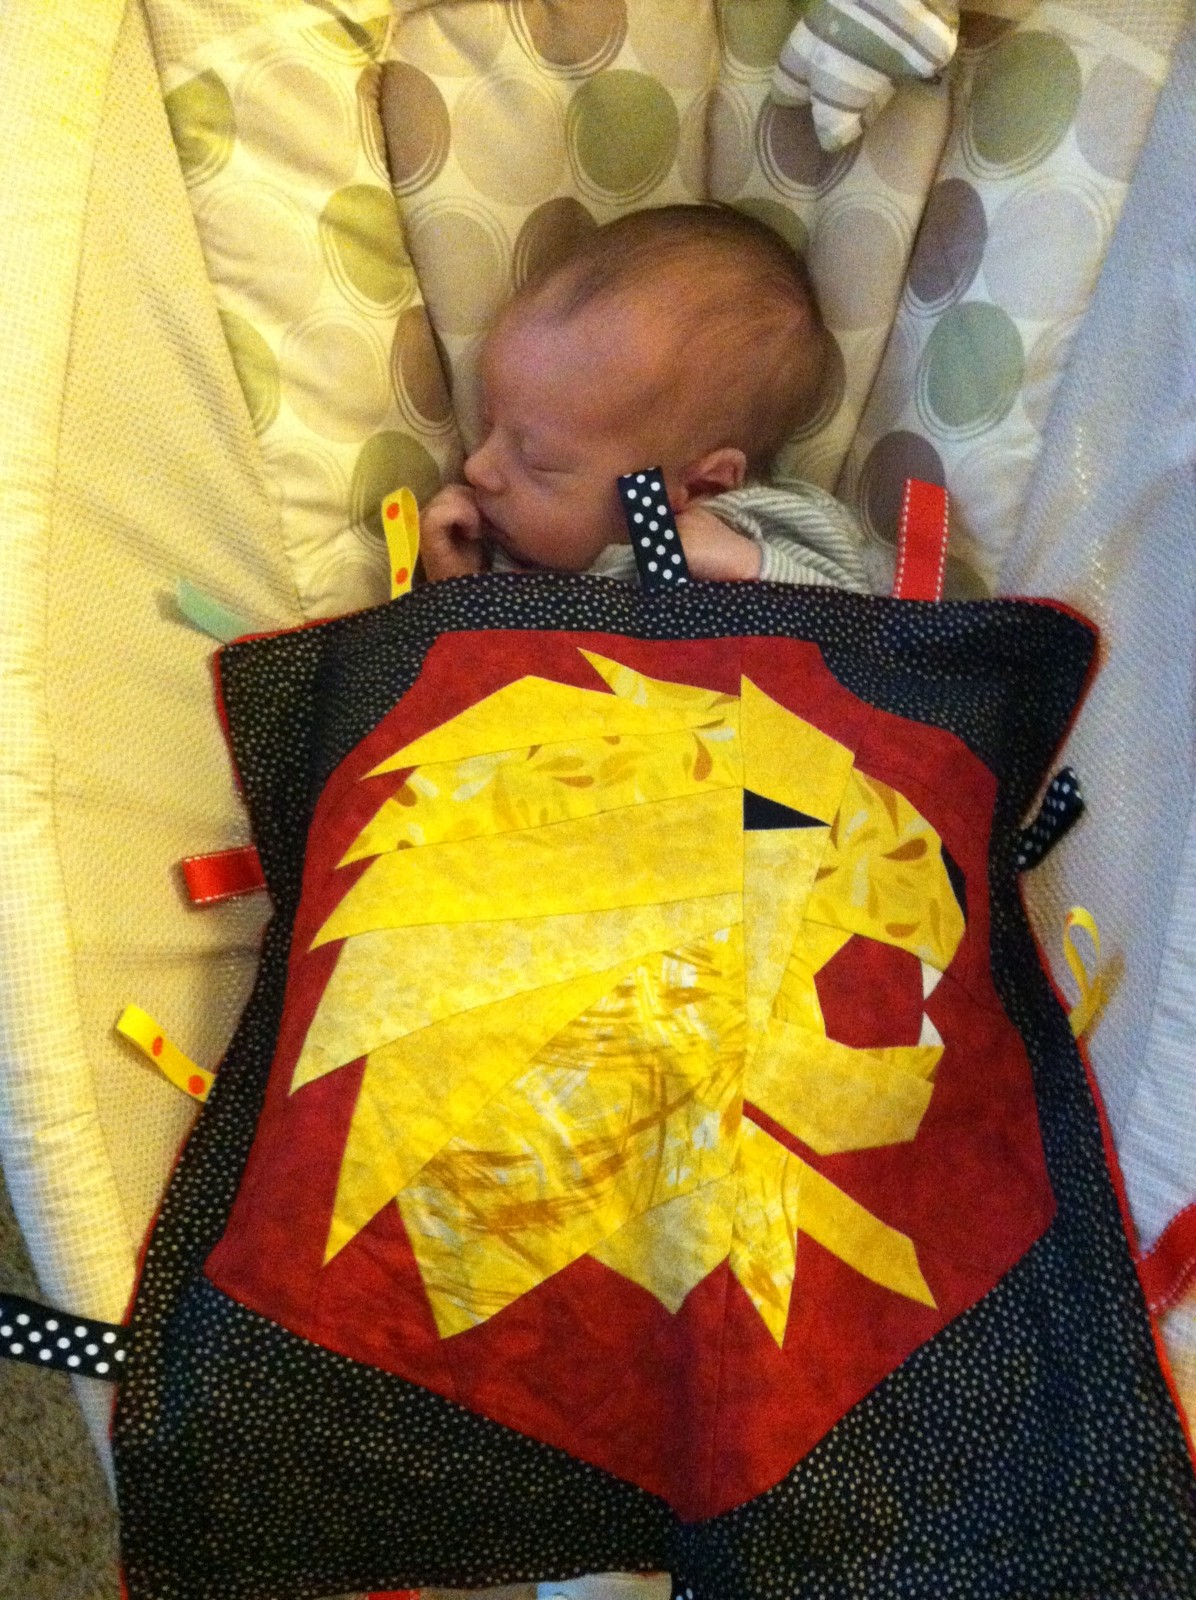
I chose the Gryffindor crest — a very cool lion — and decided to turn it into a taggie toy/sensory blanket backed with soft red minky and bordered with some pieces of ribbon for Baby Boy to grab. I had to enlarge the pattern slightly to make it what I wanted, but that was easily done on the computer. In retrospect, I certainly could have picked an easier block for my first attempt at paper-piecing! But I took it slow, triple-checked everything before sewing, and got the hang of it as I went. (This paper-piecing tutorial from Fresh Lemons was also quite helpful.)
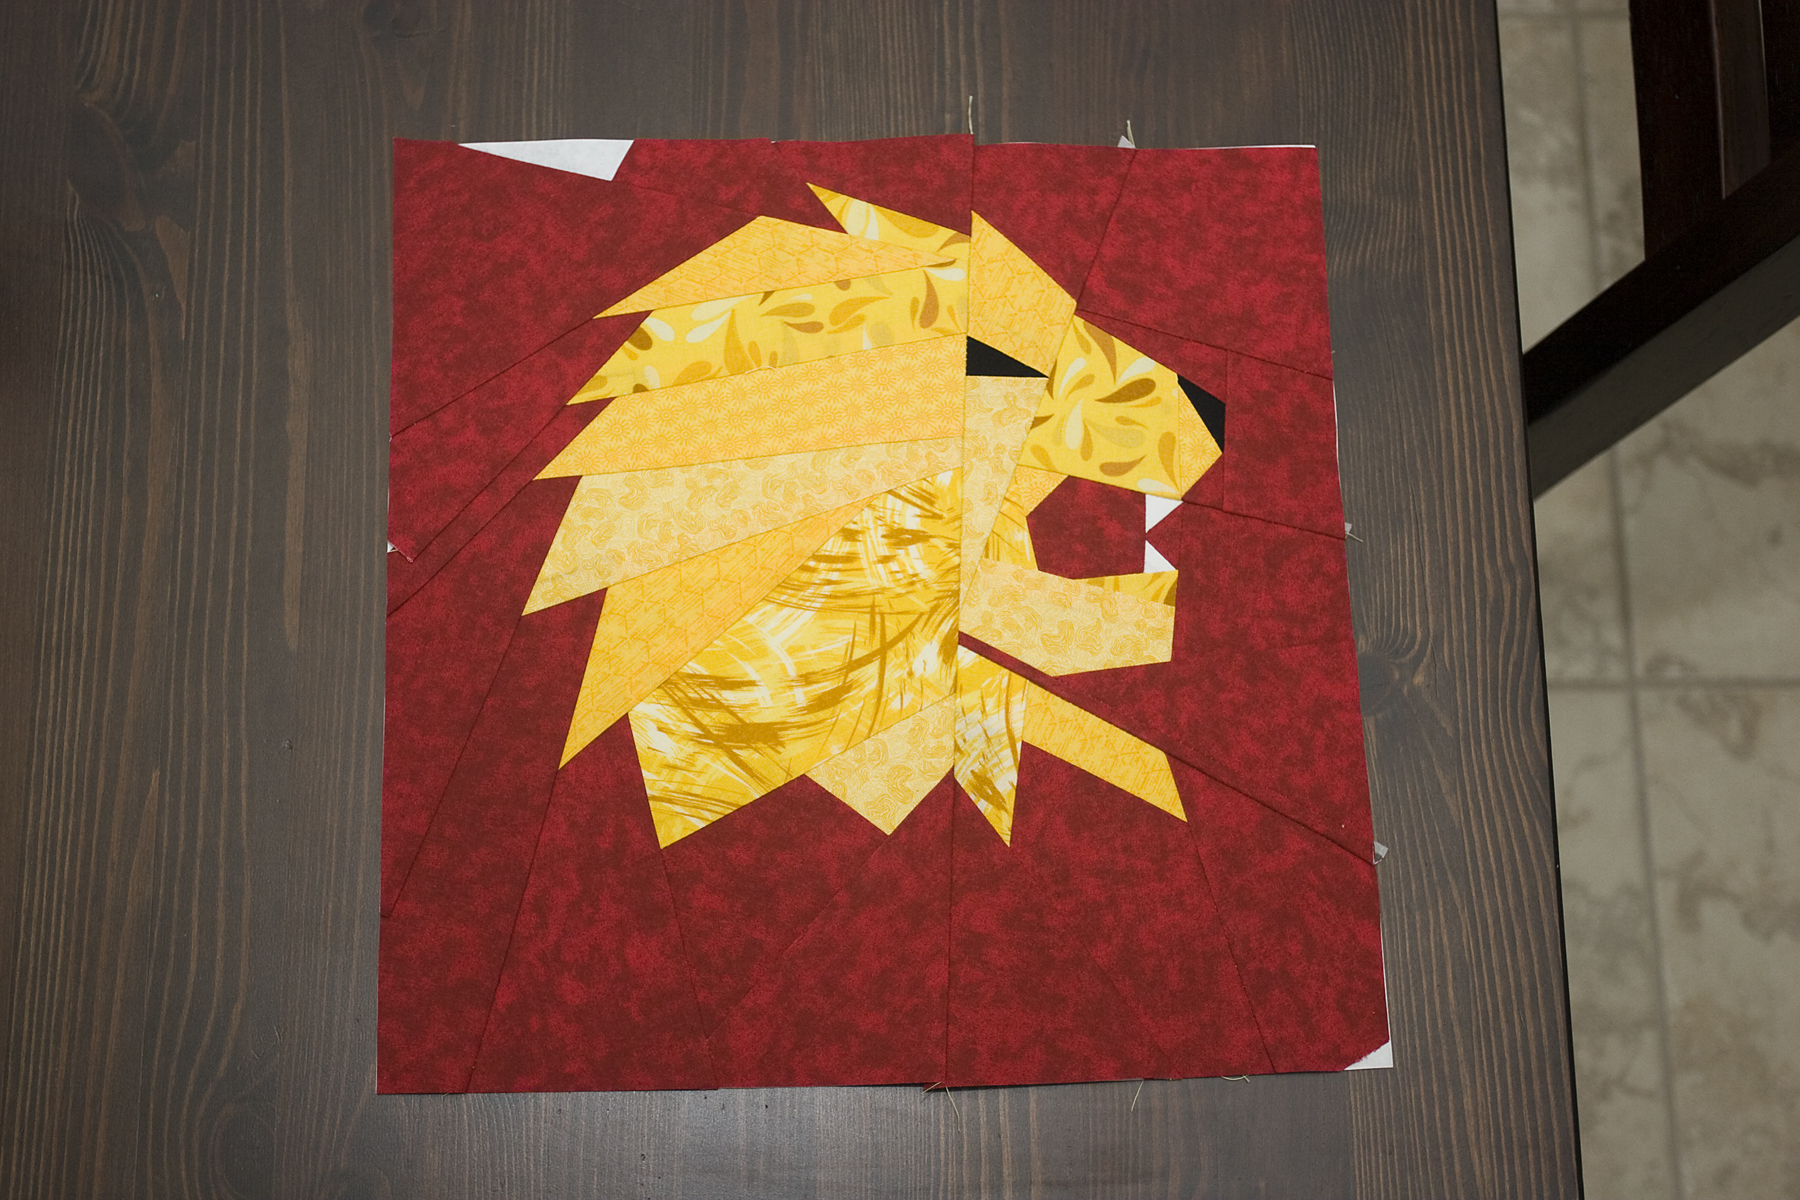
Finished block!
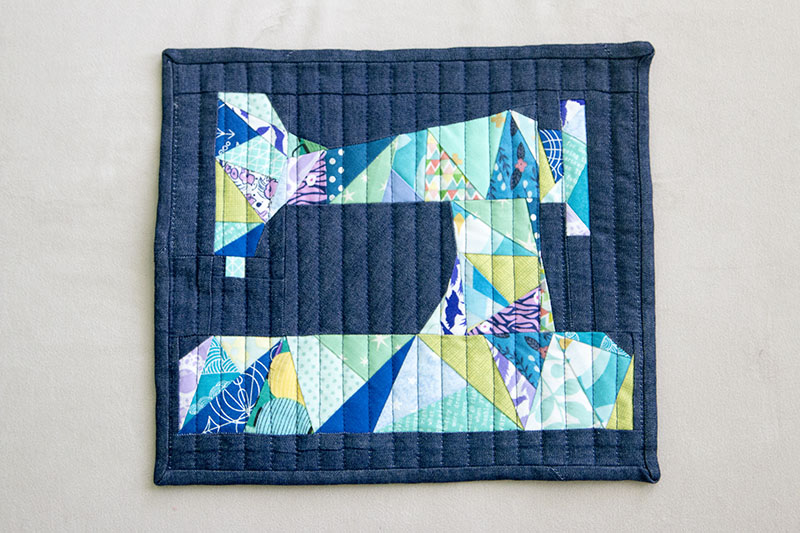
The lion was made up of 6 smaller sections that were then sewn together into the final block. (The picture above shows the 6 sections.) I thought it would take a lot longer than it actually did. After the first few pieces, I started to get the sequence down and the repetitive nature lent itself well to just plugging along — sew one piece, press the seam, cut a piece of fabric for the next piece, line it up, and repeat.
I did make a couple mistakes and you can see the biggest one in the upper left corner. That piece was the first of the six that I did, and I didn’t fully understand yet how important it was to cover every single bit of the seam allowance. I didn’t realize how critical this was until I had sewn the whole block together. Fortunately I was able to fix it by changing the shape of my crest — if you look at the first photo showing my completed blanket, you’ll see how I made the top corners of the crest curve inward. Doing that eliminated my error. Whew!
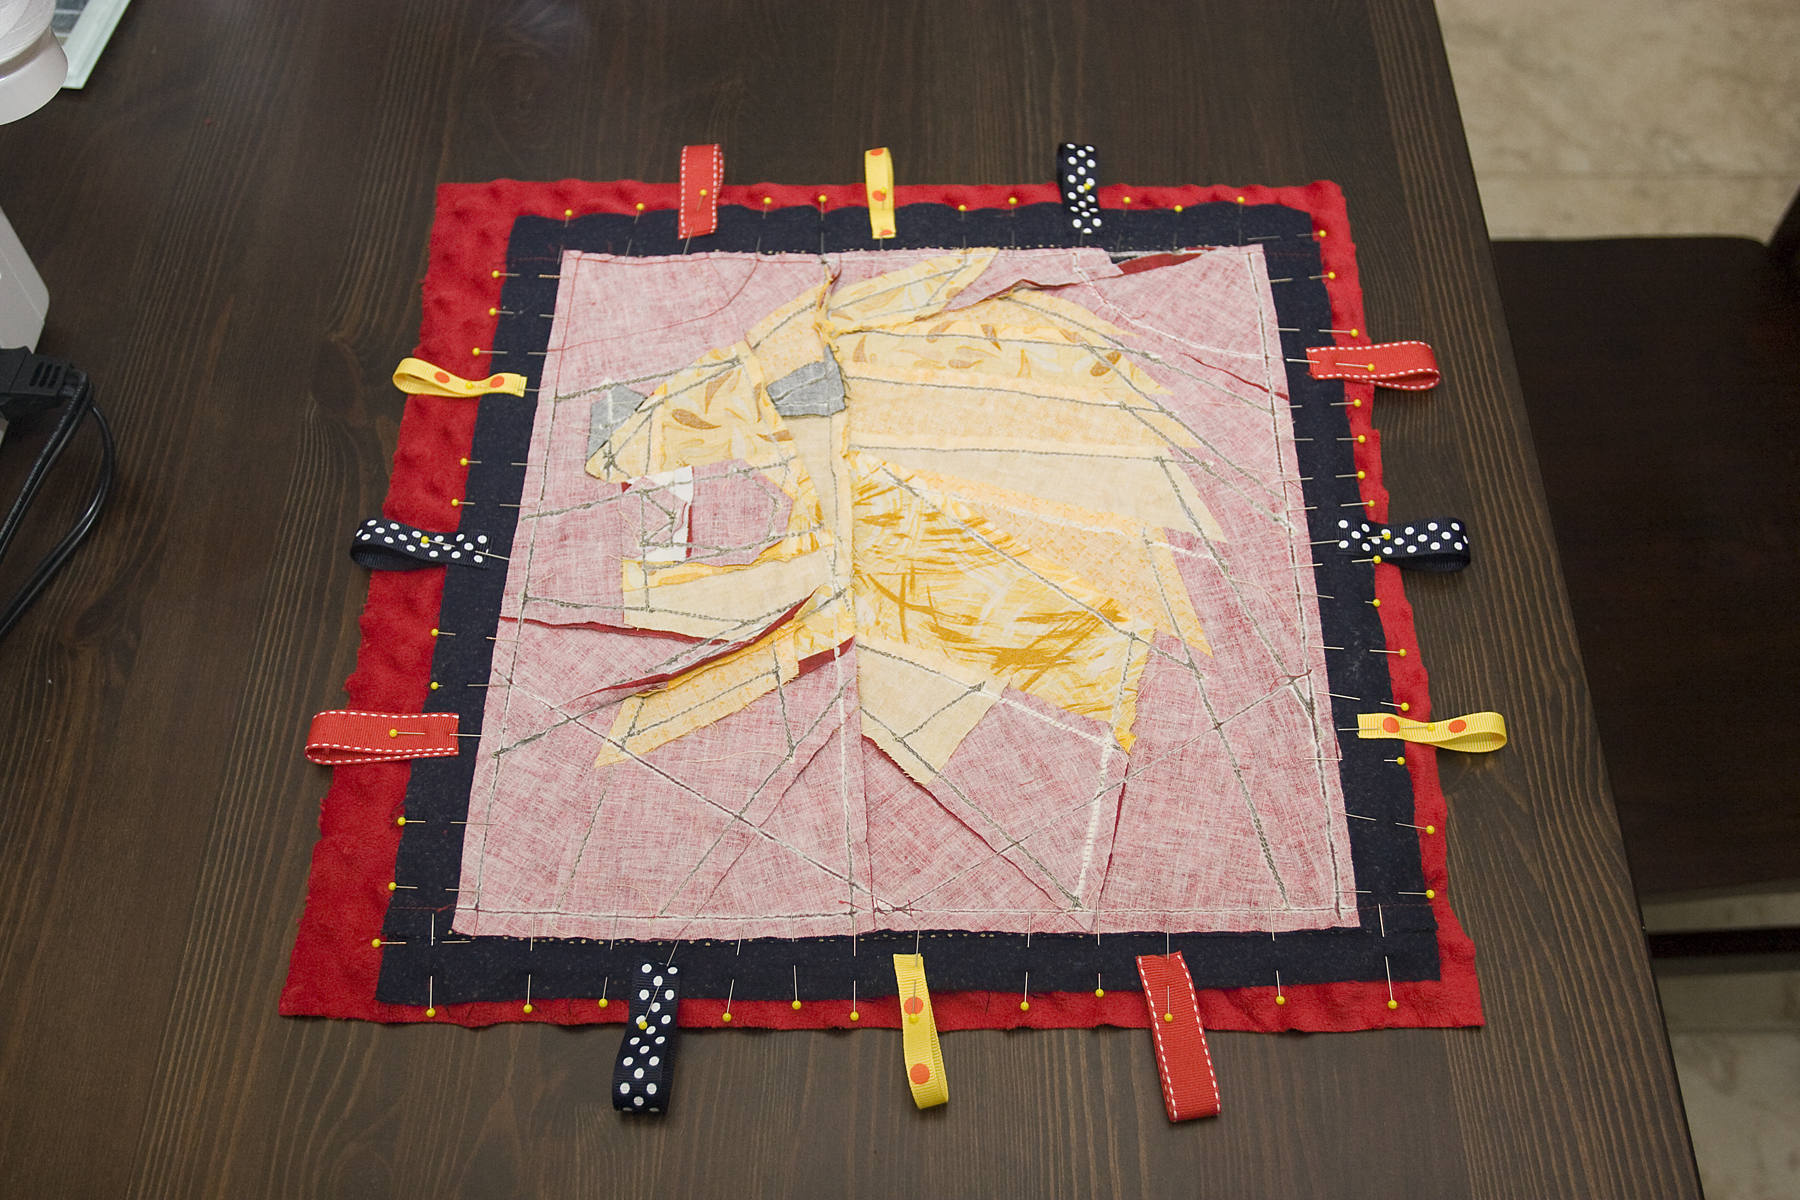
Minky = use lots of pins
Once the quilt block was done, the rest of the project was super simple — just a normal blanket with the pieces of ribbon thrown in for fun. (Be careful if you’re using the photo above as a reference for actually making something of your own. That was just me figuring out where to place the ribbons, but it’s NOT how you should line them up for the final sewing! Before you sew, they need to be tucked in between the layers of fabric pointing towards the center, so that they stick outside when the blanket is turned right-side-out for finishing.)
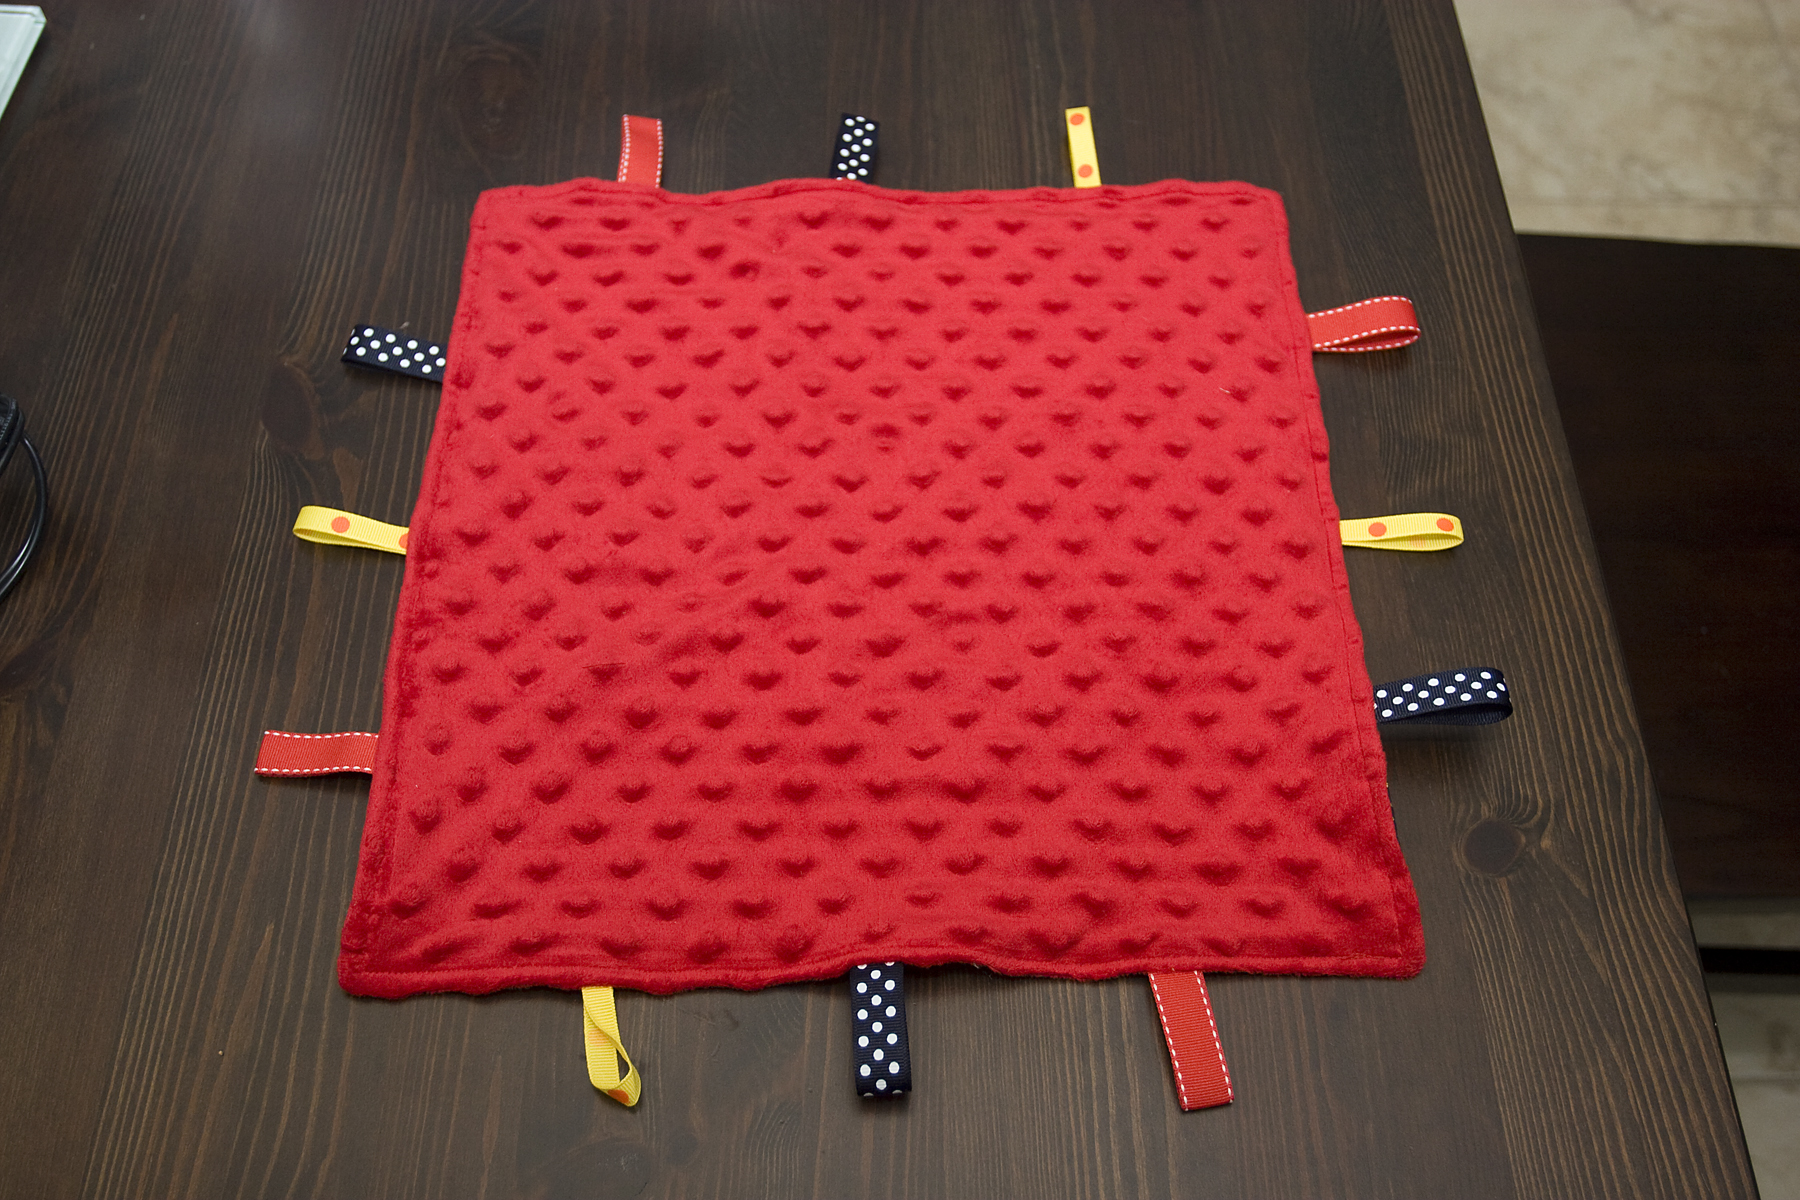
Taggie toy back side
The lion himself is made from several different fat quarters in a variety of yellow patterns, and the crest is a single mottled maroon print. The background is a cool navy fabric with tiny gold polka dots. I chose three different kinds of ribbon to coordinate, and used some nice bright red minky for the back. I think I’ve used minky in at least half of the baby items I’ve made. It’s just so soft! I love it.
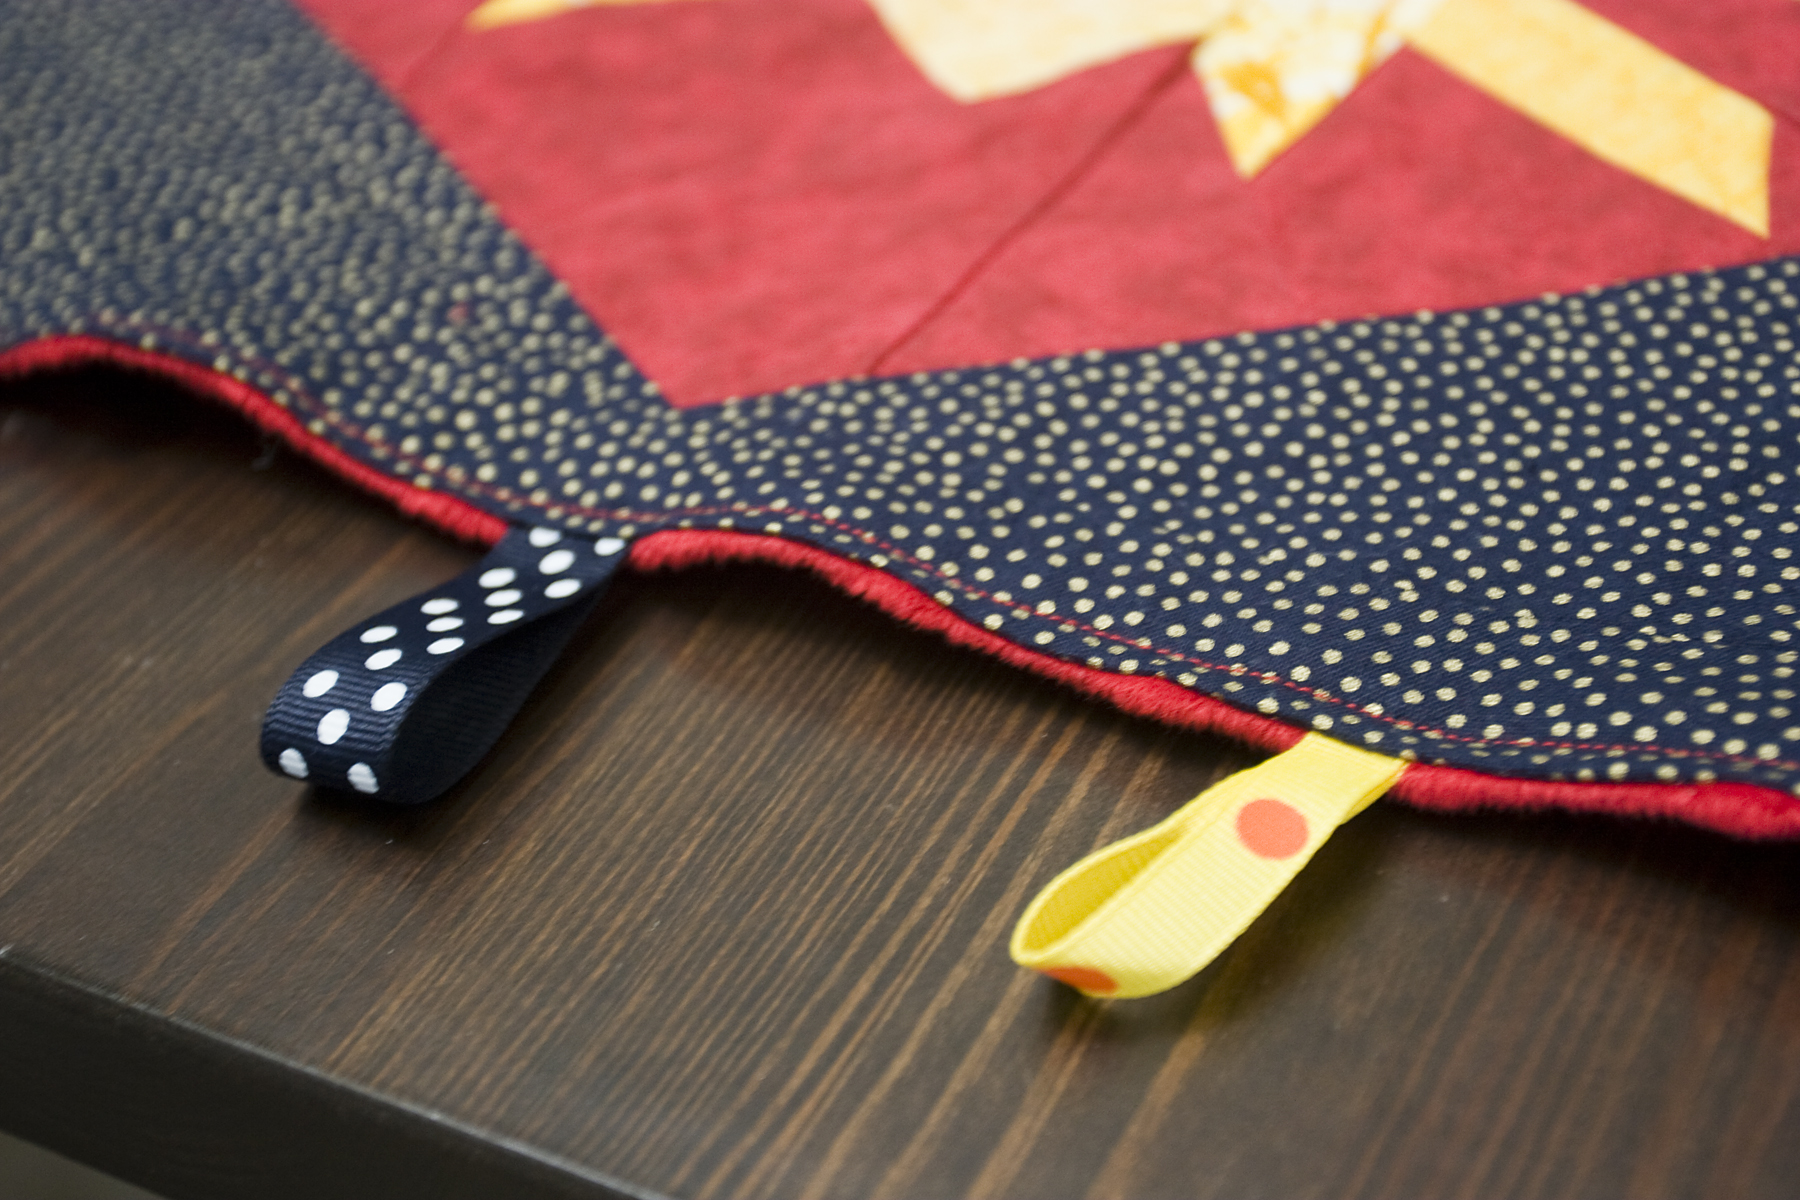
Ribbon tags
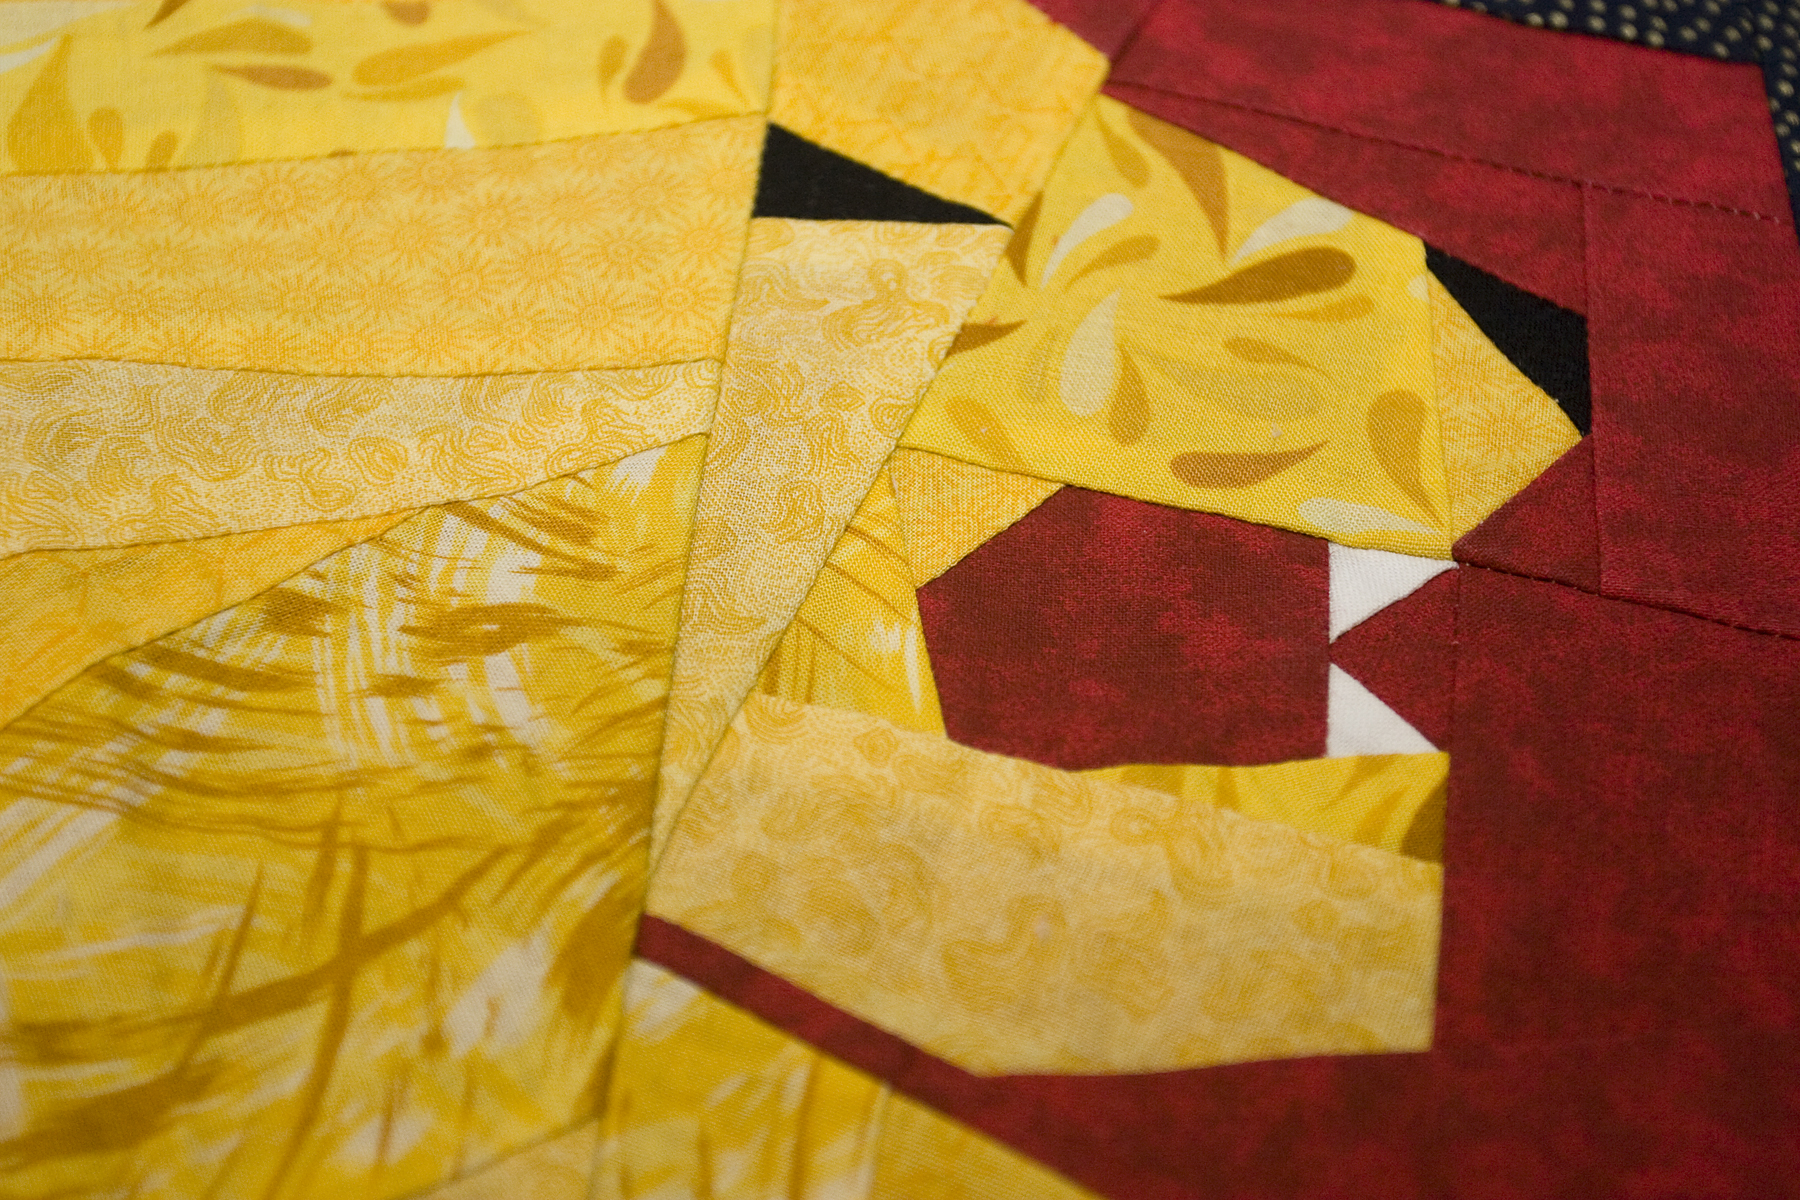
Detail of the Gryffindor lion’s mouth. ROAR!
I packed this up in an envelope and mailed it off to Ohio only a day or two before the baby arrived — I think this was probably waiting in their mailbox when they got home from the hospital! I was SO happy with how this turned out. I think it looks amazing and can’t wait to take on another paper-pieced project in the future.
And I think Robert likes it too!


Well done! I just spent an HOUR on that site. Thanks for the tip!