I generally avoid buying sewing books. I know that sounds strange since sewing is my biggest hobby these days, but it’s hard to justify building a huge library of sewing books when there are so many awesome tutorials available online for free! But I found a copy of Amy Butler’s “Little Stitches for Little Ones” at Half Price Books early last year and, after giving it a thorough inspection in the store and deciding there were multiple projects I was interested in making, took it home.
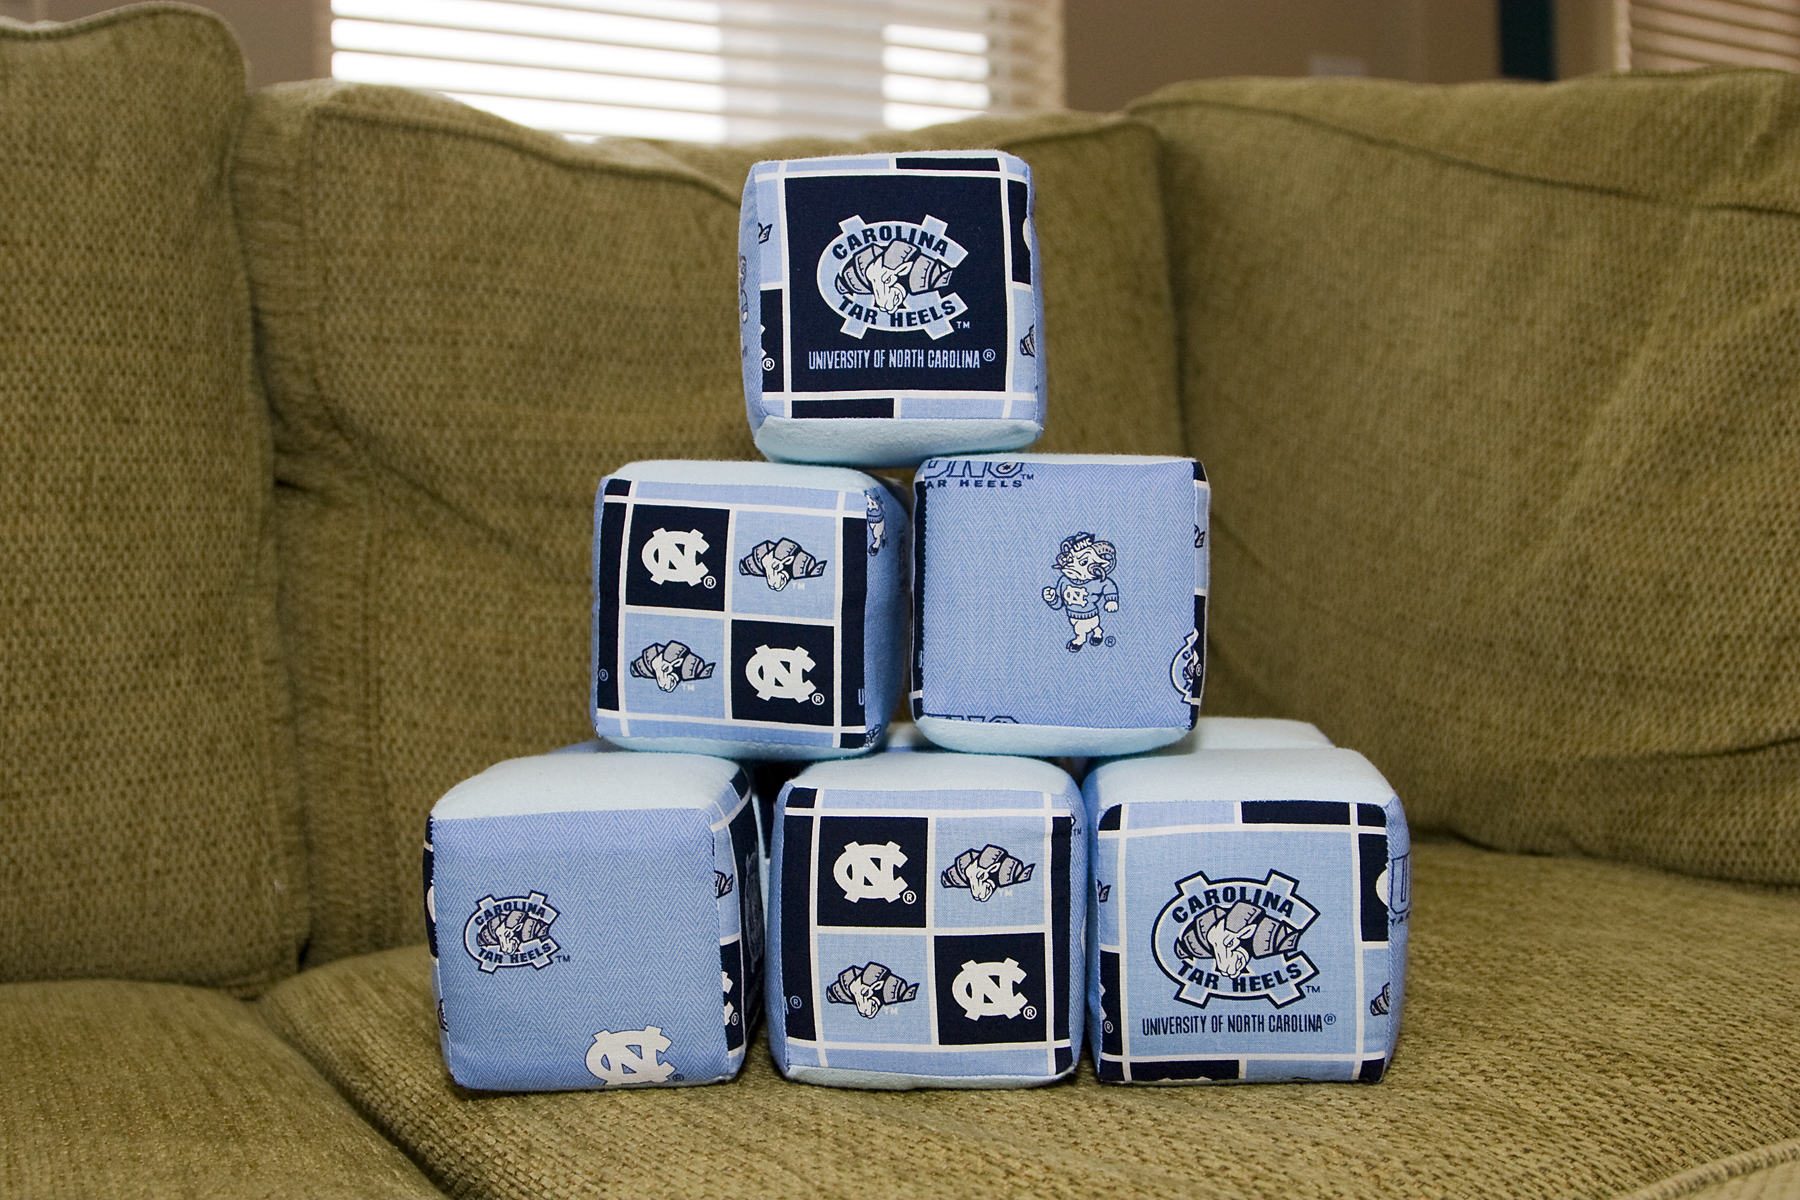
The first project was a set of 9 soft baby blocks. I started making these for my nephew Lucas way back in June, but didn’t get them finished before Emma arrived. And since Lucas himself arrived so much earlier than planned — less than 24 hours before Emma — I obviously didn’t get them done before he was born either. So instead of a baby shower or “yay Lucas is here!” present, they turned into a Christmas present! I finished the blocks and the matching bag about a two weeks before Christmas, just in time to mail them to Charlotte.
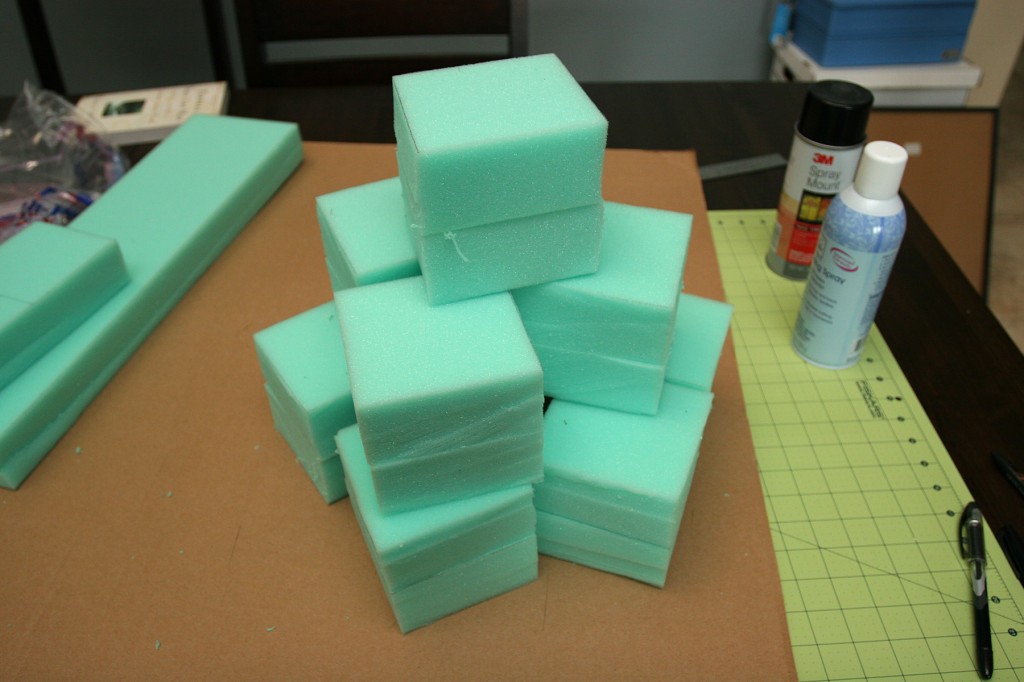
The pattern called for 4″ cubes of foam. I couldn’t find any 4″ thick foam at Joann’s, but they did have 2″ foam so I got that instead and just used 2 pieces of foam inside each block. I used a little spray adhesive to get them to stick together enough to wedge them into the fabric cubes, and that seemed to work just fine.
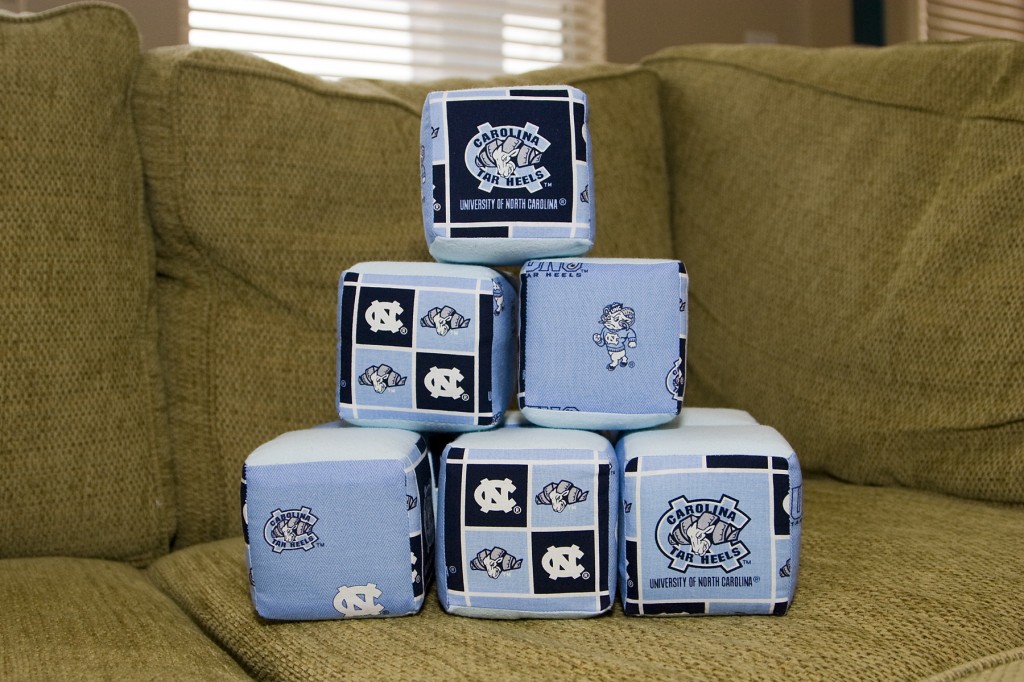
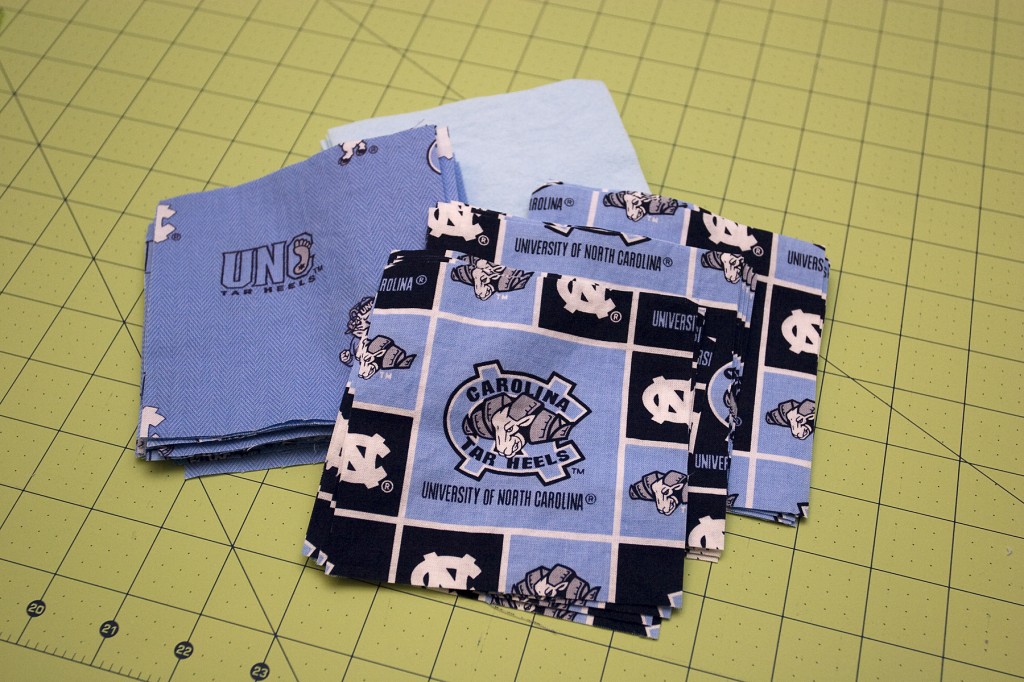
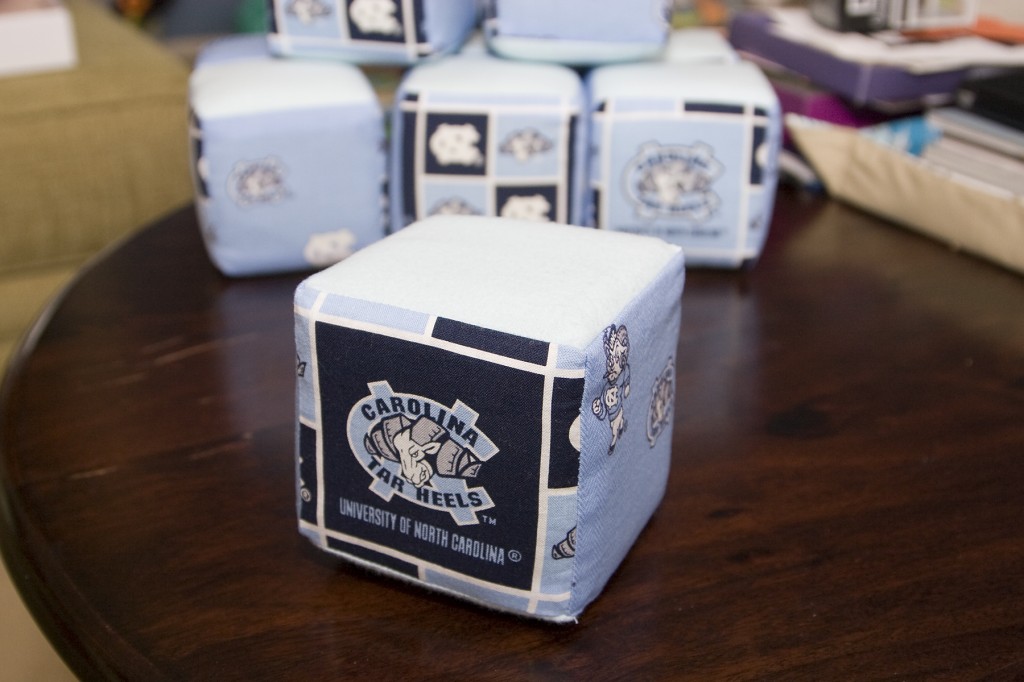
My brother has both an undergraduate and graduate degree from the University of North Carolina. My mom grew up in Chapel Hill and went there too. My sister went there for grad school. So let’s just say there are a lot of big UNC fans in my family! Lucas is pretty much destined to grow up rooting for the Tarheels, so I figured some Carolina blocks would be highly appropriate. It wasn’t hard at all to find Carolina fabric, so I got two different patterns for the block sides, and then used a Carolina blue flannel for the top and bottom. (I found Georgia Tech fabric too! I didn’t buy any then, but I’m thinking perhaps Emma needs a set of GT blocks. Right?)
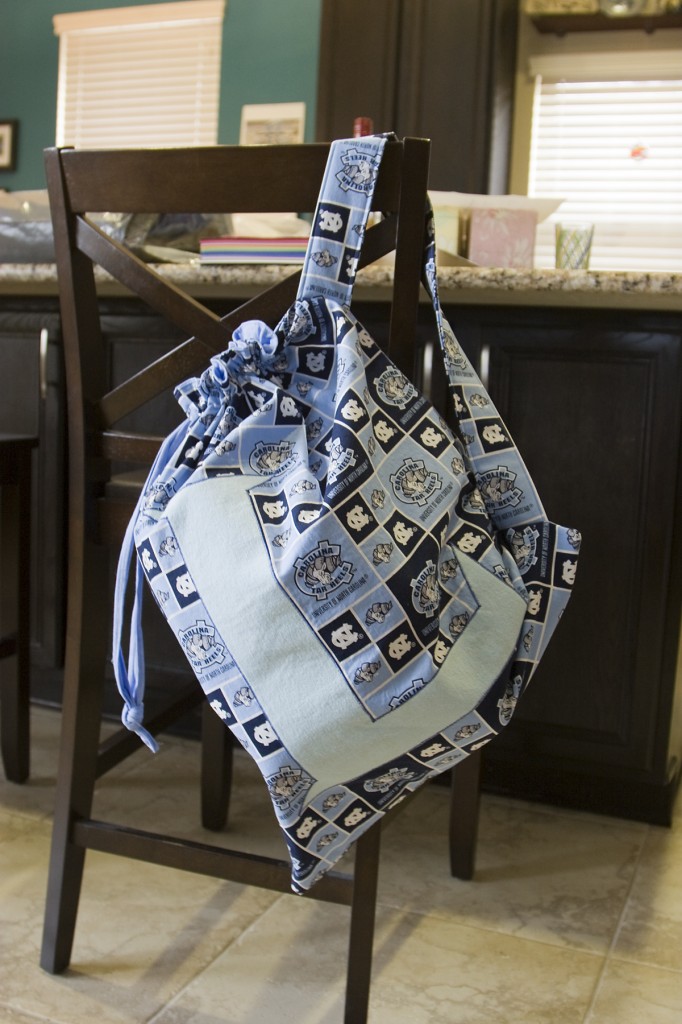
The book also included instructions for making a cool drawstring bag to hold the blocks in, complete with a big initial on the front.The L is made from the same flannel I used on the block, and the lining and drawstring (which I neglected to photograph) are made of a light blue cotton. I really liked how this bag turned out — it’s nice and thick and sturdy, so Lucas should be able to use it for his blocks or for anything else. I am definitely bookmarking the bag pattern for future use! It would be a great gift for adults and kids alike.
Overall I was thrilled with how these turned out! Making the blocks was a little more time-consuming than I had anticipated, since the final two sides of each block had to be hand-stitched closed after inserting the foam, but it was worth it. According to my mom, my brother was pretty impressed that I made them myself!
Over Christmas break, I decided to tackle another project from the book and made a fabric “family album” book for Emma. The book pattern involved using 12 photos to make 6 double-sided pages which were then connected in the middle to make 3 leaves. Fortunately for Emma, 12 pictures was enough to capture herself, 2 parents, 2 grandmothers, 1 grandfather, 4 uncles, 2 aunts, and 2 cousins. (Sorry Katie and Joel, and Brian and Cindy — you guys had to share a page with your spouse to make it all fit!)
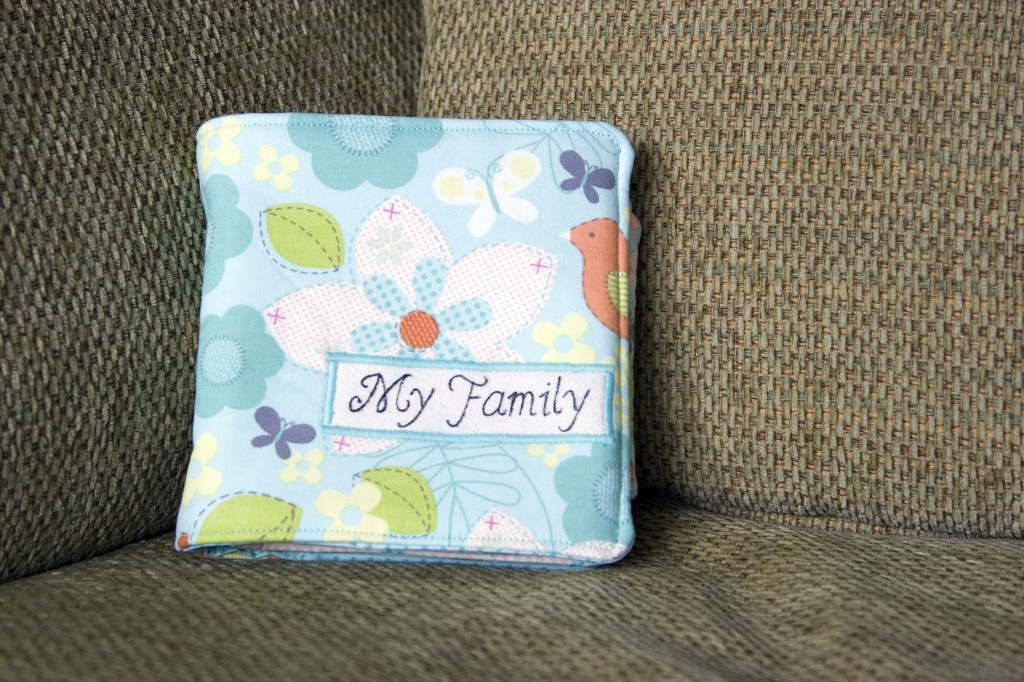
Did you know you can buy sheets of fabric that you can run through your printer? Neither did I! They were actually pretty neat — the fabric is attached to a paper backing which helps it feed through a printer without issue. The print quality is so-so, and several of the photos came out a bit lighter than I’d expected, but overall it was acceptable for a project like this. After printing, you remove the paper backing and rinse the fabric sheets with cold water to help set the ink and ensure that it won’t bleed in the future. After that, I cut out the photos and used it just like normal fabric!
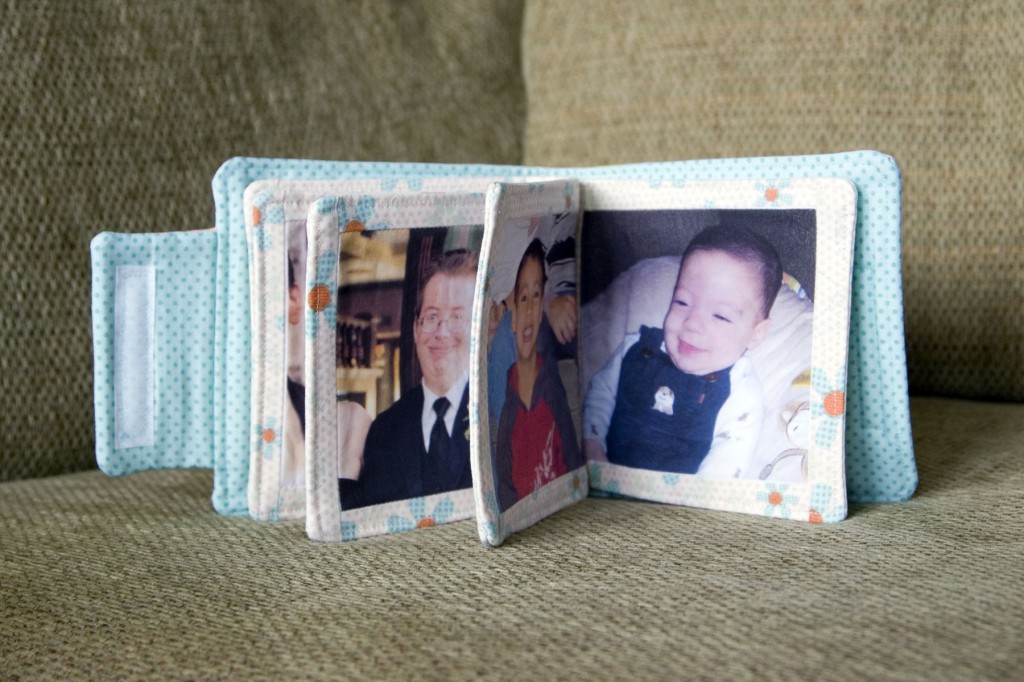
This project got challenging at the end, primarily because of how thick all those layers of fabric were once the leaves and cover all got piled together. I could barely get my sewing needle through all the layers, but I persevered and it worked out in the end. (I’m not sure what I’ll do when Emma has more cousins and/or siblings. Make a “Family Album, Part 2” I guess, because there’s no way I’d be able to get my needle through the fabric involved in adding another leaf to this book!)
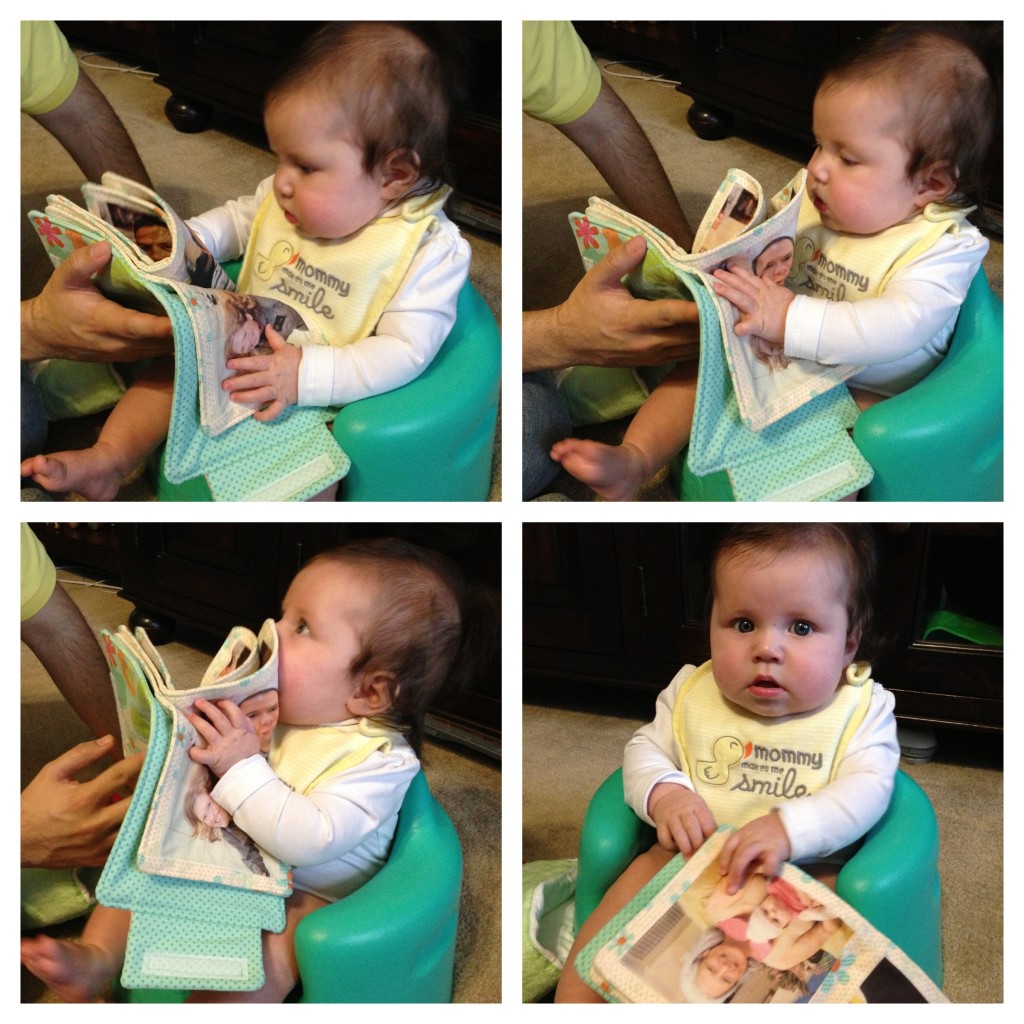
I was excited to see what Emma would do when I gave her the book. As you can see, she immediately shoved it in her mouth, which these days should be construed as high praise. She tried to eat it! That means she likes it! Hooray!
The one complaint I have about the book is that it doesn’t include enough photos — the instructions are all conveyed with text and a few illustrations. I’m used to the web, where most tutorials have tons of photos showing all the steps, and trying to read the instructions and interpret exactly what it means I need to do was difficult sometimes. But if I read the step two or three times, I would always figure it out in the end.
There are several more projects that I’d like to try, including a cute little kimono top that I may tackle with help from my serger to fulfill one of my 2013 winter goals.



Those are all awesome projects Sarah! Love the blocks and the album!
Cute projects! That book looks like fun.